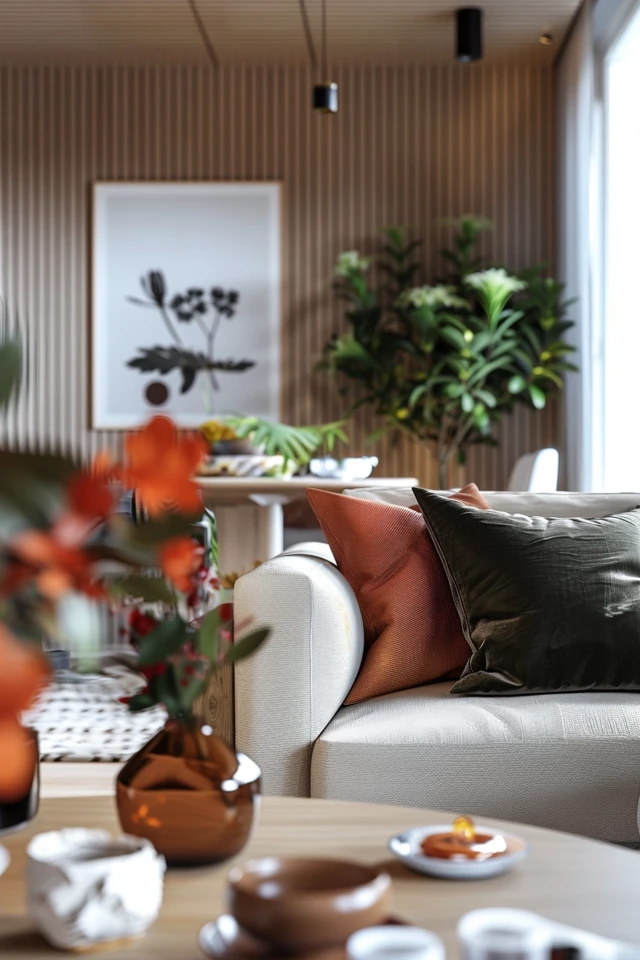
Creating a stunning 3D view ceiling design can make any room look better. If you’re an interior designer or a homeowner wanting to add depth to your space, follow these tips. They’ll help you create amazing 3D photos of your design projects with the RoomSketcher App.
Step 1: Set the Camera Height
To use the RoomSketcher App right, set the camera height to about half the room’s height. For instance, if the room is 8′ (250cm) tall, put the camera at 4′ (125cm). This gives a good perspective and makes the ceiling design easier to see.

Step 2: Adjust the Camera Pitch
Try adjusting the camera pitch to show more of the ceiling or floor in your 3D design photos. This tip is great for highlighting detailed ceiling designs or interesting floor patterns.
Step 3: Create Dynamic Views
Don’t just take photos head-on. Aim to capture the room from a corner or the entrance. This adds a dynamic look, makes the design seem deeper, and draws more interest.
Step 4: Set up Focal Points
Make your photos pop by creating focal points. You can do this with furniture, lights, or decor. Focal points improve your image and spotlight specific design touches.
Step 5: Adjust the Field of View
Play with the camera’s field of view for different scenes. You can capture the whole room for a broad view or do close-ups for material and texture details. This lets you highlight the best parts of your ceiling design.
Key Takeaways:
- Set the camera height at approximately half the height of the room for a balanced perspective.
- Experiment with adjusting the camera pitch to capture more detail on the ceiling or floor.
- Create dynamic views by shooting the room at an angle, avoiding straight-on shots.
- Set up focal points in your interior design photos to guide the viewer’s focus.
- Adjust the camera’s field of view to show a full room or take detailed close-ups of materials and textures.
Step 1: Designing the Interior Space
Creating a 3D ceiling design starts with the interior space design. This is true for living rooms, kitchens, or bedrooms. It’s crucial to consider the kind of space and its special traits. Are you upgrading an existing place or beginning anew?

Start with a design sketch. Include where furniture should go and the floor layout. This helps you see the space size and arrangement. Interior elevations can show cabinet details. They give clients a full view of the design.
Consider the Camera Height
Camera height matters when capturing the 3D view. Set it at about half the room’s height for the best look. For an 8′ tall room, place the camera at 4′. This makes the perspective balanced and natural.
Create Dynamic Angles
Shoot from a corner or entry to add excitement to your interior photos. This technique creates depth and brings the design to life. Try different angles to highlight the space’s unique features.
Elevate Viewer Engagement with Focal Points
Focal points increase viewer interest. They can be a single item or three in a triangle shape. Eye-catching lights, bold furniture, or unique details can draw attention. They emphasize the design’s main parts.
Adjust the Field of View
Changing your camera’s field of view is okay. It helps capture both detailed and wide shots. This way, viewers get a full sense of the space. Show off your design skills by featuring architectural finishes and furniture setups.
Following these tips while designing sets the stage for an engaging 3D ceiling view. Combining this with 3D rendering and other touches brings your design alive. It leaves a memorable impact on clients and viewers.
Step 2: 3D Modeling the Design
Once you’ve planned the interior, the next move is making it come alive with 3D modeling. This is key for making lifelike images. These help clients see what the final design will look like.
Several software options are there for 3D modeling in interior design. SketchUp is great for beginners and budget-conscious users. It’s easy to use and has free rendering.
For those wanting more advanced features, 3Ds Max is a top choice. It is more costly, at $3000 to $5000. But, it has more power and is preferred by professionals.

- Begin with a 2D floor plan.
- Use tools like SketchUp or 3Ds Max to turn your plan into a 3D model.
- Think about the cost, ease of use, and learning for each software.
- Look into tutorials and web resources to get better at using your software.
3D modeling lets you try out various designs, placements, and materials before the final step. You can change things and refine your design. This saves time and resources later.
Focus on making a 3D model that truly represents your design idea. Putting in the effort here leads to impressive interior visuals.
Step 3: Rendering and Adding Finishing Touches
After finishing your 3D interior design model, it’s time for rendering. This brings your design alive. Using software like V-Ray or Mental Ray helps create realistic outcomes. This experience makes your designs look appealing.
It’s important to pay close attention to details for realism. This begins with custom materials for rendering. Sites like GrabCAD and Archive3D offer free models. They save you time and boost productivity with a local model collection.
Creating an engaging environment is crucial in 3D modeling. Use reflections and well-placed lights to enhance your design. Add HDRI probes for environmental lighting. Include windows for natural light, improving realism and impact.
Trying different camera views finds the best way to show your model. Adding depth of field in your rendering adds a professional look.
The final step is refining your design. Use Affinity Photo or Adobe Lightroom for adjustments. They help correct colors and edit further for a polished look. Look at experts like Vlad Moldovan for inspiration.

