Want to make your basement walls last? You can follow these five simple steps. They come from experts and professionals in the industry. This advice will help you build a strong foundation for your home.
Key Takeaways:
- Choose steel studs for their durability and resistance to warping, cracking, moisture damage, and fire hazards.
- Install steel studs from commercial suppliers for thicker options at affordable prices.
- Utilize specific tools like locking clamps, black markers, tape measure with magnets, aviation snips, and industrial-grade screw guns for efficient steel framing installation.
- Consider materials like wood paneling, fabric, or wall veneers to add depth, visual appeal, and personality to your basement walls.
- Ensure proper waterproofing, insulation, lighting, and storage options to create a comfortable and functional space for your basement remodel.

Choose the Right Wall Finishing Option
Finishing your basement walls is a big deal. It’s key to creating a space that’s both useful and looks good. There are many options to choose from, each with its good and bad points. Here’s a look at some popular basement wall finishes to help you decide:
Paneling
Paneling is wallet-friendly and simple to put up. You can pick from many styles, giving your space a classic or trendy vibe. But, paneling might seem outdated and doesn’t last as long as other choices.
Paint
Paint lets you be super creative with your basement walls. Pick any color or design you like. But be ready for some work. You might need several layers to get it just right.
Tile
Tile stands up well to damp areas, making it a sturdy pick for basement walls. It’s easy to keep clean too. Yet, putting in tile is pricey, and getting your walls ready can add to the cost.
Vinyl and Wallpaper
Vinyl and wallpaper can really make your basement pop with style. There are lots of patterns and colors to choose from. But these options need smooth walls for installation and aren’t as tough as others.
Brick
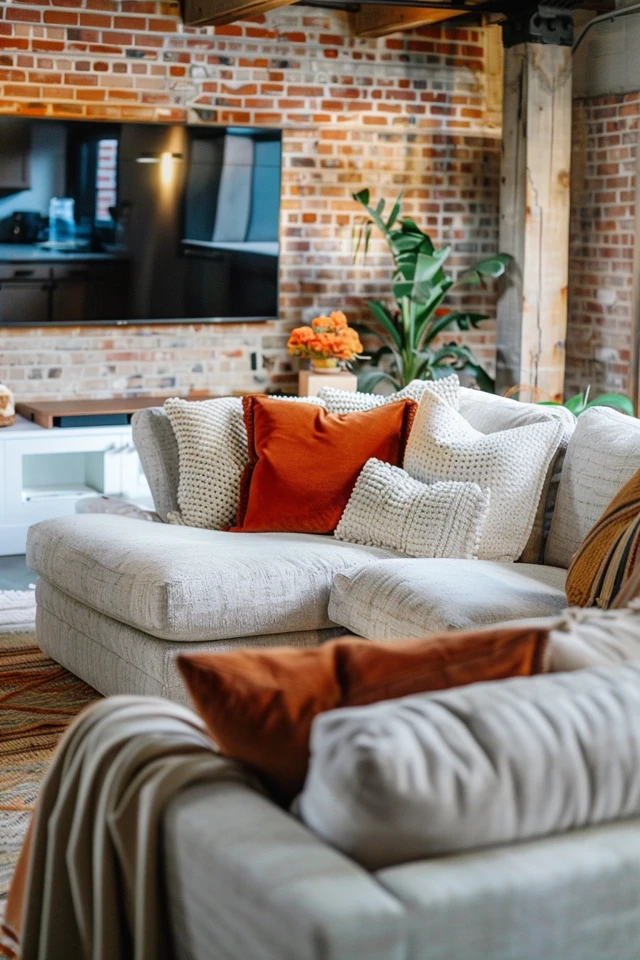
Brick brings a classic, cozy feel to your basement. It’s long-lasting and adds a unique charm. But, putting in brick takes a lot of work and cash, making it pricier than some options.
Think about your budget, the look you want, and how much upkeep you’re up for. Each wall finishing option has its own set of pros and cons. Take your time to pick what’s best for your basement’s needs and your own style.

Prepare and Protect the Walls
Before you start on your basement walls, it’s key to get them ready and safe. First, you need to clean the walls. Get rid of dirt, dust, and old paint. A clean surface makes sure finishing materials stick well. This gives a smooth, professional finish. Try using a top-notch product like DRYLOK Concrete and Masonry Liquid Etch & Cleaner. It’s great for preparing masonry, stone, tile, and brick surfaces.
Next up, you have to fix any cracks in the walls. Cracks might mean there are bigger issues. If not fixed, they can let water in and damage the structure. For big cracks, use a product like DRYLOK Fast Plug. It seals cracks in 3 to 5 minutes, making repairs last.
Don’t ignore small and hairline cracks, though. They might look minor but can still let moisture in. This can cause problems. A good solution is DRYLOK Masonry Crack Filler. It helps bond concrete to any paint or waterproofing you apply.
Another step in readying basement walls is to deal with efflorescence. This is a white, powdery stuff from salt deposits on masonry surfaces. It makes walls look bad and might mean there’s moisture trouble. Use a product made to etch masonry surfaces and clear efflorescence.
For a dry, cozy basement, insulate and waterproof the walls. Insulating helps keep your energy bills down and your basement warm. Use insulation right for basements, like foam boards or spray foam. Install it right to keep the heat in. Also, use a waterproofing product like DRYLOK Original Concrete & Masonry Waterproofer. This ensures no water gets through.
Following these steps makes a strong base for your finished basement. Fixing cracks, cleaning, insulating, and waterproofing stops moisture, mold, and mildew. This makes a durable, cozy space to live in for years ahead.

Consider Layout, Budget, and Final Touches
When planning to finish your basement, think about the layout, budget, and final touches. Start with the layout. Consider electrical, plumbing, and HVAC. This helps integrate everything into the space.
Setting a budget is key to keep things on track. Look at the average cost to finish a basement in your area. This is usually $25 to $90 per square foot. Add an extra 10-15% for unexpected expenses.
Getting permits and inspections is your next step. This makes sure your basement renovation is safe and legal.
Adding natural light is important too. Think about putting in egress windows and using light colors. Also, adding storage, cabinets, and countertops makes the space more functional.
For finishing touches, pick paint colors that fit your look. Choose durable flooring like carpet or laminate for basements. Adding trims and lighting makes the place welcoming. By focusing on layout, budget, and final touches, you’ll make your basement great.

