
5 Tips for Space-Saving Basement Storage Ideas
Basements often suffer from an identity crisis. For many homeowners, this subterranean space becomes the default dumping ground for holiday decorations, outgrown clothes, and furniture that doesn’t quite fit upstairs. The result is usually a cluttered maze that feels shrinking and unusable, rather than the asset it should be.
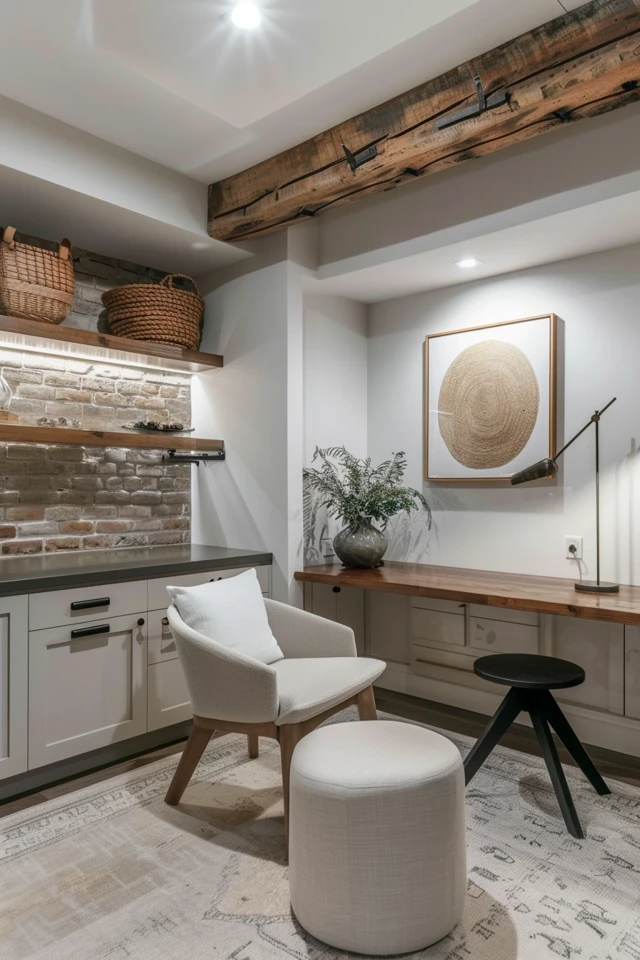
However, with the right strategy, your basement can double your home’s functional square footage. The secret lies not just in buying more boxes, but in understanding the architectural constraints of the space—such as low ceilings, ductwork, and moisture levels—and working with them. To see visual examples of how these strategies come together, be sure to check out the Picture Gallery at the end of this blog post.
I have designed countless basements where the primary goal was simply “make it all fit without looking messy.” Whether you are finishing a basement for a playroom or just trying to organize an unfinished utility zone, the principles remain the same. We need to maximize density while maintaining accessibility.
1. Maximize Verticality with Industrial-Style Shelving
The biggest mistake homeowners make in basements is spreading storage out horizontally. This eats up your floor plan and leaves no room for anything else. The golden rule of storage design is to go up, not out.
In an unfinished or semi-finished basement, I almost exclusively recommend heavy-duty, adjustable metal shelving units. Unlike bulky wooden cabinets, wire shelving allows for airflow, which is critical in preventing mildew. It also allows light to filter through, keeping the space from feeling like a dark cave.
When selecting shelving, aim for units that are at least 72 to 84 inches tall. You want to utilize the space right up to the ceiling or floor joists. However, keep safety in mind regarding fire sprinklers; code generally requires 18 inches of clearance below a sprinkler head.
Designer’s Note: The Depth Rule
A common error is buying shelves that are too deep. Deeper is not always better.
- Avoid: 24-inch deep shelves for general storage. Things get lost in the back, and you end up buying duplicates of items you can’t see.
- Prefer: 12-inch to 16-inch deep shelves. This depth fits standard bins perfectly and ensures you can see everything at a glance.
Common Mistakes + Fixes
Mistake: Placing heavy items on top shelves.
Fix: Use the “Pyramid Principle” of weight distribution.
- Bottom Shelf: Heavy items like paint cans, power tools, or boxes of books.
- Middle Shelves: Items you access frequently, like pantry overflow or cleaning supplies.
- Top Shelf: Lightweight, bulky items like empty coolers, paper towels, or sleeping bags.
2. reclaim the “Dead Space” Under the Stairs
If you look at the floor plan of any multi-story home, the area beneath the staircase is often a black hole. In basements, this space is frequently left open and becomes a magnet for chaotic clutter.
From a design perspective, this is prime real estate. The challenge is the awkward slope of the ceiling. You have two main routes here: a custom built-in approach or a modular DIY approach.
If you are renting or on a strict budget, use graduated storage. Place your tallest storage unit at the highest point of the stairs, and step down with shorter units or stackable drawers as the ceiling slopes lower. This mimics a custom look without the carpentry bill.
What I’d Do in a Real Project
If the budget allows for renovation, I design pull-out drawers rather than standard cabinets.
- Why drawers? Deep cabinets under stairs are notorious for swallowing items. You have to crawl on your hands and knees to reach the back.
- The Solution: heavy-duty drawer slides (rated for 100+ lbs) attached to tall, vertical drawer fronts. When you pull the handle, the entire storage cavity rolls out to you. This is perfect for storing oddly shaped items like wrapping paper, vacuums, or seasonal coats.
Checklist for Under-Stair Storage
- Measure the slope: Determine the height at the front and the back of the space.
- Check for mechanicals: Often, builders hide sump pumps or cleanouts under stairs. Ensure your storage solution is removable if a plumber needs access.
- Lighting: Install a battery-operated motion-sensor LED light inside. Under-stair spaces are notoriously dark, and you won’t find what you need without illumination.
3. Implement a Moisture-Proof Containment System
Basements are inherently different from the rest of the house due to physics. They are surrounded by soil, which keeps them cooler and often damper. Even a “dry” basement has higher relative humidity than the second floor.
As a designer, I strictly forbid cardboard boxes for long-term basement storage. Cardboard is organic material; it absorbs moisture, softens over time, and is a food source for silverfish and mold. If a pipe bursts or the water heater leaks, cardboard offers zero protection.
You must switch to clear, plastic, latching bins. The “clear” part is vital for visual inventory. The “latching” part is vital for keeping out dust and pests.
Designer’s Note: The Airflow Gap
Never push storage bins or furniture directly against a concrete foundation wall.
- The Science: Concrete is porous. Moisture migrates through it. If you trap that moisture against a box or a sofa, mold will grow.
- The Rule: Leave a 2-inch to 3-inch gap between your shelving units and the exterior basement walls. This allows air to circulate and keeps the wall temperature regulated.
Categorizing Your Bins
To keep the space usable, use a consistent sizing system. I recommend buying bins from a standard line at a major retailer so they stack securely. Mixing brands usually results in unstable stacks that tip over.
- Small Bins (Shoe size): Hardware, batteries, lightbulbs.
- Medium Bins (18-20 quart): Pantry items, documents, small toys.
- Large Bins (60+ quart): Seasonal clothing, holiday decor, camping gear.
4. Leverage Ceiling Joists for Seasonal Items
When floor space is at a premium, look up. In unfinished basements with exposed joists, you have a built-in grid system waiting to be used. Even in finished basements, overhead racks can be installed over garage doors or utility areas.
This strategy is best for items you only need once a year, such as Christmas trees, Halloween skeletons, or camping tents. It gets these bulky items off the floor, freeing up corners for everyday use.
You can purchase pre-made overhead storage racks that bolt into the ceiling joists. These are generally adjustable in height. If you have an unfinished ceiling, you can build simple “T” tracks using 2x4s and plywood to slide bins in between the joists.
Safety and Structural Considerations
Before hanging anything from your ceiling, you must verify the structure.
- Joist Direction: Storage racks are strongest when they span across multiple joists, rather than running parallel to one.
- Weight Limits: A standard 2×10 floor joist can handle extra weight, but don’t go crazy. Limit overhead loads to 50-75 lbs per section to avoid sagging floors upstairs.
- Obstructions: Watch out for copper pipes, PVC drains, and electrical wiring running through or below the joists. Never attach storage hardware to these utility lines.
Common Mistakes + Fixes
Mistake: Installing racks too low.
Fix: Maintain head clearance.
- If the rack is in a walkway, the bottom of the rack should be at least 80 inches off the floor.
- If the rack is over a workspace or other storage, you can go lower, but ensure you don’t block the light source.
5. Establish Zones to Create a “Shoppable” Pantry
The difference between a hoard and a storage room is zoning. When I organize a client’s basement, I treat it like a grocery store. You wouldn’t expect to find the milk next to the automotive supplies, so why do you store your winter coats next to the paint cans?
Zoning saves you time. When you need a screwdriver, you should know exactly which “aisle” to walk down. Without zones, you will inevitably buy a duplicate item because you couldn’t find the original.
The 4 Essential Basement Zones
- The Consumables Zone (The Pantry): Keep this near the stairs. This is for paper towels, bulk toilet paper, and extra beverages. It has the highest turnover rate, so it needs to be the most accessible.
- The Archive Zone: This can be in the back. This is for tax documents (7+ years old), baby keepsakes, and old yearbooks. You rarely touch these.
- The Seasonal Zone: Holiday decor and seasonal sports gear. This requires large, deep shelving.
- The Utility/Repair Zone: Leftover paint, tools, spare tiles, and lightbulbs. Keep this near the workbench or utility sink if you have one.
What I’d Do in a Real Project
I always designate a “Donation Station” zone near the exit or the stairs.
- The Concept: Clutter accumulates because we delay decisions. We find an old toy and think, “I should donate that,” but we don’t want to drive to the charity shop right now.
- The Fix: Keep one large, empty bin or heavy-duty bag labeled “DONATE.” When you come across an item you no longer need, it goes there immediately. When the bin is full, take it to your car. This keeps the inventory self-cleaning.
Final Checklist: Your Basement Transformation Plan
Ready to tackle the basement? Don’t just start throwing things in boxes. Follow this designer-approved workflow to ensure the space functions well for years to come.
- 1. The Purge: Be ruthless. If it is broken, toss it. If you haven’t used it in 2 years, donate it. You cannot organize clutter.
- 2. Moisture Check: Run a dehumidifier for a week. Buy a hygrometer (they are cheap) to monitor humidity. Aim for 30-50%.
- 3. Map the Zones: Use painter’s tape on the floor to mark where shelves will go. Ensure you have 36-inch walkways between units.
- 4. Buy Uniform Bins: Purchase 10-20 of the same clear, latching bin. Uniformity stacks better and looks cleaner.
- 5. Install Vertical Shelving: Anchor units to the wall for safety. Adjust shelf heights to fit your specific bins.
- 6. Label Everything: Use a label maker or large index cards. Label both the front and the side of every bin.
FAQs
What is the best way to store paint in the basement?
Paint creates a specific challenge because it can separate or rust. Ideally, store paint cans upside down or well-sealed to prevent air from entering. However, check your basement temperature. If your basement gets near freezing in the winter, the paint will be ruined. Keep paint cans on bottom shelves in plastic trays to catch any potential leaks, preventing damage to the floor.
How do I handle storage in a basement with very low ceilings (under 7 feet)?
With low ceilings, tall shelving units might feel claustrophobic or simply won’t fit. Switch to “credenza height” storage (about 30-36 inches high). Run long rows of lower shelving along the perimeter. This keeps the visual line open and makes the room feel wider. You can also utilize the space between floor joists for small items to gain a few extra inches.
Is it safe to store clothes in the basement?
It is safe only if you take precautions against moisture and pests. Never hang clothes in garment bags directly against a basement wall. Use airtight plastic bins or vacuum-seal bags placed inside plastic bins. I recommend throwing a silica gel packet or a cedar block into each bin to absorb residual moisture and deter moths.
Conclusion
Transforming your basement from a chaotic storage dump into an organized, functional space is one of the most rewarding home improvement projects you can tackle. It doesn’t require knocking down walls or spending a fortune on contractors. By respecting the environment of the basement—managing moisture, maximizing vertical space, and zoning your belongings—you gain control over your stuff rather than letting it control you.
Start with one corner or one zone. The peace of mind you get from knowing exactly where your holiday lights or emergency batteries are is worth the weekend of effort.
Picture Gallery


