
Adding A Shower To A Powder Room: Bathroom Upgrade
Converting a half-bath into a three-quarter bath is one of the most strategic home improvements you can make. It instantly increases the functionality of your floor plan, especially if you host guests frequently or have an aging relative moving in. However, squeezing a shower into a space originally designed for just a toilet and a sink requires precise planning.
This project is a game of inches where every decision impacts comfort and code compliance. You are moving from a “dry” room to a “wet” environment, which introduces significant waterproofing and ventilation challenges. It is not just about fitting fixtures into a box; it is about ensuring a human can move comfortably within that space.
We will explore the layout logic, plumbing realities, and visual tricks required to make this renovation successful. For visual inspiration on compact layouts, you can view our curated Picture Gallery at the end of this blog post.
Assessing Feasibility and Space Planning
Before you buy a single tile, you must determine if your powder room physically accommodates a shower. A standard powder room might be as small as 3 feet by 5 feet. To add a functional shower, you usually need to steal space from an adjacent closet or hallway, or you need a highly creative wet-room layout.
The International Residential Code (IRC) generally requires a shower interior to be at least 900 square inches (30 inches by 30 inches). However, as a designer, I strongly advise against a 30-inch shower unless it is absolutely the only option. It feels claustrophobic and makes washing your hair difficult without bumping your elbows.
Aim for a minimum shower footprint of 32 inches by 32 inches, with 36 inches being the comfortable ideal. You also need to maintain 21 inches of clear walking space in front of the toilet and the sink. If your current door swings into the room and hits these clearance zones, the door is the first thing that needs to change.
Designer’s Note: The Elbow Test
In my projects, I use what I call the “Elbow Test.” Tape out the proposed shower dimensions on the floor of your current bathroom. Stand in the square and pretend to wash your hair with your elbows out. If you step over the tape lines, the shower is too small for daily use. If you cannot expand the wall, consider a “wet room” approach where the shower floor is continuous with the bathroom floor.
Layout Configurations for Small Spaces
When square footage is tight, standard layouts rarely work. You have to manipulate the geometry of the room. The most common solution for powder room conversions is the corner shower setup, often utilizing a neo-angle pan. This clips the corner of the shower, giving you back valuable floor space for traffic flow.
Another effective layout is the “galley” wet room. In this scenario, you place the toilet and sink on one wall and the shower controls on the opposite wall, with a linear drain. The entire floor is tiled and waterproofed. This eliminates the need for a bulky shower curb or a swinging glass door that takes up air space.
Pay close attention to the vanity depth. Standard vanities are 21 inches deep. In a converted powder room, I almost always spec a “spacesaver” vanity that is 18 inches or even 13 inches deep. You can also mount the faucet on the wall rather than the deck of the sink to save another 2 to 3 inches of counter depth.
Common Mistakes + Fixes
Mistake: Keeping a standard swing door.
The Fix: Install a pocket door or a barn door. A standard door swings into the room, eating up about 9 square feet of usable space. A pocket door disappears into the wall, keeping the interior clear for fixtures.
Mistake: Ignoring the toilet waste line location.
The Fix: The toilet is the hardest item to move because of the 3-inch or 4-inch waste stack. Plan your shower location around the existing toilet position to save thousands on slab work or joist modification.
Plumbing and Infrastructure Realities
Adding a shower involves more than just running new water lines. The drain is the biggest hurdle. A shower requires a 2-inch drain pipe, whereas many older tubs only used 1.5-inch drains. You cannot simply tap into the sink drain because it is likely too small and not vented correctly for the volume of water a shower produces.
If your powder room is on a concrete slab, this means jackhammering the floor to run the new waste line. If you are on a raised foundation with a crawlspace, the job is significantly easier and cheaper. You also need to verify your water heater capacity. Adding a shower adds load; if you have a small tankless unit or an old 40-gallon tank, you may get lukewarm showers.
Ventilation is non-negotiable. Powder rooms often lack exhaust fans because they have a window, or they have weak fans. A shower introduces massive amounts of humidity. You must install a high-CFM exhaust fan (at least 80-110 CFM) vented to the exterior, not the attic, to prevent mold growth in such a small, enclosed space.
Materials and Finishes for Durability
In a small bathroom with a shower, water goes everywhere. You need materials that can withstand high humidity and frequent splashing. I recommend floor-to-ceiling tile in the shower area, and ideally, wainscoting or tile up to 48 inches high on the rest of the walls.
For the floor, avoid large polished tiles. They are slippery when wet and difficult to slope toward a drain in a small area. Use mosaic tiles or smaller format tiles (like 2-inch hex) for the shower floor. The extra grout lines provide necessary traction for your feet.
For the walls, large-format porcelain tiles are excellent because they minimize grout lines, making the space feel less cluttered and easier to clean. If you use natural stone, ensure it is sealed rigorously. In a tiny steam-filled room, porous stone like marble can absorb moisture and discolor over time if not maintained.
A Note on Waterproofing
Do not rely on cement board alone. For these conversions, I insist on a bonded waterproofing membrane system (like Schluter-Kerdi or equivalent) behind the tile. Because the room is small, moisture density is high. A proper membrane ensures that steam does not penetrate the wall cavity, protecting your framing from rot.
Visual Tricks to Maximize Space
Once the layout and plumbing are solved, you need to make the room feel larger than it is. The eye perceives space based on how much floor area it can see. Therefore, wall-mounted fixtures are your best friend.
A floating vanity exposes the floor underneath, tricking the eye into thinking the room is wider. Similarly, a wall-hung toilet creates a sleek, modern look and saves about 10 to 12 inches of depth compared to a standard round-front toilet. This can be the difference between meeting code clearance and failing inspection.
Use clear, frameless glass for the shower enclosure. Textured or frosted glass creates a visual barrier that shrinks the room. Clear glass allows the eye to travel all the way to the back wall. If privacy is a concern, use a frosted strip at the torso level, but keep the top and bottom clear.
Lighting Strategy
A single overhead light creates shadows and makes small rooms feel like caves. Layer your lighting.
- Recessed Cans: Use one or two wet-rated recessed lights inside the shower.
- Sconces: Place sconces at eye level (roughly 60 to 66 inches from the floor) on either side of the mirror to reduce shadows on the face.
- Color Temperature: Stick to 2700K or 3000K LED bulbs. Anything cooler (4000K+) will look clinical and harsh in a small space.
“What I’d Do in a Real Project” Final Checklist
If I were managing this renovation for a client, this is the exact order of operations and logic I would follow to ensure success.
1. The Feasibility Phase
- Check the subfloor type (slab vs. raised) to estimate plumbing costs.
- Locate the main sewer stack to see how far the new shower drain must travel.
- Measure the existing door width. If it is 24 inches, I plan to widen it to 28 or 30 inches if possible for better access.
2. The Selection Phase
- Choose a compact, elongated toilet. It offers the comfort of an elongated bowl but with a shorter depth profile.
- Select a vanity with a light visual weight (legs or floating).
- Choose a shower valve with the handle and showerhead on the same wall to simplify plumbing runs.
3. The Rough-In Phase
- Verify the shower valve depth before tiling. This is a common error that leads to trim not fitting.
- Install backing (wood blocking) in the walls where towel bars and the toilet paper holder will go. You do not want to rely on drywall anchors.
- Place the niche. Avoid exterior walls for niches if you live in a cold climate, as it removes insulation.
4. The Finish Phase
- Install the toilet last. It is fragile and gets in the way of painting and vanity installation.
- Caulk the base of the toilet but leave a small gap at the back. This allows you to detect a wax ring leak before it rots the floor.
- Use a solid surface threshold for the shower curb if not doing a curbless design. It is more durable than a tiled curb.
FAQs
Does adding a shower to a powder room add value?
Yes, generally speaking. Converting a half-bath to a three-quarter bath (shower, no tub) increases home value, particularly in homes with 3 or more bedrooms. It essentially adds a second functional bathroom, which is a major selling point for families.
How much does it cost to add a shower to a half bath?
Costs vary wildly by region and finish level, but generally, you should budget between $5,000 and $15,000. If you are on a concrete slab requiring trenching, or if you need to move walls, the cost will be on the higher end.
Can I install a 30-inch shower?
Technically, yes, many building codes allow a minimum dimension of 30 inches by 30 inches. However, it is very tight. I only recommend this if it is a guest bath used infrequently. For daily use, try to get at least 32 inches or 36 inches in one direction.
Do I need a permit for this upgrade?
Yes. You are adding new plumbing lines, altering the drainage load, and likely touching electrical circuits. Unpermitted bathroom additions can cause major headaches when you try to sell the home, and insurance may deny claims related to leaks from unpermitted work.
What is the best door for a small bathroom shower?
A bi-fold glass door or a sliding door is best. Pivot doors require swing space that small bathrooms often lack. A sliding mechanism or a bi-fold that collapses inward keeps the water inside without demanding floor space.
Conclusion
Adding a shower to a powder room is a high-impact project that requires a shift in perspective. You are not just adding a fixture; you are re-engineering the flow of a small room. By prioritizing clearance, investing in proper waterproofing, and using visual tricks like floating vanities and glass enclosures, you can create a space that feels intentional rather than cramped.
Focus on the infrastructure first. No amount of beautiful tile will compensate for a shower that doesn’t drain well or a ventilation system that can’t handle the steam. Plan for the constraints, respect the code requirements, and you will gain a bathroom that serves your family and guests for years to come.
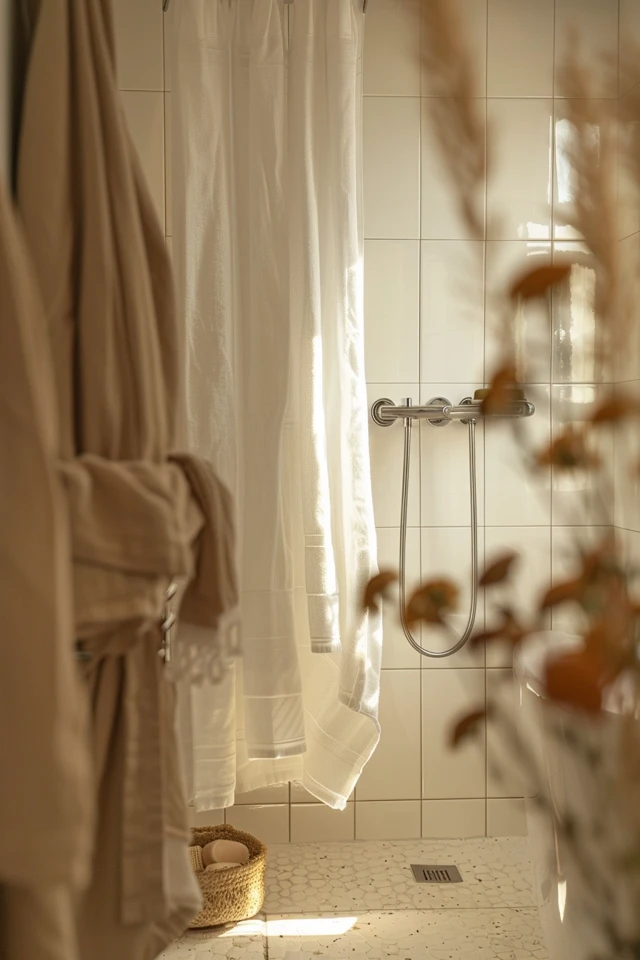
Picture Gallery


