
Brewing Creativity with My Tea Station Ideas
There is something inherently grounding about the ritual of brewing tea, a quiet pause that demands we slow down even on the most chaotic mornings. As an interior designer, I often find that clients prioritize coffee bars, but a dedicated tea station requires a completely different approach to layout and storage. It is not just about placing a kettle on a counter; it is about creating a functional pocket of tranquility that accounts for steam, specific storage needs, and water access.
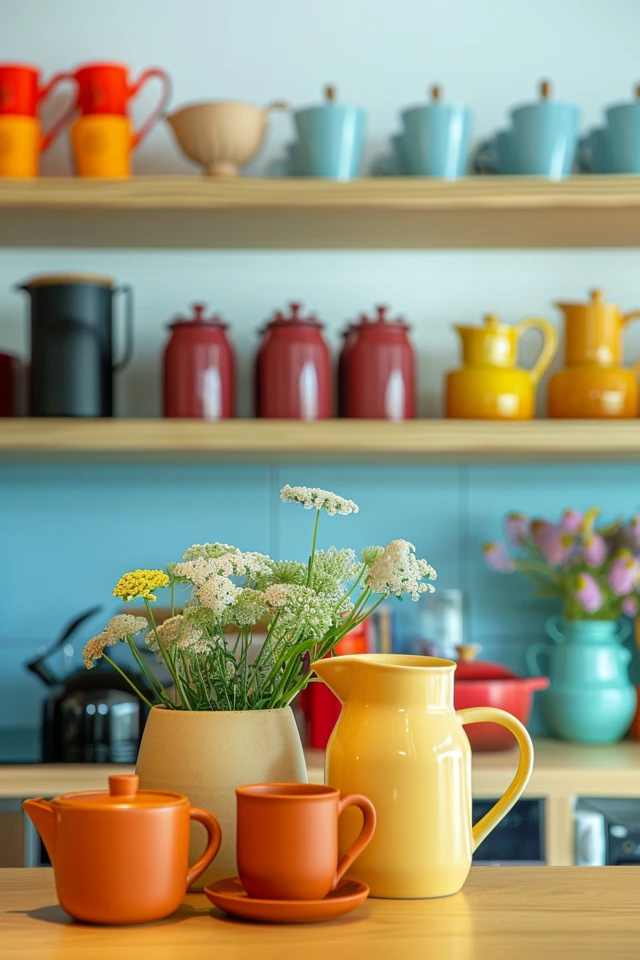
I remember designing a kitchen for a client who was an avid collector of loose-leaf blends, and we realized too late that her favorite cast iron teapots were too heavy for the floating shelves she initially wanted. That experience taught me that structural planning is just as vital as aesthetics when curating these spaces. If you are looking for visual inspiration to guide your own layout, be sure to check out the Picture Gallery at the end of the blog post.
Whether you are working with a sprawling butler’s pantry or a tight corner in a rental apartment, the principles of a great tea station remain the same. We need to marry the mechanical requirements of boiling water with the tactile pleasure of selecting a mug and a blend. Let’s dive into the specifics of spacing, electrical planning, and material selection to create a spot that serves you well for years.
1. Location and Flow: The “Tea Triangle”
In kitchen design, we often talk about the “work triangle,” but a tea station has its own micro-flow that I call the Tea Triangle: the water source, the heating element, and the storage. If these three things are more than an arm’s reach apart, the process becomes tedious.
Ideally, your station should be located outside the main cooking zone so that someone brewing a cup doesn’t interfere with the chef at the stove. A perimeter countertop, a section of a butler’s pantry, or even a dedicated furniture piece in the dining room works best.
If you are renovating, I always recommend placing the tea station near a prep sink or installing a pot filler nearby. Walking across the kitchen with a full kettle adds unnecessary friction to the experience.
Measuring for Clearances
One of the most common issues I see is a lack of vertical clearance. Most standard upper cabinets are hung 18 inches above the countertop.
However, high-end electric kettles and coffee makers often release steam that can damage the finish of the cabinets above over time. If you use a tall brewing system, consider a clearance of 21 to 24 inches for this specific section, or use open shelving instead of cabinetry to allow steam to dissipate.
Designer’s Note: The Steam Factor
I once designed a coffee and tea bar with beautiful walnut upper cabinets. Within a year, the finish directly above the high-output kettle began to haze and peel due to the constant steam exposure.
The Fix: If you must have cabinets directly above your kettle, install a metal heat shield underneath the cabinet box, or simply pull the kettle forward to the front edge of the counter every time you boil water.
2. Storage Logic: Canisters, Drawers, and Depth
Tea storage is deceptively complex because packaging varies wildly, from bulky boxes of bags to small tins of matcha. To maintain a clean look, I almost always recommend decanting loose-leaf tea into uniform airtight containers.
For tea bags, shallow drawers are your best friend. A standard kitchen drawer is usually 3 to 4 inches deep, which is perfect for laying out tea packets flat so you can read the labels.
If you are designing custom cabinetry or retrofitting an existing drawer, use adjustable dividers. I usually specify acrylic or bamboo dividers that can slide to accommodate changing box sizes.
The Rule of Shelf Depth
If you prefer open shelving above the station for your mugs and canisters, be mindful of depth. Standard kitchen upper cabinets are 12 inches deep, but for open shelves holding mugs, that can feel too deep and cavernous.
I prefer specifying shelves that are 8 to 10 inches deep. This depth allows you to line up mugs without double-stacking them, which makes grabbing one easier and prevents chipping.
Renter-Friendly Modifications
If you cannot install new cabinets, look for a “baker’s rack” or a freestanding sideboard. Ensure the unit has a heat-resistant surface.
You can use a tiered tray to create vertical storage on the countertop. This mimics the function of shelves without putting holes in the wall.
3. Material Selection: Durability Meets Heat
Tea stations see a lot of moisture, heat, and potential staining. Tannins in black tea can leave stubborn rings on porous surfaces within minutes.
Natural Stone vs. Engineered Surfaces:
- Marble: While beautiful, marble is soft and porous. A splash of hot black tea can etch the surface or leave a stain if not wiped immediately. I generally advise against marble for high-use beverage stations unless the client accepts the patina.
- Quartz: This is my top recommendation. It is non-porous, highly resistant to heat (though you should still use a trivet for cast iron pots), and handles spills effortlessly.
- Wood: A butcher block tea station adds warmth, but it requires maintenance. You must seal it regularly to prevent water damage from minor splashes.
Protecting the Surface
Regardless of the countertop material, I always style a tea station with a large tray. This acts as a designated “spill zone.”
A stone, ceramic, or metal tray creates a barrier between your hot kettle and the countertop. It also helps visually corral the kettle, spoons, and sugar bowl so they don’t look like clutter.
4. Electrical Planning and Water Access
If you are in the construction phase, the electrical plan is critical. High-speed electric kettles draw a significant amount of power, often around 1500 watts.
Ensure that the circuit serving your tea station can handle the load, especially if you plan to run a toaster or microwave on the same circuit simultaneously. I have seen many breakers trip during breakfast because the kettle and toaster were on the same loop.
The Luxury of Instant Hot Water
For high-end residential projects, I often specify an under-sink hot water tank with a dedicated dispenser tap. This eliminates the need for a countertop kettle entirely.
These systems provide near-boiling water instantly. If you go this route, ensure your sink is deep enough to accommodate a tall teapot under the spout.
Cord Management
Nothing ruins the look of a serene tea station like a tangle of black power cords.
What I’d do in a real project:
- Outlet Placement: Install outlets horizontally in the backsplash or use plug molding hidden under the upper cabinets.
- Appliance Garages: If budget allows, an “appliance garage” with retractable doors lets you keep the kettle plugged in but hidden when not in use.
- DIY Fix: Use cord clips to run the cable along the back of the machine or behind a canister to keep it tight against the wall.
5. Lighting the Experience
Lighting is often an afterthought, but for a tea station, it serves two purposes: task lighting for measuring loose leaf, and mood lighting for the ritual.
Under-cabinet lighting is non-negotiable in my designs. LED tape lights are easy to install and provide shadow-free illumination on the work surface.
Color Temperature Matters
Stick to a color temperature between 2700K and 3000K. This is a warm white light that mimics the cozy feeling of a tea shop.
Anything higher than 3500K will look blue and sterile, which kills the relaxing vibe we are trying to create.
Common Mistakes + Fixes
Mistake: Relying solely on overhead recessed cans.
Fix: This creates shadows while you are leaning over to pour water. Add a small table lamp if you have the counter space, or a wall sconce if you have the wiring, to add a layer of ambient light at eye level.
Final Checklist: Designing Your Station
Before you start buying canisters or knocking down walls, run through this mental checklist to ensure you have covered the functional bases.
- Power: Is there an accessible outlet that doesn’t require an extension cord?
- Water: How far is the nearest sink? If it’s across the room, do you have a pitcher for filling the kettle?
- Waste: Where will the wet tea bags or used leaves go? A small countertop compost bin is often necessary.
- clearance: Is there at least 18 inches of height for steam to escape?
- Surface: Is the countertop material resistant to heat and tannin stains?
- Organization: Have you measured your drawer depth or shelf height against your actual mugs and tea boxes?
Frequently Asked Questions
How do I organize a tea station in a small kitchen?
Go vertical. Use a wall-mounted rail system with S-hooks to hang mugs. Use magnetic spice tins on the side of the fridge to store loose-leaf tea. This keeps the limited counter space free for just the kettle.
What is the best way to keep tea fresh on display?
Light, air, and moisture are the enemies of tea. If you display tea on open shelves, use opaque canisters (ceramic or tin) rather than clear glass. If you love the look of glass jars, keep them inside a cabinet or in a spot that receives no direct sunlight.
Can I put a tea station in a living room?
Absolutely. This is a very “boutique hotel” approach. You will just need a stable console table and access to an outlet. Since you won’t have a sink nearby, use a high-quality tray to catch drips and keep a carafe of water handy for refilling the kettle.
How do I prevent water rings on wood furniture?
If you are using a wooden sideboard, never place the kettle directly on the wood. Use a large stone or metal tray, and ensure all coasters have cork or felt backings. I also recommend a wipeable mat inside the drawers if you are storing spoons or strainers that might still be damp.
Conclusion
Creating a dedicated tea station is a design choice that prioritizes well-being. It transforms a mundane daily task into a deliberate ritual. Whether you are remodeling a full kitchen or simply rearranging a corner of your counter, the key lies in respecting the workflow.
By focusing on durable materials, appropriate vertical clearances, and logical storage solutions, you can build a space that is as practical as it is beautiful. Remember that the best design supports your habits rather than complicating them. Start with the basics of the “Tea Triangle,” protect your surfaces, and then layer in the personality with your favorite mugs and blends.
Picture Gallery


