
Co-Sleeping Bedroom Ideas for Family Bonding
Designing a bedroom for co-sleeping requires a shift in perspective. You are moving away from a traditional “master suite” setup toward a functional, safe, and comforting family hub.
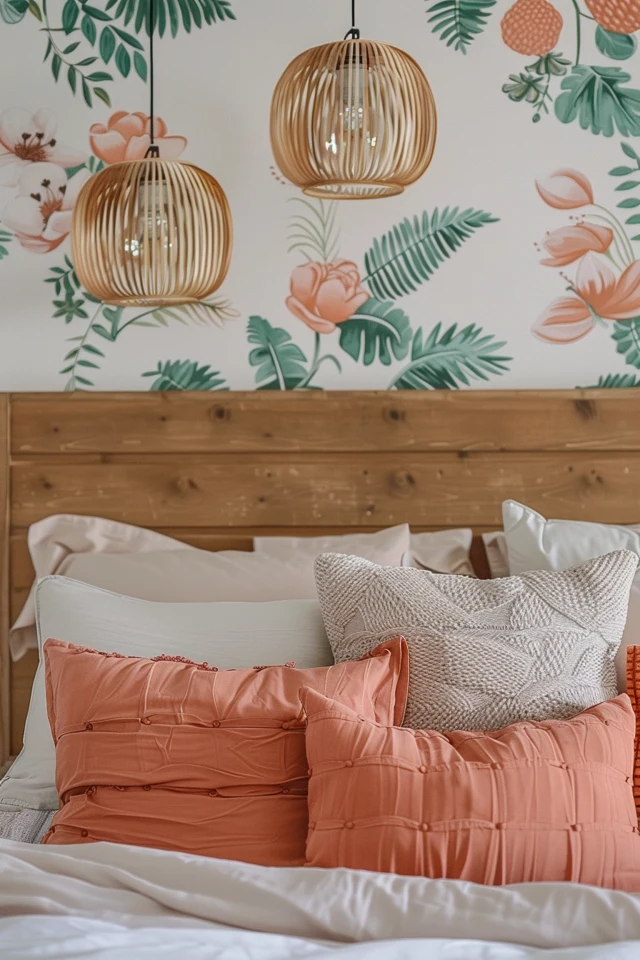
If you are looking for visual inspiration, you can skip the reading and jump to the Picture Gallery at the end of the blog post.
At-a-Glance: Key Takeaways
- Safety First: The mattress placement and firmness are the foundation of the design; aesthetics must follow safety guidelines regarding gaps and entrapment risks.
- Flow and Clearance: You need wider walkways than usual to accommodate groggy parents and active toddlers moving in the dark.
- Lighting Layers: Install dimmable, amber-hued lighting at low levels to handle nighttime needs without waking the whole family.
- Textile Durability: Choose performance fabrics and high-quality natural fibers that can withstand frequent washing and repel stains.
- Acoustics Matter: With more people in the room, sound dampening through rugs and heavy drapery becomes essential for sleep hygiene.
What This Style Means (and Who It’s For)
The co-sleeping aesthetic is often misunderstood as simply shoving a crib next to a bed or letting a toddler take over the pillows. From a design perspective, a true co-sleeping room is an intentional sanctuary. It is a space engineered to maximize sleep for everyone while fostering a deep sense of security and connection.
This style is for new parents navigating the fourth trimester, as well as families who practice long-term attachment parenting. It is for people who refuse to sacrifice visual calm for functionality. You want a room that feels like a retreat, not a daycare center, even though it serves the needs of children.
The Signature Look: Ingredients That Make It Work
To achieve a cohesive look that doesn’t feel cluttered, you need to rely on a specific palette of materials and furniture styles. The goal is “soft minimalism.” We want to reduce visual noise because the bed itself will likely be messy.
Low-Profile Furniture
In a co-sleeping setup, the bed is the stage. I almost always recommend low-profile platform beds or floor beds. This reduces the visual weight of a massive mattress and, more importantly, reduces injury risk if a child rolls out. Avoid high four-poster beds or frames with sharp metal corners.
Breathable, Natural Textiles
Temperature regulation is the biggest hidden challenge in co-sleeping. More bodies equal more heat. I exclusively specify linen or crisp percale cotton sheets for these projects. You want layers that breathe. Visually, this creates a relaxed, organic look that wrinkles gracefully rather than looking messy.
Softened Edges
Every hard surface in the room should have a rounded edge or be upholstered. Look for ottomans instead of wood coffee tables, and upholstered headboards rather than iron or raw wood. This softens the acoustic quality of the room and makes it toddler-safe.
Layout & Proportions (Designer Rules of Thumb)
This is where most DIY family bedrooms fail. You cannot simply squeeze a larger bed into a standard room without adjusting the layout logic.
The Walkway Rule
In a standard bedroom, I allow for a 30-inch walkway. In a co-sleeping room, I push for a minimum of 36 inches, ideally 42 inches, on the primary exit side. You may be carrying a child, or two people might be moving at once. If you crowd the room with dressers, you create a tripping hazard.
The “Mega Bed” Logic
If you are combining mattresses (like a Queen and a Twin, or two XL Twins to make a King), you must account for the total footprint. A standard King is 76 inches wide. A “Family Bed” (often two Queens or a custom mattress) can be 120 inches wide.
Designer’s Note: When planning a mega-bed layout, measure your wall length and subtract the bed width. If you have less than 24 inches remaining on either side, you must ditch traditional nightstands.
Floating Elements
When floor space is dominated by the bed, you need to lift everything else up. Wall-mounted sconces save nightstand space. Floating shelves replace bulky bedside tables. This keeps the floor clear for rugs and creates a sense of airiness even in a crowded room.
Step-by-Step: How to Recreate This Look
Step 1: Determine the Bed Configuration
Start with the mattress. Are you buying a specific co-sleeping mattress (extra wide)? Are you side-carring a crib? Or are you pushing two beds together?
If pushing beds together, you need a “bed bridge” connector and a heavy-duty strap to lock the frames together. This prevents the dangerous gap that can form between mattresses.
Step 2: Anchor the Furniture
Before you style, you must secure the room. Every dresser, bookshelf, and heavy mirror must be anchored to the stud. In a co-sleeping room, the parents are often asleep while the child is awake and exploring. This is non-negotiable.
Step 3: Dial in the Lighting Plan
Overhead lights are the enemy of co-sleeping. You need three specific light sources:
- Task Light: A directed reading light for parents (narrow beam so it doesn’t spill onto the sleeping child).
- Ambient Glow: A dimmable lamp with a warm bulb (2700K or lower) for winding down.
- Night Navigation: A motion-sensor nightlight near the door, set to the dimmest setting.
Step 4: Layer the Rugs
Sound dampening is critical. If you have hard floors, you need a large area rug.
For a King bed, you typically need an 8×10 or 9×12 rug. For a family bed setup (10+ feet wide), you may need two rugs placed side-by-side or a custom-cut carpet. Ensure the rug extends at least 24 inches beyond the foot of the bed for a soft landing.
Budget Breakdown: Low / Mid / Splurge
Low Budget ($500 – $1,000)
Focus on the “Side-Car” method.
- Bedding: Use existing mattresses but invest in a high-quality connector kit ($50) to bridge gaps.
- Safety: Mesh bed rails for the exposed sides ($40/each).
- Decor: Use peel-and-stick wallpaper to create a visual zone behind the bed instead of buying a new headboard.
- Lighting: Swap standard bulbs for smart bulbs that can dim and change color via phone app ($15/each).
Mid Budget ($2,000 – $4,500)
Focus on cohesiveness and textiles.
- Furniture: Purchase matching low-profile platform frames for the main bed and the extension bed.
- Bedding: 100% French Linen duvet covers and sheets. Two sets minimum.
- Rugs: A large, high-pile wool rug for sound absorption.
- Window Treatments: Velvet blackout curtains with a dedicated track system.
Splurge ($8,000+)
Focus on custom fabrication.
- The Bed: A custom-made “Family Bed” mattress (10 to 12 feet wide) with a custom upholstered wall-to-wall headboard.
- Tech: Motorized blackout shades programmed to circadian rhythms.
- Storage: Built-in cabinetry that maximizes vertical space, removing the need for freestanding dressers.
Common Mistakes (and How to Fix Them)
Mistake 1: Ignoring Mattress Height
Parents often push a crib or toddler bed next to their bed, but the mattresses sit at different heights. This creates a ridge that disrupts connection and looks sloppy.
The Fix: Measure the height of your main mattress (including topper). Buy a simpler frame for the side bed that has adjustable legs, or build a simple plywood riser box to elevate the lower mattress to be perfectly flush.
Mistake 2: Overloading with Pillows
We see photos of beds with ten decorative pillows. In a co-sleeping bed, this is a suffocation hazard for infants and a nuisance for parents who have nowhere to put them at 2 AM.
The Fix: Stick to the essentials. Two sleeping pillows per adult, one lumbar pillow for back support during nursing/reading. Keep the bed surface clear.
Mistake 3: Using “Cold” Lighting
Using daylight (5000K) bulbs in bedside lamps signals the brain to wake up. This is disastrous when trying to settle a toddler back to sleep at 3 AM.
The Fix: Swap everything to 2700K (warm white) or specialized amber bulbs that do not emit blue light.
Mistake 4: Placing the Bed Against a Radiator or Draft
In the pursuit of fitting a huge bed, people often block heating vents or push the bed against a drafty window.
The Fix: If you must be near a window, invest in heavy, cellular shades that insulate. Use a deflector on forced-air vents to push air into the room rather than under the bed.
Room-by-Room Variations
The Small Apartment Bedroom
In a tight urban space, you likely cannot fit a King bed plus a side-car.
The Strategy: Go wall-to-wall. Push the main bed into the corner (ensure safety guidelines for entrapment are met, usually by using mesh guards or specific mattress fits). Use the closet for the dresser to free up floor space. Use wall-mounted sconces exclusively.
The Spacious Master Suite
Here, the risk is the room feeling empty or the bed looking like a raft in the ocean.
The Strategy: Zone the room. Use the massive bed as the anchor, but create a separate “parents’ retreat” corner with two armchairs and a small table. This reminds you that the room is still an adult space, even if the bed is shared.
The Converted Guest Room
If you are moving into a separate room to co-sleep (one parent stays in the main bedroom), this room creates a unique dynamic.
The Strategy: Treat it like a specialized nursery. Keep the decor playful but the furniture adult-sized. Use daybed styling with bolsters so the bed creates a lounge area during the day for play.
Finish & Styling Checklist
What I’d Do in a Real Project:
- Mattress Protector: I always specify a waterproof protector that does not crinkle. Look for polyurethane-backed cotton terry. It is silent but bulletproof against spills.
- Bed Frame: I check the legs. If they stick out past the mattress, I tape them or choose a different frame. Toe-stubbing is a major issue in dark rooms.
- Curtains: I install the curtain rod 6 inches below the ceiling (not right above the window) to make the room feel taller. I ensure the curtains “puddle” slightly or just kiss the floor to block light leaks at the bottom.
- Wall Paint: I use a scuff-resistant matte or eggshell finish. Flat paint is impossible to clean when little hands touch the walls.
- The “Dump Zone”: I place a beautiful woven basket near the door. This is for throw pillows, extra blankets, or toys that need to be cleared off the bed instantly.
FAQs
Is it safe to put a mattress directly on the floor?
From a design standpoint, yes, it looks grounded and chic (think Japanese style). However, you must lift it slightly on slats or a bunkie board. Mattresses placed directly on carpet or hardwood trap moisture underneath, leading to mold growth. You need airflow.
How do I make the room feel romantic with a giant family bed?
Focus on the senses. Use dimmer switches to drop lighting very low. Invest in high-end sheets that feel luxurious against the skin. Keep the clutter zeroed out. A clean, well-lit, good-smelling room is inviting, regardless of the bed size.
What rug size do I need for a Family Bed (10 feet wide)?
You will struggle to find a standard rug wide enough. A standard 9×12 will look skimpy. I recommend taping two 8×10 rugs together (using carpet tape underneath) or ordering a custom-bound piece of broadloom carpet. The rug should extend at least 18-24 inches on the sides.
How do I hide the “crack” between two mattresses?
Use a “bed bridge.” It is a T-shaped piece of foam that inserts between the mattresses. Cover this with a thick, quilted mattress pad that spans both beds. Finally, use a single, massive fitted sheet (you can order custom family-bed sheets online) to lock it all together.
Conclusion
Designing a co-sleeping bedroom is about embracing a season of life without surrendering your identity. It is entirely possible to create a space that supports safe, shared sleep while maintaining a polished, adult aesthetic.
By focusing on flow, lighting layers, and the right textiles, you turn a functional necessity into a cozy sanctuary. This is a room where memories are made, often in the quiet, early hours of the morning. Make it a place where you love to wake up.
Picture Gallery


