
Title: Creative Ceiling Fan Painting Ideas to Revamp Your Room
Introduction
Ceiling fans are often the unsung heroes of home comfort, yet they are frequently the villains of interior design. We have all walked into a room and immediately noticed a bulky, outdated fan that clashes with the rest of the decor. It is a common frustration, but replacing a perfectly functional unit just for aesthetics can feel wasteful and expensive.
I once worked with a client who had a beautiful mid-century modern living room ruined by a cheap, bright white plastic fan from the early 2000s. Instead of spending $600 on a new designer fixture, we spent a weekend and about $50 on supplies to completely transform it. The result was a custom piece that looked like distinct architectural hardware rather than an eyesore. For a dose of inspiration before you start, make sure to check out the Picture Gallery at the end of the blog post.
Painting your ceiling fan is one of the highest-impact DIY projects you can tackle on a budget. However, it requires more than just slapping on a coat of latex paint if you want it to look professional and last for years. In this guide, I will walk you through the design logic, the preparation, and the specific techniques required to turn a dated fan into a statement piece.
1. Preparation and Safety: The Foundation of a Durable Finish
Before we discuss colors or patterns, we must address the mechanics of the project. Painting a moving appliance is significantly different from painting a wall or a stationary piece of furniture. The rotational force and vibration of a fan mean that adhesion is everything.
If you skip proper cleaning and sanding, the paint will eventually flake off and create a dusty mess whenever you turn the fan on. Start by turning off the electricity to the room at the breaker box, not just the wall switch. Confirm the power is off using a non-contact voltage tester before you start dismantling anything.
You must remove the fan blades and the motor housing from the ceiling for the best results. While some tutorials suggest painting the motor housing while it hangs, I strongly advise against it. Gravity will cause drips, and you risk clogging the motor vents with spray paint, which is a fire hazard.
Designer’s Note: The “Grease” Factor
In kitchens and dining rooms, ceiling fans accumulate a layer of invisible grease and dust over time. Standard soap often pushes this grease around rather than removing it. I always use a TSP (Trisodium Phosphate) substitute cleaner to wipe down plastic and metal parts. If you paint over grease, the paint will bubble and peel within six months.
Once the fan is down and disassembled, categorize your parts. Group your screws, brackets, and pull chains into labeled bags so you do not lose them. Taking a photo of the wiring setup before disconnecting anything is a lifesaver during reassembly.
Preparation steps for blades:
- Clean thoroughly with a degreaser to remove dust and oils.
- Sand wood or composite blades with 220-grit sandpaper to rough up the existing finish.
- Sand plastic blades with a fine 320-grit sandpaper to help the primer bond.
- Wipe everything down with a tack cloth to ensure zero dust remains.
2. Design Strategies: Camouflage vs. Contrast
When deciding on a design, you generally have two strategic options: making the fan disappear or turning it into a focal point. This decision depends heavily on your ceiling height and the room’s visual clutter.
The Camouflage Technique
If your ceilings are standard 8-foot height or lower, a dark or contrasting fan can make the room feel shorter. In these spaces, I recommend painting the fan the exact color of the ceiling, usually flat white or a very soft cream. This reduces visual noise and keeps the eye drawn to your furniture and rugs rather than the hardware above.
When using this method, the finish matters. Ceilings are usually matte, so you should use a matte or satin finish on the fan. A high-gloss white fan against a flat white ceiling will still stand out because of the way it reflects light.
The Statement Piece
If you have vaulted ceilings or a room that lacks architectural interest, a contrasting fan acts like a mobile sculpture. Matte black, oil-rubbed bronze, or charcoal grey are timeless choices that add sophistication. This works exceptionally well in modern farmhouse, industrial, or contemporary spaces.
For a statement fan, you want to coordinate with other hardware in the room. Look at your door handles, curtain rods, and light fixtures. If those are brushed nickel, a matte black fan might clash, but a pewter or dark grey would bridge the gap nicely.
Common Mistakes + Fixes
- Mistake: Using wall paint on fan blades.
- Fix: Wall latex is too heavy and soft; it leads to “droopy” paint that gathers dust. Always use a high-quality enamel spray paint or an oil-based brush-on enamel designed for metal and plastic.
- Mistake: Ignoring the light kit glass.
- Fix: If your fan has those dated, fluted glass shades, painting the fan won’t save the look. Spray the glass with a “frosted glass” spray to modernize them, or simply buy generic replacement shades at a hardware store for about $5 each.
3. Creative Aesthetics and Blade Treatments
Once you have chosen your strategy, you can get creative with the blades. Since the blades are separate from the motor housing, you can mix and match finishes for a custom look.
The Faux Wood Look
Real wood blades are expensive, but you can replicate the look on cheap white composite blades. Start with a base coat of beige or tan spray paint. Once dry, use a dark gel stain and a coarse bristle brush to streak “grain” onto the blade.
Drag the brush in one continuous motion from the base of the blade to the tip. Do not stop in the middle, or you will create unnatural lap marks. Once the stain is dry, seal it with a clear satin polyurethane to protect the finish.
Two-Tone Industrial
For a sleek, modern look, paint the motor housing a matte black and the blades a metallic charcoal or silver. This mimics the look of high-end aviation-style fans. This works well in home offices or masculine bedrooms where you want a sharper edge to the design.
Metallic Tips (The “Dipped” Look)
A trendy option for nurseries or creative spaces is the “dipped” blade. Paint the entire blade a solid color, like white or navy. Mask off the bottom 4 to 6 inches of the blade tip with painter’s tape and spray that section gold, copper, or a bright accent color.
When the fan spins, this creates a fascinating metallic ring effect on the ceiling. It adds a touch of whimsy without overwhelming the space.
Designer’s Note: Scale and Pattern
Be careful with detailed stencils or complex patterns on blades. When the fan is stationary, it might look pretty. However, when spinning, high-contrast patterns can create a dizzying strobe effect. I generally advise sticking to solid colors or subtle wood grains to avoid visual discomfort.
4. The Step-by-Step Execution Guide
Now that you have your design and your parts are prepped, it is time to paint. The environment where you paint matters as much as the paint itself. You need a well-ventilated area that is protected from wind and dust.
I recommend setting up a “drying station” before you spray a single drop. Use wire coat hangers to hang the motor housing and blade brackets from a clothes rack or a ladder in your garage. This allows you to spray 360 degrees without touching the wet part.
The Priming Phase
Never skip primer, especially on laminate or plastic blades. Use a bonding primer specifically designed for difficult surfaces. Apply one light coat. Do not try to get full coverage in one pass; you just want a tacky surface for the paint to grab.
The Painting Phase
Shake your spray can for at least two minutes. When spraying, hold the can 10 to 12 inches away from the surface. Use long, sweeping motions that start before the object and end after it. This prevents heavy buildup of paint at the edges.
Apply 3 to 4 extremely thin coats rather than one heavy coat. Heavy coats lead to drips and uneven drying. Wait about 15 to 20 minutes between coats, depending on the humidity.
What I’d Do in a Real Project: Timeline
- Friday Night: Take the fan down, clean thoroughly with TSP, and sand all surfaces. Set up the drying station.
- Saturday Morning: Apply primer coat. Wait one hour. Apply first coat of color.
- Saturday Afternoon: Apply subsequent color coats. Paint the hardware (screws and brackets) by sticking them into a piece of cardboard so the heads are exposed.
- Sunday Morning: Inspect for missed spots. Apply a clear coat if using metallic paint (to prevent tarnishing).
- Sunday Evening: Reassemble and hang.
5. Reassembly, Balancing, and Safety Checks
Reinstalling a painted fan requires patience to avoid scratching your new finish. I recommend wearing clean cotton gloves during this step. Oils from your hands can stain fresh matte paint, and rings can scratch it.
The Importance of Balance
Paint adds weight. Even a few grams of difference between blades can cause the fan to wobble or make a ticking noise. To minimize this, try to apply the exact same amount of paint to each blade.
Before you hang the blades, weigh them on a kitchen scale. If one is significantly heavier, you may need to sand it down slightly or add a washer to the lighter blades’ mounting screws to even it out.
Re-hanging the Motor
When securing the motor housing, ensure the screws are tight but not stripped. The vibration of the motor can work loose screws out over time. If your fan has a downrod, ensure the ball joint is seated correctly in the mounting bracket slot. This is the number one cause of wobbling fans.
Addressing the “Hum”
Sometimes, older fans hum. This is often due to loose parts vibrating against each other. Since you have disassembled the fan, you have a chance to tighten everything. If the hum persists, it might be the capacitor, but often, simply ensuring the blade irons are screwed tightly to the motor eliminates the noise.
Final Checklist for Success
Before you call the project done, run through this checklist to ensure your fan is safe and looks professional.
The “What I’d Do” Quality Check:
- Dry Time: Did you let the paint cure for at least 24 hours? Paint may feel dry to the touch but can still be soft. Handling it too early leaves permanent fingerprints.
- Clearance: Are the blade tips at least 12 inches away from the nearest wall? Painting a fan can sometimes draw attention to poor placement.
- Hardware Color: Did you paint the visible screw heads? Shiny silver screws on a matte black bracket look unfinished.
- Direction Check: Did you check the reverse switch? Ensure the fan is spinning counter-clockwise for summer cooling. Paint can sometimes stick the switch, so wiggle it gently to ensure it still functions.
- Light Kit: If you painted the metal parts of the light kit, did you ensure no paint got into the electrical sockets?
FAQs
Can I paint the fan blades without taking them down?
Technically, yes, but I do not recommend it. Painting overhead is physically difficult and results in poor coverage on the top side of the blades (which you can see from a loft or stairs). It also risks splattering paint on your furniture and floor.
What is the best paint for ceiling fans to prevent dust buildup?
High-gloss or semi-gloss enamel is the most resistant to dust. However, high-gloss blades can cause annoying light reflections. A satin finish enamel is the sweet spot—it is smooth enough to wipe clean easily but not so shiny that it creates glare.
Will the paint peel if the fan is on an outdoor porch?
If your fan is outdoors, you must use “exterior” or “indoor/outdoor” rated spray paint. Additionally, humidity causes wood blades to expand and contract, which cracks paint. For outdoor fans, plastic (ABS) blades hold paint much better than wood or composite ones.
How do I fix a fan that wobbles after painting?
First, check that all blades are screwed on tightly. If it still wobbles, you can buy a simple balancing kit from a hardware store for under $5. It includes a plastic clip to find the heavy spot and adhesive weights to counterbalance it.
Conclusion
Transforming a ceiling fan with paint is one of the most satisfying “low cost, high reward” projects in interior design. It allows you to take control of a room’s aesthetic without sacrificing the functionality of air circulation. Whether you choose to make your fan vanish into the ceiling or stand out as a modern industrial feature, the key lies in the preparation and patience.
By following the steps to clean, sand, and balance your fan, you ensure that your new finish is not just beautiful, but durable enough to handle years of spinning. Do not let a dated brass fixture hold your room back. With a weekend of work and a can of spray paint, you can elevate the entire feel of your home.
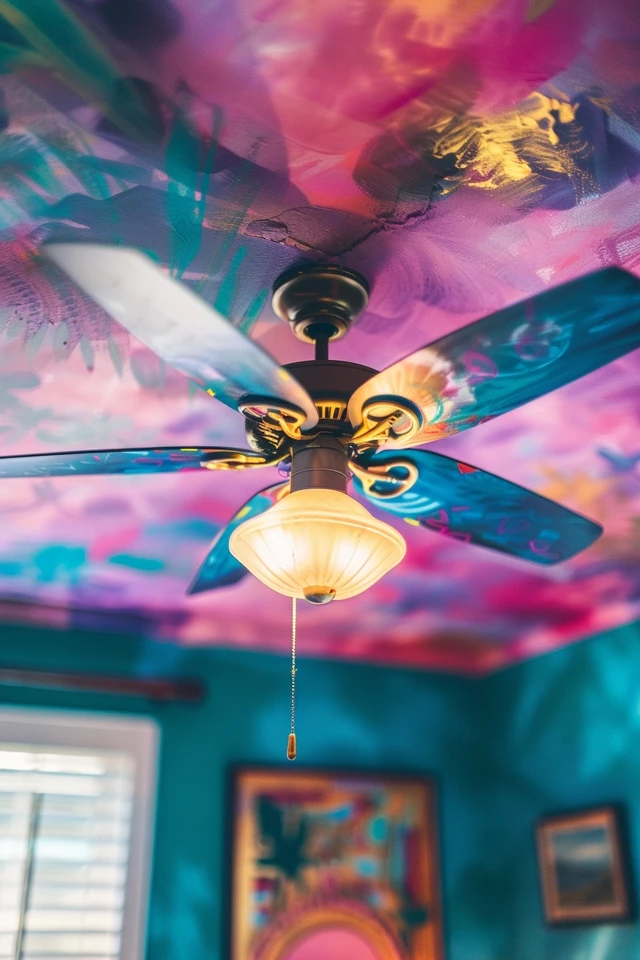
Picture Gallery


