
Creative Kitchen Window Sill Ideas to Inspire
The kitchen window often serves as the focal point of the room, primarily because it is usually positioned directly above the sink. We spend a significant amount of time standing there, whether we are washing vegetables or scrubbing pots, so the view should be enjoyable. For plenty of visual inspiration to help you visualize these concepts, be sure to check out the Picture Gallery at the end of the blog post.
However, this small ledge frequently becomes a catch-all for clutter or remains completely barren due to a fear of mess. In my design practice, I treat the window sill as a “micro-zone” that bridges the gap between the functional interior and the natural exterior. It requires a delicate balance of aesthetics and practicality to ensure it doesn’t just look good, but also works for your lifestyle.
The goal is to curate a space that feels intentional rather than accidental. By layering textures, managing light, and selecting the right scale of objects, you can transform this narrow strip of space into a design feature. Let’s explore how to elevate your kitchen window sill with professional styling techniques and functional solutions.
1. The Edible Indoor Garden
Bringing greenery into the kitchen is a classic design move for a reason. It softens the hard lines of cabinetry and countertops while providing a functional benefit for cooking. However, simply buying a basil plant from the grocery store and setting it on the ledge is not a long-term design strategy.
Assessing Light Conditions
Before you buy a single pot, you must determine the direction your window faces. This is the number one reason indoor gardens fail in client projects.
- South-facing windows: These get the most intense, direct light. This is the gold standard for sun-loving herbs like basil, rosemary, and thyme.
- North-facing windows: These receive softer, indirect light. Herbs will likely become “leggy” and die here. Instead, opt for hardy houseplants like Pothos, Snake Plants, or ZZ plants that can tolerate lower light.
- East/West-facing windows: These offer moderate light. Mint, parsley, and chives typically do well here, as they enjoy the sun without the scorching midday heat.
The Vessel Matters
In design, the container is just as important as the plant. Avoid keeping plants in the plastic nursery pots they come in. They look temporary and offer poor drainage control.
I recommend using terra cotta for herbs because the material is porous and allows the soil to breathe. If you prefer glazed ceramic for a pop of color, ensure the pot has a drainage hole and a matching saucer.
Designer’s Note: Protecting the Trim
A common issue I see in renovations is water damage on the wooden window sill. Even if you are careful, condensation and spills happen.
Always place a cork coaster or a felt pad under your saucers. This creates a barrier between the moisture of the pot and the paint or stain of your window sill. If you are renovating, consider replacing a wood sill with the same stone used for your countertops (quartz or granite) for ultimate durability.
2. Curated Collections and Glassware
If you lack a green thumb or your window doesn’t get enough light, styling with inanimate objects is a fantastic alternative. The kitchen window is the perfect place to display collections because of the natural backlighting.
Playing with Transparency
Light is a dynamic element. When you place solid objects on a sill, they create silhouettes. When you place transparent or translucent objects, they catch the light and glow.
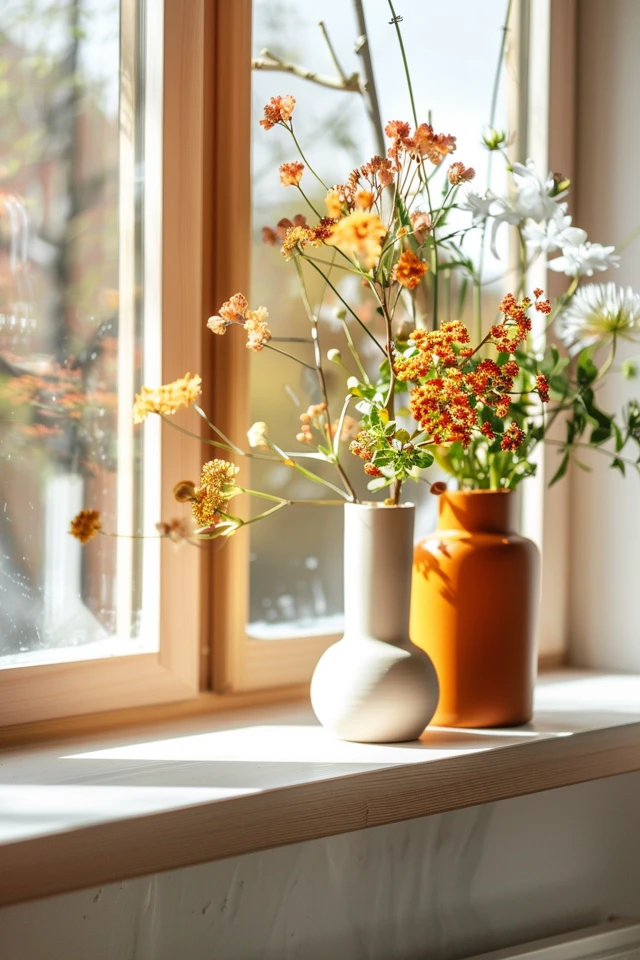
I love using vintage colored glass bottles or mason jars in shades of amber, emerald, or cobalt. When the sun hits them, they cast beautiful colored shadows across your countertop. This adds warmth and visual interest without adding physical clutter.
The Rule of Three
When arranging decor, the “Rule of Three” is a fundamental design principle that keeps things looking balanced.
- Group odd numbers: The human eye finds groups of three or five more visually pleasing than even numbers.
- Vary the heights: Do not line up three bottles of the exact same size. It looks like a grocery shelf. Instead, pair a tall carafe with a medium vase and a small votive holder.
- Create a triangle: If you draw a line connecting the tops of your objects, it should form a scalene triangle. This keeps the eye moving.
Common Mistakes + Fixes
Mistake: Using too many small, “knick-knack” items.
Fix: This creates visual noise and makes cleaning difficult. Edit your collection down. One substantial, sculptural vase often looks higher-end than six tiny figurines.
Mistake: Ignoring the view.
Fix: If you have a beautiful view, keep the decor low and minimal. If your view is a brick wall or a neighbor’s siding, use taller, denser objects to obscure the glass and refocus attention inward.
3. Functional Storage and The “Sink Zone”
For those in smaller homes or apartments, the window sill is valuable real estate. You might not have the luxury of using it purely for decoration. However, utilitarian storage can still be beautiful if you standardize your containers.
Decanting is Key
Store-bought packaging is designed to grab attention on a shelf, which means it is often loud and brightly colored. This is visual clutter.
Pour your dish soap and hand soap into matching glass or ceramic dispensers. I prefer amber glass pumps with matte black hardware for a modern industrial look, or clear glass with brass pumps for a traditional cottage feel.
The Tray Method
To prevent your soap, scrub brush, and sponge from migrating all over the sill, corral them on a tray. A small marble, wood, or ceramic tray grounds the items and turns them into a cohesive unit.
Why this works:
- It protects the sill from water rings.
- It makes cleaning easier (you lift one tray instead of five items).
- It defines the space visually.
Realistic Constraints: Depth
Measure your sill depth before buying accessories. A standard window sill is often only 2 to 4 inches deep.
- Standard Mason Jar: Approx. 3-3.5 inches diameter.
- Slim Dispensers: Look for oval or rectangular dispensers if your sill is narrow.
- Overhang Rule: Nothing should hang over the edge of the sill. It creates a hazard where things can easily be knocked into the sink.
4. Layering Art and Privacy
We often think of art as something that hangs on a wall, but leaning art against a window is a charming, casual styling trick often seen in European kitchens.
Choosing the Right Art
Since this area is prone to splashes and sunlight, do not display an original oil painting worth thousands of dollars.
- Vintage Prints: Look for botanicals or landscapes.
- Frames: Use frames that are easy to wipe down. Avoid raw wood that might warp with humidity.
- Sun Fading: Direct UV light will bleach art quickly. Use UV-protective glass in your frames, or simply accept that the print will fade and plan to rotate it out annually.
Window Treatments
Sometimes the “sill idea” is actually about framing the sill.
- Cafe Curtains: These are hung halfway up the window using a tension rod or a mounted rod inside the casing. They provide privacy from the street while allowing light to flood in through the top half. This is my go-to for ground-floor kitchens.
- Roman Shades: If you need full coverage at night, a Roman shade mounted 2 inches above the window trim makes the window feel taller.
- Hardware Finishes: Match your curtain rod to your cabinet hardware or your faucet. If you have a brass faucet, use a brass rod. This repetition ties the room together.
What I’d Do in a Real Project
If I were styling a client’s kitchen window today, here is the exact formula I would use:
1. Install a cafe curtain: Unlacquered brass rod, sheer linen fabric.
2. Add a tray: Rectangular marble tray on the right side.
3. Decant soaps: Two matching dispensers on the tray.
4. Add life: One medium terra cotta pot with thyme on the left side.
5. Centerpiece: A small, vintage landscape painting leaning slightly off-center.
5. Architectural Enhancements
If you are in the renovation phase or willing to take on a DIY project, you can alter the physical structure of the window area to create more opportunity for design.
Installing a Glass Shelf
If you have a tall window but a shallow sill, installing a glass shelf horizontally across the window (halfway up) doubles your display space.
This is a very common technique in high-end design for displaying herb collections. Because the shelf is glass, it doesn’t block the light. It allows you to place sun-loving plants higher up where they might get better exposure.
Widening the Sill
In older homes, sills are often barely an inch deep. You can add a “sill extender.” This involves securing a wider piece of wood or stone on top of the existing stool.
Pro-Level Rule of Thumb:
Do not extend the sill more than 2 or 3 inches past the wall or cabinet line. If it protrudes too far, it will encroach on your faucet clearance or make it uncomfortable to lean over the sink.
Sconces
While not technically on the sill, the lighting above it dictates how the sill looks at night. A single pendant light or an articulating sconce mounted above the header draws the eye to your styled vignette.
At night, when the window is a black void, a downward-facing light highlights your plants or decor, keeping the kitchen feeling warm and inhabited.
Final Checklist: Styling Your Sill
Before you finalize your setup, run through this quick checklist to ensure the space is practical and safe.
- Clearance Check: Open and close the window. Does your styling block the crank or the latch? If you can’t open the window easily, the design has failed.
- Faucet Swing: Turn your faucet handle fully to the back and swivel the spout. Does it hit your pots or soap dispenser? You need at least 1 inch of clearance behind the faucet operation.
- Water Safety: Is anything made of paper or unsealed wood sitting directly on the surface? Remove it or put it on a stand.
- Visual Balance: Step back 10 feet. Does the window look “heavy” on one side? Rearrange until the visual weight feels distributed.
- Durability: Are the items heavy enough to withstand a breeze if the window is open? Lightweight plastic vases will blow over.
FAQs
Q: How do I clean the window sill with all this decor on it?
A: This is a valid concern. In a kitchen, grease mixes with dust to create a sticky film. I recommend a “full clear” cleaning once a month. Remove every item from the sill, wipe the items with warm soapy water, and scrub the sill. Do not try to wipe around them; you will just push dust into the corners.
Q: My window sill is extremely narrow (under 2 inches). What can I do?
A: Skip the pots and bottles. Instead, focus on the window hardware. Upgrade the sash lock and lift to a beautiful unlacquered brass or matte black. You can also lean very thin postcards or stiff card-stock art, securing them with a tiny bit of museum wax so they don’t slip.
Q: Can I put a lamp on a kitchen window sill?
A: Yes, small accent lamps are a huge trend right now. However, you must manage the cord. Use a cordless, rechargeable lamp (there are many high-design options available now) to avoid an ugly wire trailing across your sink area.
Q: What is the best material for a kitchen window sill?
A: If you are remodeling, quartz is the best option. It is non-porous, meaning it won’t stain from water or pollen, and it is incredibly durable. Marble is beautiful but will etch from lemon juice or vinegar splashes. Wood requires high maintenance and frequent sealing.
Conclusion
Styling your kitchen window sill is one of the lowest-risk, highest-reward design projects you can tackle. It doesn’t require a contractor or a massive budget—just a thoughtful selection of items that merge beauty with utility.
Whether you choose to cultivate a lush herb garden, display a collection of vintage glass, or simply organize your cleaning supplies with elegance, the key is intention. Treat this small ledge as a stage for your daily life. When you look up from the dishes and see a vignette that brings you joy, you’ll know you’ve succeeded.
Picture Gallery


