
Title: Creative Orchid Mounting Ideas for Your Home
Introduction
For years, I treated orchids like any other houseplant, confining them to decorative ceramic pots filled with dense bark. It wasn’t until I started studying landscape design and observing how these plants grow in the wild that I realized I was doing it all wrong. In their natural tropical habitats, most orchids are epiphytes, meaning they cling to tree branches and rock faces rather than burying their roots in soil.
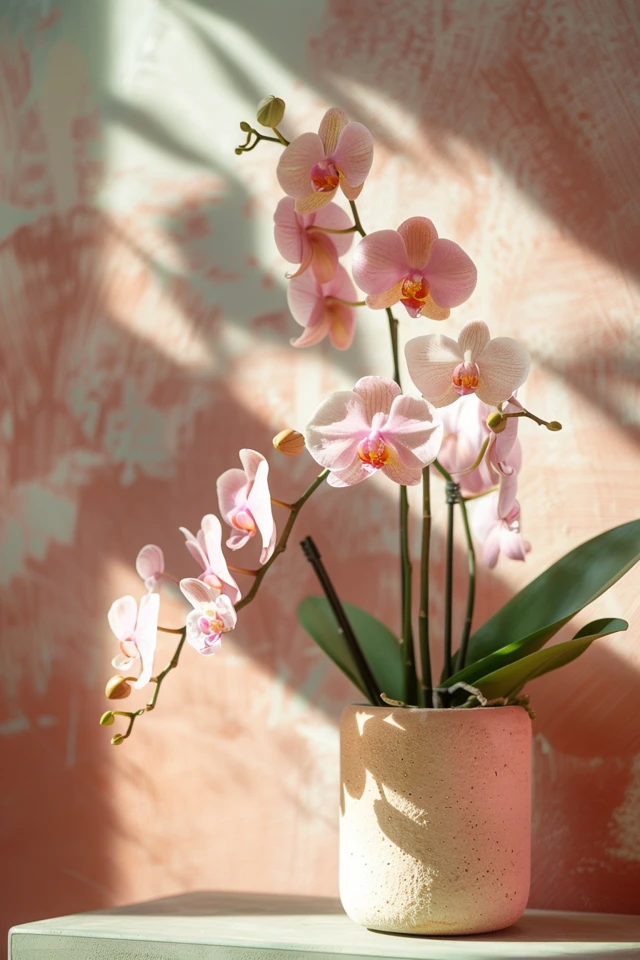
Mounting orchids is not just a horticultural improvement; it is a sophisticated interior design statement that brings a piece of the rainforest onto your vertical surfaces. Moving your orchids from the windowsill to the wall clears up counter space and turns a single plant into a living sculpture. If you are looking for visual inspiration, check out the Picture Gallery at the end of this blog post.
Transitioning from pots to mounts can feel intimidating, but the process is surprisingly forgiving and offers endless styling possibilities. Whether you live in a compact apartment or a spacious home, mounting allows you to integrate greenery in ways that standard planters simply cannot achieve.
THE SCIENCE AND AESTHETICS OF EPIPHYTES
Understanding why we mount orchids is the first step to creating a successful design. In the wild, orchid roots are exposed to the air, soaking up moisture from rain and humidity while anchoring the plant to a host tree. When we replicate this in the home, we eliminate the number one killer of indoor orchids: root rot.
From a design perspective, mounting removes the visual bulk of a heavy pot. This helps maintain an airy, uncluttered feel in a room, which is essential for smaller spaces or minimalist design schemes. By exposing the root system, you add a layer of organic texture that contrasts beautifully against smooth drywall or tile.
However, this method requires a shift in maintenance habits. Because the roots are exposed, they dry out significantly faster than they would in a pot. Before you mount, you must be honest with yourself about your routine. If you travel frequently or often forget to water, you will need to set up an automated misting system or choose a mounting method that retains more moisture, such as a large sphagnum moss pad.
Designer’s Note: In my early projects, I often mounted orchids directly onto drywall using only a small hook. This was a mistake. The moisture from the moss and the daily misting eventually damaged the paint and drywall paper. Always ensure your mount has a waterproof backing or is hung on a surface that can handle humidity, like tile or stone, or use stand-offs to create an air gap between the wood and the wall.
SELECTING THE RIGHT MOUNTING MATERIAL
The material you choose creates the backdrop for your living art. It needs to be durable, resistant to rot, and texturally interesting. Softwoods like pine should be avoided as they rot quickly under the constant moisture required for orchids.
Cork Bark Slabs
Cork is the gold standard for orchid mounting. It mimics the texture of trees, providing nooks and crannies for roots to anchor into. It is lightweight, rot-resistant, and aesthetically neutral, meaning it fits into rustic, bohemian, and even modern interiors. I prefer using “virgin” cork bark tubes or flats, which have a rough, craggy texture.
Driftwood and Grapewood
For a more dramatic, sculptural look, driftwood is unbeatable. Mopani wood, often used in aquariums, is dense and two-toned, looking fantastic against a white wall. Grapewood offers twisted, knotty shapes that look like art even when the orchid isn’t blooming. However, grapewood can mold if kept too wet, so it is better for orchids that like to dry out thoroughly between waterings, like Cattleyas.
Tree Fern Plaques
These are fibrous slabs made from the trunks of tree ferns. They offer excellent drainage and aeration. The dark, fibrous color makes the white orchid roots pop visually. Be aware that these can be messy and shed fibers over time, so I usually reserve them for sunrooms or patios rather than above a white linen sofa.
Ceramic and Terracotta
For a cleaner, more manicured look, consider mounting on specialized terracotta tubes. These are hollow, allowing you to fill the center with water which slowly seeps through the porous clay to hydrate the roots. This is an excellent solution for dry climates or “under-waterers.”
STEP-BY-STEP MOUNTING TECHNIQUE
The actual mounting process is a blend of mechanics and art. You need the plant to be secure enough to withstand gravity but loose enough for roots to breathe. You will need sphagnum moss, fishing line (10 to 12 lb test) or coated floral wire, and your mount.
1. Prepare the Orchid
Remove the orchid from its pot and gently shake off all the old bark or moss. Trim away any dead, mushy, or hollow roots with sterilized snips. You want only firm, green, or silvery roots remaining. Locate the “crown” of the plant; this is where the leaves emerge.
2. Position the Moss
Soak a handful of high-quality New Zealand sphagnum moss in water, then wring it out so it is damp like a sponge, not dripping. Place a pad of moss on the mount where the roots will sit. This acts as the moisture reservoir.
3. Secure the Plant
Place the orchid on top of the moss pad. The leaves should generally angle downward. This prevents water from pooling in the crown, which causes rot. Spread the roots out over the mount naturally. Cover the roots with a thin layer of additional moss, leaving the very tips of the roots exposed if possible.
4. Wrap and Tie
Using your fishing line, wrap the roots and moss securely to the mount. Go around the mount multiple times, crisscrossing over the root ball. Pull tight enough to hold the plant firm—if you shake the mount, the plant shouldn’t wiggle—but not so tight that you slice into the roots. Tie off the line securely at the back.
Common Mistakes + Fixes:
Mistake: Using cotton string or twine.
Correction: Natural fibers rot quickly in humidity. The plant will fall off the mount within a few months. Always use synthetic fishing line or plastic-coated wire.
INTERIOR STYLING AND PLACEMENT
Once your orchid is mounted, placement is the intersection of plant needs and design principles. You cannot simply hang an orchid in a dark corner because it looks good there; it will not survive. You have to find the sweet spot where light meets layout.
Grouping and Scale
A single small mounted orchid on a large wall looks lost and out of scale. I recommend applying the “Rule of Three.” Group three mounts of varying sizes or slightly different heights to create a cohesive vignette. If you only have one large mount, frame it with other elements like sconces or a piece of furniture below it to ground the visual weight.
The Bathroom Sanctuary
Bathrooms are arguably the best room in the house for mounted orchids. The natural humidity from showers reduces the watering burden significantly. Hang a trio of mounted Phalaenopsis on the wall opposite a window. Ensure the hardware is rust-proof (brass or stainless steel), as the bathroom environment is corrosive to standard nails.
Living Room Gallery Walls
Treat your mounted orchids like framed art. If you have a gallery wall of photos or prints, interspersing a mounted plant adds three-dimensional texture. Just ensure the location receives bright, indirect light. A spot 2 to 4 feet away from an east or west-facing window is usually ideal. Avoid direct midday sun, which will scorch the leaves.
Protecting Your Home
Mounted orchids must be watered. This usually involves taking them off the wall, soaking them in a sink, and letting them drip dry. However, if you mist them in place, you risk water damage to floors and furniture. I always recommend placing a console table or a designated “drip zone” with a waterproof tray underneath your display if you plan on misting heavily.
MAINTENANCE ROUTINES FOR REAL LIFE
The reality of mounted orchids is that they are higher maintenance than potted ones. In a pot, moisture is retained for a week or more. On a mount, it might evaporate in two days. This is often where homeowners fail.
Watering Schedule
In the summer, you may need to water your mounts every 2 to 3 days. In the winter, this might stretch to every 4 to 5 days. The best method is to unhook the mount, dunk the entire moss ball and root system into a basin of tepid water for 10 to 15 minutes, and then let it drain before re-hanging.
Fertilization
Since there is no soil to hold nutrients, you must feed mounted orchids regularly. I use a “weakly, weekly” approach. Use a water-soluble orchid fertilizer diluted to 1/4 of the recommended strength every time you water. This mimics the constant low-level nutrient supply they get in nature from rainwater washing over tree bark.
Managing Humidity
Modern homes with HVAC systems are often too dry for mounted orchids (30-40% humidity). Orchids prefer 50-70%. If you notice the leaves wrinkling or the roots turning brown and crispy, your air is too dry. You may need to run a humidifier nearby or mist the roots daily in the morning.
What I’d Do in a Real Project:
When installing a wall of orchids for a client, I always install a discrete, narrow picture ledge or a floating shelf at the bottom of the arrangement. This serves two purposes: it visually anchors the collection, and it acts as a catch-all for any stray water droplets, protecting the hardwood floors below.
FINAL CHECKLIST
Before you start drilling holes in your walls, run through this checklist to ensure you are ready for a mounted orchid setup.
What I’d do in a real project:
- Check the Light: Measure the light in your chosen spot at 10:00 AM and 2:00 PM. Is there a sharp shadow? (Good). Is there no shadow? (Too dark). Is the sun hitting the wall directly? (Too hot).
- Select the Species: Start with Phalaenopsis (Moth Orchids) for low-light areas or Brassavola for higher-light spots.
- Prep the Hardware: Use screw-in hooks that are anchored properly into a stud or use high-weight drywall anchors. Wet moss is heavier than you think.
- Plan the Watering Route: Walk from your wall to your sink. Is it easy to access? If you need a ladder to reach the plant, you will stop watering it. Keep it accessible.
- Gather Materials: Soaked sphagnum moss, 12lb fishing line, sterilized scissors, and your chosen wood mount.
- Protect the Wall: Adhere small felt or rubber bumpers to the back of the wood mount to create air circulation and prevent scratching or moisture transfer to the paint.
FAQs
How often do I water a mounted orchid?
Touch the moss daily. If it feels crispy or dry, it’s time to water. In an average home (70°F), this is usually 2 to 3 times a week. If the roots turn silvery-white, they are thirsty. Green roots are hydrated.
Can I mount an orchid that is currently blooming?
Technically yes, but it is risky. The stress of un-potting and mounting can cause the plant to drop its flowers prematurely (bud blast). It is safer to wait until the bloom cycle is finished before mounting.
What if the roots grow onto the wall?
This is a common issue with vigorous growers. If roots start attaching to your drywall, gently pry them off with a credit card or flat tool. To prevent this, rotate or inspect the mount weekly. Roots attaching to drywall can pull off paint when removed.
My mounted orchid leaves are limp and wrinkled. Why?
This is a sign of dehydration. The plant is losing water faster than it can take it up. Soak the entire mount in a bucket of water for 30 minutes. If the problem persists, you may need to wrap more moss around the roots to retain moisture longer.
Conclusion
Mounting orchids is a rewarding intersection of horticulture and home decor. It allows you to engage with the plant in a way that feels more authentic to its nature while simultaneously elevating the style of your room. It transforms a common grocery store purchase into a bespoke piece of living art.
The key to success lies in replicating the balance of air and water that these plants experience in the wild. By choosing the right wood, securing the plant firmly, and committing to a slightly more involved watering routine, you can enjoy blooms that cascade naturally from your walls, just as they would from a branch in the tropics.
Remember that design is iterative. Don’t be afraid to experiment with different mount shapes or grouping configurations until you find the arrangement that sings in your space. With patience and observation, your mounted orchids will thrive for years to come.
Picture Gallery


