
Creative Wine Bottle Painting Ideas Unveiled
There is something inherently sculptural about a wine bottle. As an interior designer, I often look at recycling bins and see missed opportunities for beautiful, custom décor. The glass used for wine and spirits is often high-quality, durable, and comes in shapes that mimic high-end ceramic vases costing hundreds of dollars.
With the right preparation and a bit of creativity, you can transform these empty vessels into stunning centerpieces, mantle accents, or even custom lighting fixtures. It is one of the most accessible DIY projects because the stakes are low, but the visual payoff can be incredibly high.
If you are looking for visual inspiration to spark your creativity, keep reading because I have curated a comprehensive Picture Gallery at the end of the blog post. Before we get there, however, I want to walk you through the technical steps, the necessary materials, and the styling rules I use to ensure these painted bottles look like intentional design elements rather than a kindergarten craft project.
1. The Foundation: Preparation and Priming
The biggest mistake I see in DIY glass painting is skipping the prep work. Glass is non-porous and incredibly smooth, which makes it difficult for paint to adhere long-term. If you do not prep the surface correctly, your beautiful design will peel off in sheets within a few months.
To start, you must remove every trace of label and adhesive. Soaking the bottles in hot water with dish soap usually loosens the paper, but the glue residue requires more aggression. I recommend using a specialized adhesive remover or a paste made of baking soda and cooking oil to scrub the glass clean.
Once the glue is gone, wipe the entire bottle down with rubbing alcohol or white vinegar. This step is non-negotiable. It removes invisible oils from your fingerprints that will prevent the primer from bonding. Do not touch the glass with bare hands after this step; handle the bottle by the neck or wear gloves.
Designer’s Note: The Texture Trick
In professional projects, we rarely use glossy painted glass because it tends to look cheap. To get a high-end look, I almost always scuff the surface of the bottle with 220-grit sandpaper before priming. This creates “tooth” for the paint to grab onto and results in a much more durable finish.
What I’d do in a real project:
- Soak: 1 hour in hot soapy water.
- Scrub: Steel wool for stubborn glue.
- Degrease: 91% Isopropyl alcohol wipe.
- Prime: Spray primer specifically formulated for plastic or glass.
2. The Faux-Ceramic “Terracotta” Look
One of the most requested styles in current interior design is the organic, earthy look of textured ceramics. Authentic terracotta or stone vases are expensive, but you can replicate this texture on a wine bottle for pennies using a simple pantry ingredient: baking powder.
This technique creates a matte, velvety finish that completely masks the fact that the object underneath is glass. It works exceptionally well in “Japandi,” farmhouse, or bohemian interiors where texture is more important than shine.
To achieve this, mix your acrylic paint with baking powder. The ratio I find most effective is 1 cup of paint to 1 tablespoon of baking powder. The mixture will fluff up and become mousse-like. When applied, it creates a slightly gritty, stone-like surface.
Common Mistakes + Fixes
Mistake: Using baking soda instead of baking powder.
Fix: While both work, baking powder usually contains an acid that reacts better with the paint, creating a fluffier texture that hides brush strokes more effectively. If you only have soda, it will be grittier and more sandy.
Mistake: Applying coats too thickly.
Fix: The texture can crack if applied in one heavy go. Apply three thin layers, allowing 20 to 30 minutes of dry time between them. Use a sponge brush rather than a bristle brush to eliminate streaks.
3. High-Gloss Lacquer and Metallic Finishes
On the opposite end of the spectrum from the matte ceramic look is the high-gloss, lacquer aesthetic. This is perfect for modern, glam, or maximalist interiors. The goal here is to make the bottle look like manufactured colored glass or porcelain.
For this finish, spray paint is superior to brush-on acrylics. You want a seamless, liquid look. When selecting your paint, look for “enamel” or “lacquer” finishes, which dry harder and shinier than standard spray paint.
The key to a professional spray job is distance and movement. Hold the can 10 to 12 inches away from the bottle. If you get too close, the paint will drip, ruining the illusion of manufactured glass. Rotate the bottle constantly as you spray to ensure even coverage.
Creating the “Mercury Glass” Effect
If you want a vintage, antique vibe, the mercury glass technique is a classic. This involves using a “mirror effect” spray paint.
- Mist the bottle lightly with water from a spray bottle. The droplets should sit on the glass surface.
- Immediately spray the mirror paint over the water droplets.
- Let it sit for about 60 seconds, then gently blot the water droplets with a paper towel.
- The paint will lift where the water was, creating a distressed, aged mirror look.
4. Modern Minimalist: Color Blocking and Geometric Shapes
You don’t need to paint the entire bottle one color. Using painter’s tape to create geometric patterns or negative space allows the natural glass color (especially if it is a nice amber or olive green) to become part of the design.
I love using the “dip-dye” look for a modern mantle arrangement. To do this, tape off the top third or bottom third of the bottle in a clean horizontal line. Paint one section a solid, bold color like matte black, navy, or sage green, and leave the rest as exposed glass.
When removing the tape, timing is everything. If the paint is completely dry, pulling the tape might rip the paint film. If it is too wet, it might bleed. The sweet spot is when the paint is tacky but not fully cured—usually about 15 to 20 minutes after the final coat.
Designer’s Note: Scale and Proportion
When painting a horizontal line around a bottle, the placement dictates the visual balance. Placing the line at the “shoulder” of the bottle (where it starts to curve inward) usually feels most natural. Placing it right in the middle can make the object look squat and awkward.
5. Styling Your Bottles: The “Rule of Three” and Layouts
Painting the bottles is only half the battle. How you display them determines whether they look like high-end décor. As a designer, I rely heavily on the “Rule of Three.” Odd numbers create visual tension and interest that even numbers lack.
Never display a single wine bottle alone in the center of a table; it looks lonely and unintentional. Instead, group them in clusters of three or five. Varying the heights is crucial here. If you have three standard Bordeaux-style bottles that are all the same height, the grouping will look flat.
To fix this, mix bottle shapes. Combine a tall, slender Riesling bottle with a wider Pinot Noir bottle and perhaps a smaller dessert wine bottle. If you only have identical bottles, you can create height variation by placing one on a stack of books or a small pedestal.
Vignette Creation Checklist
- Anchor the grouping: Place the bottles on a tray to contain them. A round brass or wooden tray creates a boundary that makes the collection feel like one cohesive unit.
- Add organic elements: Painted bottles can look stiff. Soften them by adding dried wheat, eucalyptus, or pampas grass. The organic texture contrasts beautifully with the painted glass.
- Consider lighting: If you have used a glossy or metallic finish, place the bottles near a lamp or window. The reflection will add dimension to the room.
Real-World Constraints: Weight and Stability
Empty wine bottles are top-heavy, especially if you put long-stemmed flowers in them. In homes with cats, dogs, or children, this is a tipping hazard.
The Fix: Before you start painting, fill the bottom inch of the bottle with clean play sand or small pebbles. This lowers the center of gravity and makes the vessel significantly more stable. If you have already painted them, you can use a funnel to add sand carefully, provided the paint is fully cured.
Final Checklist: From Recycling Bin to Mantelpiece
Before you begin your project, run through this quick checklist to ensure you have everything needed for a professional finish.
- Cleanliness: Are all labels removed and is the glass wiped with alcohol?
- Workspace: Do you have a well-ventilated area (outdoors is best for spray paint)?
- Setup: Do you have a dowel or stick to place inside the bottle neck? (This allows you to hold and rotate the bottle without touching the wet paint).
- Primer: Do you have a primer suited for glass/plastic?
- Texture: Do you have baking powder (for matte) or clear coat (for gloss)?
- Drying: Do you have a cardboard box to place the bottles in while they dry to prevent dust from settling on the wet finish?
Frequently Asked Questions
Can I put fresh flowers with water in painted wine bottles?
Yes, but with a caveat. You should only paint the outside of the bottle. Paint inside the bottle will eventually deteriorate with constant water exposure and could poison the flowers. If you paint the outside, the glass interior remains waterproof and safe for stems. Be careful when filling them not to let water run down the painted exterior, as prolonged moisture can soften acrylic paint.
How do I clean the bottles once they are painted?
Painted bottles are not dishwasher safe. The heat and water pressure will strip the paint immediately. To clean dust, use a dry microfiber cloth. If they need a deeper clean, use a slightly damp cloth and wipe gently. Do not scrub.
Why is my paint scratching off easily?
This is almost always an adhesion issue. It means the glass wasn’t clean enough (oil residue), or you skipped the primer. If you didn’t sand the glass or use a primer, the paint is just sitting on top of the surface rather than bonding to it. To fix it, you will likely need to strip the paint and start over with proper prep.
Can I use chalk paint on glass?
Absolutely. Chalk paint adheres very well to glass, often better than standard acrylics, and requires less prep work. It naturally dries to a matte, distressed finish which is perfect for rustic or farmhouse styles. However, it is not water-resistant, so you must seal it with a clear wax or a matte spray sealer if you plan to handle the bottles frequently.
Conclusion
Upcycling wine bottles is one of the most satisfying creative exercises because it merges sustainability with genuine style. By treating the glass as a serious canvas—prepping it correctly, choosing sophisticated finishes, and styling the final result with intention—you can create décor that rivals items found in high-end boutiques.
Remember that the difference between a craft and a design element often lies in the finish and the grouping. Take the time to build layers of texture, mix your heights, and integrate the bottles into your room’s existing color palette. Your home (and your recycling bin) will thank you.
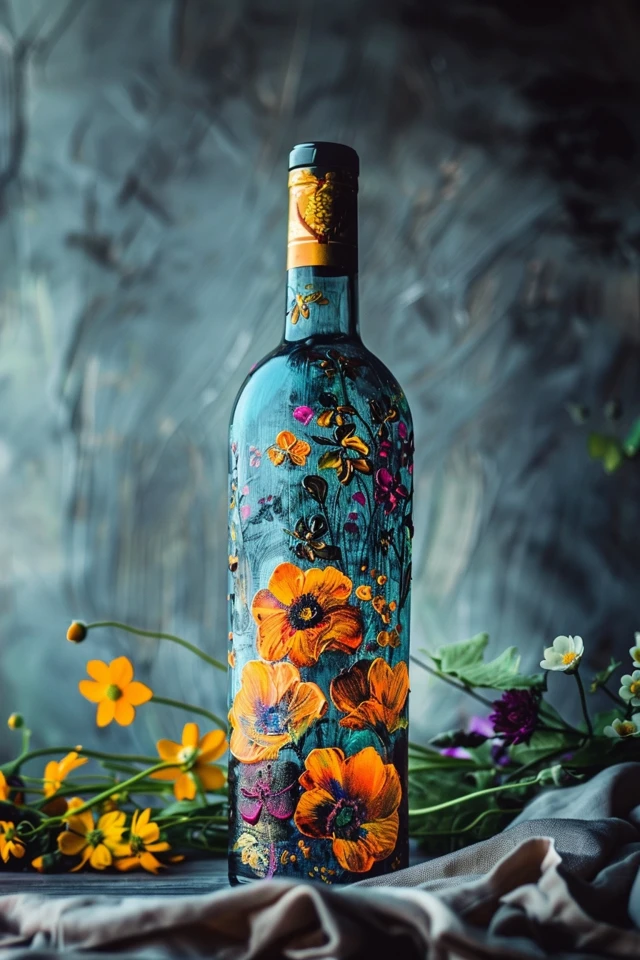
Picture Gallery


