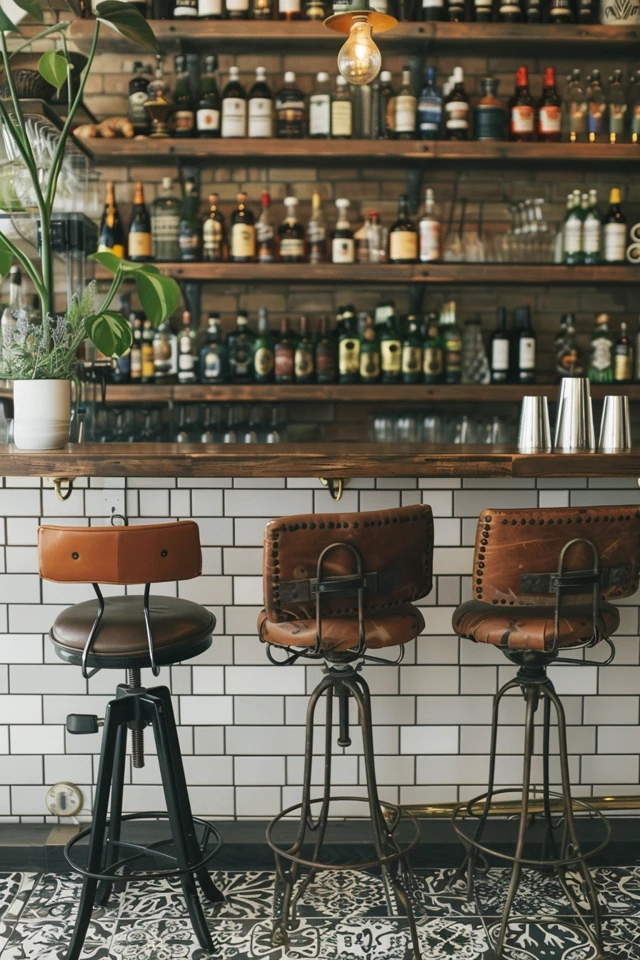
When it comes to creating the perfect bar setup in your home, don’t overlook the importance of a well-designed foot rail. A foot rail not only adds a stylish touch to your bar but also provides a comfortable place for patrons to rest their feet while enjoying their favorite beverages.
There are plenty of DIY bar foot rail ideas that can enhance the look and functionality of your home pub or bar space. From affordable foot rail DIY projects to creative and unique designs, the options are endless. One popular choice is the pipe-style foot rail, which comes in different finishes like matte black, oil-rubbed bronze, and gunmetal grey, adding a touch of elegance to your bar area.

However, it’s important to note that these lightweight tubing foot rails are primarily designed for their aesthetic appeal and may not offer the durability needed for commercial bars. For a more long-lasting solution, consider using commercial-grade foot rails fabricated from 1 1/2″ Schedule 40 black pipe or 2″ x 12 ga. steel tubing. These options provide ruggedness and strength, making them suitable for both home and commercial bars.
Installing a DIY bar foot rail is a straightforward process, with the right materials and instructions. With a little effort, you can create a stylish and functional addition to your bar space without breaking the bank.
Key Takeaways:
- Choose the right foot rail material, considering both aesthetics and durability.
- Consider commercial-grade foot rails for long-lasting results.
- Follow proper installation instructions to ensure stability and safety.
- Maintain and clean the foot rail regularly to keep it in good condition.
- Explore creative and unique DIY foot rail designs to personalize your bar space.
How to Install a Bar Foot Rail
Installing a bar foot rail requires careful planning and execution. Here are the steps to follow for a successful installation:
- Choose the Right Foot Rail Material: Select a foot rail material that complements your bar’s design and meets your maintenance requirements. Whether you prefer stainless steel, brass, or wood, ensure that it aligns with your overall vision.
- Measure and Mark: Determine the location for the foot rail and mark it accordingly. Take into consideration the comfort of your patrons, ensuring that it is at an appropriate height.
- Install Mounting Brackets: Place mounting brackets at regular intervals along the marked area. These brackets provide the necessary support for the foot rail.
- Attach the Foot Rail: Depending on the type of foot rail and brackets being used, follow the manufacturer’s instructions to securely attach the foot rail. Whether you need to drill holes or use adhesive, make sure it is firmly in place.
- Test for Stability: After installation, test the foot rail to ensure it is stable and comfortable to use. Apply some pressure to check for any wobbling or movement.

Proper maintenance and cleaning are essential to keep your foot rail in good condition. Regularly clean and polish it to maintain its appearance and functionality. With careful installation and maintenance, your bar foot rail will enhance both the aesthetics and functionality of your bar space.
If you’re looking for inspiration or assistance with your bar foot rail installation, check out the image below for some creative ideas:
Tips for Designing and Building a Drink Rail for a Bar
Designing and building a drink rail for your bar requires careful attention to architectural standards and guidelines. To create a functional and visually appealing drink rail, it’s important to consider the following factors:
Drink Rail Design: Choose a design that complements the overall aesthetics of your bar. You can opt for sleek and modern designs or go for a more rustic look with reclaimed wood. The design should enhance the atmosphere and enhance the customer experience.
Drink Rail Dimensions: Pay attention to the dimensions of the drink rail to ensure optimal comfort for your patrons. The distance between the edge of the bar top and the face of the opposing wall should be between 82″ – 96″ to allow for comfortable seating and circulation. The height of the drink rail should match the bar top height, typically ranging from 42″ – 45″. The drink rail itself should be 10″ – 12″ deep with a 4″ backsplash for added functionality.

Bar Seating Guidelines: Ensure proper customer activity zones and ADA clearance in front of the bar and drink rail. This is important for safety and accessibility. Follow the guidelines provided by regulatory authorities to ensure compliance with legal standards.
Bar Design Ideas: Explore different bar design ideas to create a unique and inviting space. Consider incorporating different materials, textures, and colors that reflect your brand identity. This will help create a memorable experience for your customers.
Bar Equipment Cost: When designing a drink rail, it’s essential to budget for the cost of bar equipment. Consider the durability and fire-resistance of the materials you choose, especially for commercial applications. Additionally, having a continuous plywood underlayment can provide added support and longevity to your drink rail.
By adhering to specific dimensions and guidelines for drink rail design, you can create a functional and visually appealing addition to your bar space. Take the time to carefully plan and execute your drink rail design to ensure a comfortable and enjoyable experience for your patrons.

