
DIY Guide: How to Dye a Chair Like a Pro
We have all been there. You walk into a thrift store or scroll through an online marketplace and spot the perfect chair. The silhouette is sculptural, the frame is solid hardwood, and the scale is exactly right for that empty corner in your living room. There is just one massive problem: the upholstery color is hideous, or worse, faded and stained.
Reupholstery is expensive. A professional job can easily cost upwards of $600 to $800 for a single armchair, not including the cost of new fabric. This is where fabric dyeing comes in as a secret weapon for budget-conscious renovations. I have used this technique in rental properties and budget makeovers to transform tired, beige armchairs into moody, navy statement pieces for less than $50.
However, dyeing upholstery is not the same as dyeing a t-shirt in a bucket. It requires patience, the right chemical balance, and a strategic application method to ensure the color is even and doesn’t rub off on your guests’ clothing. For visual inspiration on color transformations, be sure to check out the Picture Gallery at the end of the blog post.
1. Assessing the Fabric and Color Theory
Before you buy a single bottle of dye, you must identify what you are working with. Not every chair is a candidate for dyeing. The most critical rule of thumb in interior design DIYs is knowing when to walk away.
The Water Drop Test
To see if your fabric can accept dye, place a few drops of water on the seat. If the water beads up and rolls off, the fabric has a stain-resistant treatment (like Scotchgard) or is a non-porous synthetic. You cannot dye this easily; the color will simply sit on top and rub off later. If the water sinks in immediately, you are in business.
Fiber Content Matters
Natural fibers are the easiest to dye. Cotton, linen, wool, and silk absorb pigment beautifully. Synthetics like polyester, acrylic, and acetate are stubborn. While there are dyes formulated specifically for synthetics, they usually require high heat (boiling water) to set, which is impossible to do on an upholstered chair. If your chair is a blend (e.g., 60% cotton, 40% polyester), it will take the dye, but the color will likely be lighter or “heathered” in appearance.
The Rule of Darker, Not Lighter
Dye is transparent, much like watercolor paint. You cannot dye a navy blue chair white, nor can you dye a red chair bright yellow. You must always go darker than the original color.
- Ideal candidates: White, cream, beige, or light grey chairs.
- Color math: If you dye a yellow chair with blue dye, you will get green. If you dye a red chair with blue dye, you will get purple.
- Patterns: If your chair has a floral pattern, the dye will wash over it. The pattern will usually remain visible but in a different tonal variation. This can actually look quite high-end, like an over-dyed vintage rug.
2. Setting Up Your Workspace and Materials
Dyeing upholstery is a messy process. In a professional workshop, we have designated zones for this, but at home, you need to create a splash zone. Do not attempt this in your carpeted living room. A garage, patio, or driveway is ideal.
Essential Supply List
- Liquid Dye: I prefer liquid over powder for upholstery because it is pre-dissolved, reducing the risk of gritty spots.
- Spray Bottle: Get a heavy-duty gardening spray bottle, not a small hair mister. You need consistent pressure.
- Nylon Scrub Brush: To work the dye into the fibers.
- Painter’s Tape and Plastic Sheeting: To protect the wood legs or metal frame.
- Gloves: Rubber dishwashing gloves are better than thin latex ones.
- Fabric Medium (Optional): If you are using a paint-based method rather than pure dye.
- Water: A bucket of warm water for mixing.
Designer’s Note: Protecting the Wood
The number one giveaway of a DIY job is dye bleeding onto the wood frame. Tape is not enough. I wrap the legs in painter’s tape, then wrap plastic wrap over the tape, and then tape the plastic down again. Wood is porous; if a dark blue dye drips onto a light oak leg, that stain is permanent unless you sand it out.
3. Deep Cleaning and Prepping the Surface
You cannot dye over dirt. Even if the chair looks clean, it likely holds invisible oils from years of skin contact, pet dander, or dust. These oils act as a resist, meaning the dye won’t penetrate those spots, leading to a blotchy finish.
The Vacuum and Scrub Method
Start with a thorough vacuuming using the upholstery attachment. Get into the crevices. Next, mix a mild solution of water and dish soap. Scrub the fabric gently to lift surface oils. Do not soak the chair foam; just clean the surface.
Wetting the Fabric
This is a pro tip that most tutorials skip. Before applying any dye, mist the entire chair with plain water until it is damp to the touch.
- Why this works: Dry fabric grabs pigment instantly, creating dark splotches where the dye first lands.
- The benefit: Damp fabric allows the dye to wick and spread evenly, giving you a smooth, professional gradient.
- The check: Ensure the fabric is evenly damp, not dripping wet.
4. The Application Technique
This is the scary part, but if you have prepped correctly, it will go smoothly. I recommend working in sections: inside back, seat cushion, arms, outside back.
Mixing the Solution
For a standard liquid dye (like Rit), I usually start with a ratio of 1 part dye to 4 parts hot water. Hot water helps “open” the fibers to accept the color. Shake your spray bottle vigorously.
The Spray and Scrub
Spray a section of the chair from about 6 to 8 inches away. Do not aim for full opacity on the first pass. It is better to do three light coats than one heavy, soaking coat.
Immediately after spraying, take your nylon scrub brush and work the dye into the fabric using circular motions. This does two things:
- It pushes the pigment deep into the weave, rather than letting it sit on the surface.
- It evens out the spray droplets so you don’t get a speckled look.
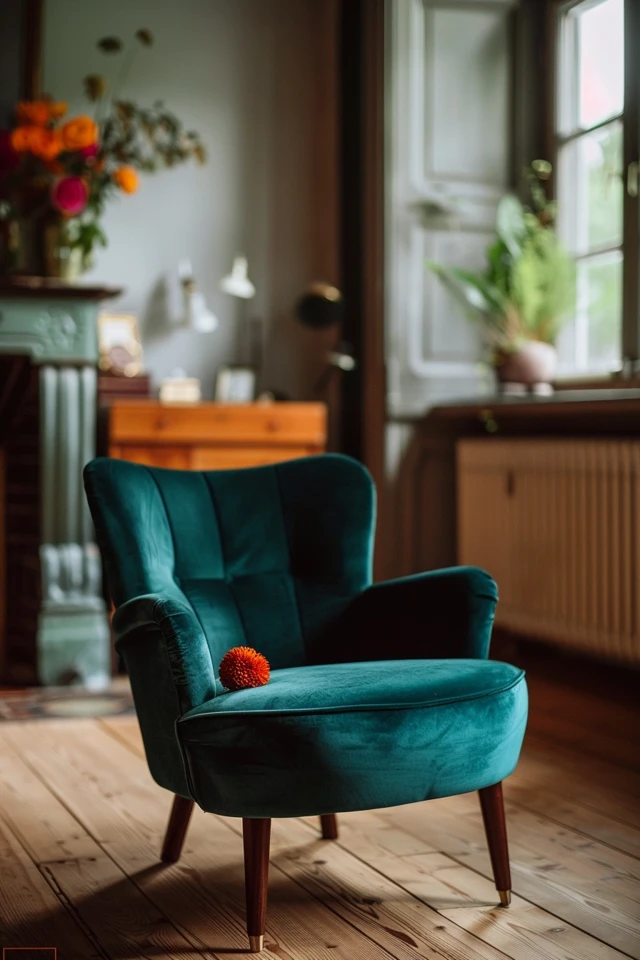
Handling Velvet
If you are dyeing a vintage velvet chair, be careful with the scrubbing. Use a softer bristle brush. Velvet has a “nap” or direction. You want to brush the dye in, but ensure you finish by brushing the pile in its natural direction so it dries smooth, not chaotic.
Designer’s Note: The “Wet Edge”
Always keep a “wet edge.” This means you shouldn’t let one patch dry completely before starting the neighboring patch. If the edge dries, you will get a visible line where the layers overlap. Work quickly and complete the whole chair in one session.
5. Setting the Color and Finishing
You have dyed the chair, and it looks great. But if you sit on it with white jeans, will you turn blue? This is the biggest fear with DIY dyeing. Proper setting is non-negotiable.
The Drying Phase
Let the chair dry completely. This can take 24 to 48 hours depending on humidity. Do not put it in direct sunlight while drying, as this can fade the wet dye unevenly. A fan in a well-ventilated garage is best.
The Rub Test and Sealing
Once dry, take a clean white cloth and rub the fabric vigorously. You will likely see some color transfer. This is excess dye that hasn’t bonded.
- Step 1: Wipe the entire chair down with a damp cloth to remove surface residue.
- Step 2: Apply a dye fixative. Brands like Rit sell a spray-on fixative. Apply this generously. It helps bond the dye to the fiber chemically.
- Step 3: Let it dry again.
Common Mistake: Stiffness
Sometimes, dyeing can make fabric feel stiff or crunchy. If this happens, take a very fine-grit sanding sponge or a stiff bristle brush and vigorously brush the dry fabric. This breaks the microscopic stiffness on the fibers and returns the “hand” (softness) to the cloth.
What I’d Do in a Real Project (The Final Checklist)
If I were managing this for a client on a budget, here is the exact protocol I would follow to ensure the piece looks showroom-ready:
1. Material Check:
- I would only attempt this on natural fibers (cotton/linen/velvet).
- I would ensure the chair has no metal studs/nailheads, or I would accept that I have to paint over them or replace them later (taping studs is a nightmare).
2. Color Selection:
- I would test the dye color on a hidden piece of fabric first (usually under the cushion or the skirt).
- I would always mix enough dye solution for two coats to ensure I don’t run out halfway through.
3. The Environment:
- I would set up a drop cloth radius of at least 5 feet. Overspray travels further than you think.
- I would use daylight bulbs (5000K) or natural light to check the color application. Indoor warm lighting (2700K) hides patchiness.
4. The Finishing Touch:
- After the final dry, I would spray the chair with a high-quality fabric protector (like Scotchgard) to lock everything in and prevent future stains.
Frequently Asked Questions
Can I dye a leather chair?
Yes, but not with fabric dye. You need specialized leather dye. Leather is skin, not a weave. The process involves stripping the leather finish, applying the dye with a sponge, and sealing it with a leather topcoat. Do not use all-purpose fabric dye on leather; it will streak and peel.
Will the dye cover bleach spots?
Dye is transparent. If you have a navy chair with a white bleach spot, and you dye the whole thing navy, the bleach spot will become light blue while the rest becomes dark navy. The spot will always be lighter. To fix this, you have to “spot treat” the bleach mark with concentrated dye first to get it close to the base color, then dye the whole chair.
How long does the dye last?
If done correctly with a fixative, it can last for years. However, like any fabric, it will fade over time if exposed to direct sunlight. The good news is that you can always refresh it with another light coat of dye in the future.
Does the dye smell?
During application, there is a slight chemical smell, but it is not overpowering like oil paint. Once the fabric is rinsed (wiped down) and fully dry, the smell dissipates completely.
Conclusion
Dyeing a chair is one of the most high-impact, low-cost DIY projects you can tackle. It bridges the gap between buying new furniture and living with something you hate. By understanding the composition of your fabric and respecting the process of cleaning, wetting, and sealing, you can achieve a finish that looks intentional and custom.
Remember that perfection is not always the goal. A slight variation in tone can give a piece character, mimicking the look of expensive washed linen or vintage velvet. Trust the process, protect your floors, and give that vintage find a second life.
Picture Gallery


