
Exterior Cinder Block Wall Painting Ideas & Tips
Raw cinder block walls are a frequent sight in backyards, basements, and garages, but they rarely win points for aesthetic appeal. In their natural state, they often look unfinished, industrial in a cold way, or simply neglected. I recall a project where a client had a beautiful mid-century modern patio that was completely ruined by a towering, stained gray block wall running along the property line. It felt less like a private oasis and more like a utility yard.
Transforming that wall wasn’t just about slapping on a coat of blue paint; it required understanding masonry, moisture, and how texture interacts with light. With the right preparation and product selection, a cinder block wall can become a stunning architectural feature or a subtle backdrop that lets your landscape shine.
In this guide, I will walk you through the professional steps to paint exterior masonry and share the design strategies I use to make these walls look intentional. If you are looking for visual inspiration, you can scroll down to the Picture Gallery at the end of this post.
1. Preparing the Surface: The Foundation of Success
The biggest mistake DIYers make with cinder blocks is underestimating the porosity of the material. Cinder blocks act like hard sponges. If you do not clean and seal them correctly, your expensive paint job will peel within a year due to trapped moisture or dirt.
Before you even look at color swatches, you must assess the condition of the wall. If the wall is retaining soil, you have to be mindful of hydrostatic pressure—water pushing from the dirt through the block. If you see white, powdery residue on the blocks, that is efflorescence (salt deposits), and painting over it guarantees failure.
Start by cleaning the wall thoroughly. A garden hose is rarely enough; I recommend a pressure washer set between 1,500 and 2,000 PSI. You want to blast away loose mortar, dirt, and moss, but you don’t want to damage the structural integrity of the block.
Designer’s Note: Handling Efflorescence
If you see that white powder mentioned earlier, water is migrating through your blocks.
- The Fix: You must remove it before painting. Scrub the area with a wire brush and a solution of muriatic acid and water (usually 1 part acid to 10 parts water—wear protective gear).
- The Prevention: If the moisture is coming from behind the wall (like a retaining wall), painting the front may trap the water and cause the paint to bubble. In these cases, you might need to address drainage behind the wall first, or use a specifically breathable masonry stain rather than a film-forming paint.
Once washed, let the wall dry completely. This is not a “wait two hours” situation. In humid climates, I advise clients to wait 48 hours after washing before applying any primer. If you trap moisture inside the block, the sun will heat it up, turn it to vapor, and pop your paint off the surface.
2. Selecting the Right Paint and Materials
Do not use standard exterior house paint on cinder blocks. Standard acrylic latex is designed for siding and wood; it is often too thin to fill the deep pores of a cinder block, leading to pinholes that look messy and let water in.
For a professional finish, you want to use elastomeric paint or a high-quality masonry waterproofer. Elastomeric paint is much thicker than standard paint—it feels almost like liquid rubber. When it cures, it creates a flexible, waterproof membrane that can expand and contract with the wall as temperatures change.
If you are on a tighter budget or the wall is not a retaining wall, a high-quality 100% acrylic latex paint can work, but only if you use a block-filler primer first. Block filler is a heavy, goopy primer specifically designed to smooth out the rough texture of the masonry.
What I’d Do in a Real Project
If I am specifying materials for a client’s garden wall, here is my standard shopping list:
- Primer: A dedicated acrylic block filler. This cuts down on the amount of topcoat you need and smooths the surface.
- Top Coat: Elastomeric masonry paint in a matte or flat finish.
- Roller: A high-capacity roller with a 3/4-inch to 1-inch nap. You need the thick nap to push paint into the crevices.
- Brushes: A stiff nylon/polyester brush for “cutting in” around the edges and mortar joints.
Regarding the finish (sheen), I almost always strictly stick to flat or matte. Cinder blocks are imperfect. They have bumps, chips, and uneven mortar lines. Using a satin or semi-gloss finish will catch the light and highlight every single flaw. A flat finish absorbs light, effectively hiding the rough texture and making the wall look monolithic and solid.
3. Design Concepts: Turning “Block” into “Architecture”
Once the technical prep is understood, we can talk about aesthetics. The goal is usually to stop the wall from looking like a stack of individual blocks and make it look like a cohesive surface.
The “Disappearing” Wall:
If the goal is to highlight your landscaping, paint the wall a dark, receding color. Dark charcoal (like Benjamin Moore’s “Wrought Iron”) or a deep forest green creates a high-contrast backdrop for green foliage. When you put a bright green fern or a white hydrangea in front of a black wall, the plants pop, and the wall visually recedes.
The Faux Stucco Look:
If you prefer a Mediterranean or Southwestern vibe, you can minimize the appearance of the mortar joints. To do this, apply two to three heavy coats of block filler before your topcoat. This fills the texture of the block. Paint it a warm white or creamy beige. From a distance of 10 feet, it will read like smooth stucco rather than block.
Geometric Modernism:
Cinder blocks have a natural grid. You can use this to your advantage. I recently worked on a mid-century renovation where we painted the blocks a soft gray but painted the recessed mortar joints a crisp white. It emphasized the grid and turned the wall into a geometric pattern. This is labor-intensive, as it requires hand-painting the lines, but the visual payoff is huge for retro styles.
Common Mistakes + Fixes
- Mistake: Choosing a color that is too bright or saturated. A bright blue or red wall can look cheap and overwhelming in full sunlight.
- Correction: Always choose “muddy” versions of colors for exteriors. If you want blue, choose a slate blue with gray undertones. If you want yellow, go for an ochre or wheat color. The sun washes out color, so you need those gray/brown undertones to ground it.
- Mistake: Painting the capstones the same color as the wall.
- Correction: Treat the capstone (the flat blocks on top) like trim in a house. Painting them a contrasting color or a slightly darker shade of the wall color adds a finished, framed look.
4. Application Techniques for Texture
Painting rough masonry is physical work. You cannot simply glide the roller over the surface like you are painting drywall. You have to use pressure to force the paint into the pores.
The most efficient method is the “spray and back-roll” technique. If you have access to an airless sprayer, spray a heavy coat onto the wall. Immediately follow the sprayer with a roller, pushing that wet paint into the holes. The sprayer gets the material on the wall fast; the roller ensures adhesion and coverage.
If you are rolling by hand, work in small sections, roughly 4 feet by 4 feet. Dip your roller fully—do not scrape it dry on the tray. You want the roller dripping wet. Apply it in a W pattern, then roll vertically to spread it.
Addressing the Mortar Joints
The deep grooves between blocks (mortar joints) are the hardest part to paint.
- The Problem: The roller often bridges over the joint, leaving the mortar unpainted.
- The Solution: Use a thick brush to paint the mortar joints in your section first (“cutting in”), then immediately roll over the face of the blocks while the mortar paint is still wet. This blends the texture and prevents “picture framing” marks.
Be prepared for consumption rates. A gallon of paint that covers 350 square feet on smooth siding might only cover 150 to 200 square feet on raw cinder block. Buy 50% more paint than the can says you need.
5. Styling the Surroundings to Soften the Look
Painting is only half the battle. To truly integrate a cinder block wall into your exterior design, you need to layer elements in front of it. Hard masonry needs soft organic materials to balance it out.
Planting Strategy:
Avoid planting a straight row of hedge bushes right up against the wall; this emphasizes the rigidity of the barrier. Instead, layer your planting. Place taller grasses or bamboo in the back (about 18-24 inches off the wall to allow airflow) and lower flowering plants in front. The depth makes the space feel larger.
Trellises and Vines:
If the wall is expansive and boring, install wire trellises. You can anchor eye hooks into the mortar joints (easier to patch than drilling into the block) and run stainless steel wire in a diamond pattern. Train climbing vines like Star Jasmine or Boston Ivy to grow up the wire. This creates a “living wall” effect where the painted block just peaks through as a background color.
Lighting:
Lighting can change the texture of the wall entirely.
- Grazing: Place uplights in the ground about 6 to 12 inches away from the wall, aiming straight up. This highlights the rough texture of the block and creates dramatic shadows. This works best on dark-colored walls.
- Washing: Place lights further back (2 to 3 feet) and aim them at a wider angle. This washes the wall in soft light and minimizes the texture.
Designer’s Note: The “Rule of Thirds” for Walls
Visually break up long walls. I try to ensure that no more than one-third of the wall remains completely bare.
- 1/3 covered by plants/landscape.
- 1/3 broken up by decor (trellis, wall art, outdoor lighting).
- 1/3 left negative space (painted surface) to let the eye rest.
Final Checklist for Your Project
Use this checklist to ensure you don’t miss a step during your weekend warrior project.
- Inspect: Check for cracks, structural damage, and efflorescence.
- Repair: Patch cracks with concrete filler; scrub off salt deposits with acid cleaner.
- Clean: Pressure wash the wall (1,500-2,000 PSI) and let dry for 48 hours.
- Protect: Mask off the ground/patio with drop cloths and tape off adjacent siding.
- Prime: Apply a high-quality acrylic block filler using a thick nap roller (3/4″ – 1″).
- Dry: Allow primer to dry according to manufacturer instructions (usually 4+ hours).
- Paint Coat 1: Apply elastomeric or masonry paint. focus on filling mortar joints.
- Paint Coat 2: Apply a second coat for uniform color and waterproofing.
- Clean Up: Remove tape while the paint is still slightly tacky to avoid peeling.
- Style: Install lighting or plant landscaping at least 18 inches from the wall.
FAQs
Q: Can I just spray the paint on and skip rolling?
No. While spraying gets the paint on the wall, cinder blocks are too rough for spray alone to penetrate the deep pores. You will end up with pinholes that let water in. You must “back-roll” (roll over the wet spray) to force the paint into the surface.
Q: How long will a painted cinder block wall last?
If you prep correctly and use elastomeric paint, the finish can last 10 to 15 years. The most common cause of early failure is moisture trapped behind the paint (from not cleaning or drying properly) or water seeping in from the soil behind a retaining wall.
Q: My wall is retaining dirt. Can I waterproof the back?
If the wall is already built, it is difficult to waterproof the back (the soil side) without excavating. If you are seeing bubbling paint low on the wall, it is due to hydrostatic pressure. In this case, use a concrete stain rather than a thick paint. Stain allows moisture to pass through without peeling.
Q: Do I really need a block filler primer?
If you want a smoother, more refined look, yes. Block filler is much heavier than regular primer and fills the small holes in the concrete. If you don’t mind the “sponge” look of the block and just want color, you can skip it, but you will use significantly more topcoat paint.
Conclusion
Painting an exterior cinder block wall is one of the most high-impact, low-cost renovations you can do for your home’s exterior. It takes a surface that looks unfinished and industrial and turns it into a deliberate design element.
The secret lies in the patience of preparation. Scrubbing, patching, and allowing for proper dry times are not the fun parts, but they are the reason a professional job lasts a decade while a rushed job peels in a season. Whether you choose a moody charcoal to make your garden pop or a clean, stucco-like white for a modern feel, the right paint job will completely change the atmosphere of your outdoor living space.
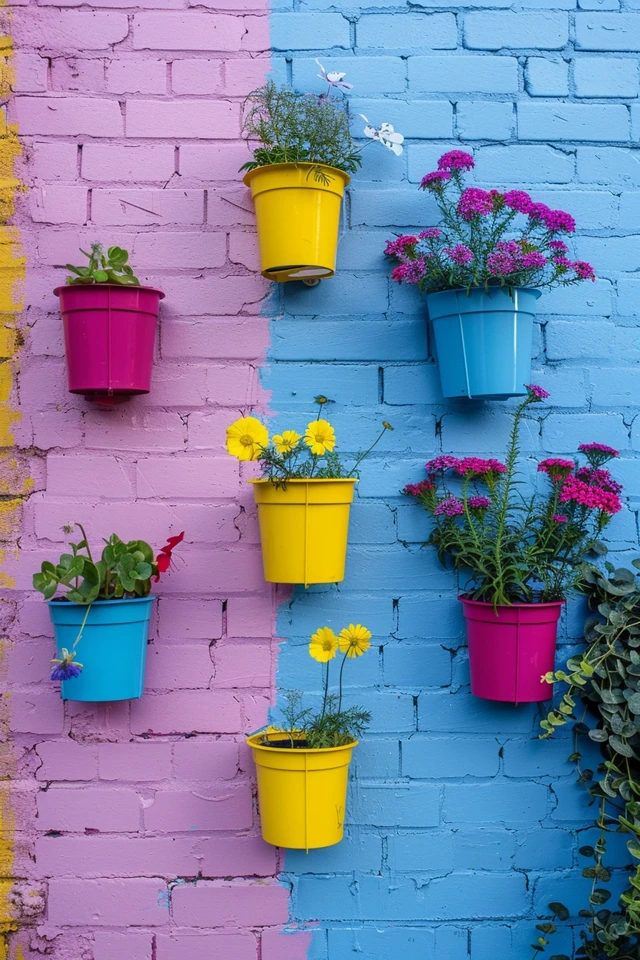
Picture Gallery


