
How to Build a Backyard Pizza Oven: Step-by-Step Guide
There is something primal and incredibly satisfying about cooking with wood fire. As a designer, I often encourage clients to view their outdoor spaces as extensions of their living rooms, and a pizza oven serves as the ultimate anchor for an outdoor kitchen. It provides warmth, activity, and a sculptural focal point that draws guests outside even when the temperature drops.
Building a permanent masonry oven is a significant project, but it is achievable with careful planning and the right materials. It requires a blend of structural engineering logic and an artist’s eye for proportion and finish. The result is a durable appliance that cooks far better than portable metal units because of its thermal mass.
This guide will walk you through the process from foundation to the final render. For plenty of visual inspiration on finished designs, make sure to check out our Picture Gallery at the end of this blog post.
Phase 1: Location, Design, and Logistics
Before you buy a single bag of cement, you need to understand where this heavy structure fits into your landscape. A masonry oven can weigh anywhere from 1,000 to 3,000 pounds. Once it is built, it is not moving.
The Work Triangle
Just like an indoor kitchen, outdoor cooking zones need a functional flow. You need a landing zone for raw pizzas and a separate spot for cooked food. In my designs, I always specify a minimum of 36 inches of countertop space directly adjacent to the oven mouth. Without this, you will be balancing a hot peel while trying to slice a pizza, which is a recipe for disaster.
Wind and Smoke
Consider the prevailing winds in your backyard. You do not want the oven mouth facing directly into the wind, as this can blow smoke back into the chef’s face and cool the oven interior. Ideally, position the oven so the wind hits the back or side of the dome.
Designer’s Note: Scale and Proportion
A common error I see in DIY projects is an oven that looks like a tiny pimple on a large patio, or a massive monolith that overwhelms a small garden.
- For a standard 12-14 foot wide patio, a 36-inch internal diameter oven is appropriate.
- Ensure the oven dome height does not block key sightlines from inside the house.
- Leave at least 3 feet of circulation space around the front of the oven for the person cooking.
Phase 2: Sourcing Materials and Tools
You cannot use standard construction materials for the core of the oven. Standard red clay bricks will crack and eventually explode under the intense heat of a pizza fire, which can reach 900°F.
The Core Materials
You need “refractory” materials. This means firebricks that have a high alumina content to handle thermal shock. You also need refractory mortar (often sold as high-heat mortar) or a home-brew mix of silica sand, fire clay, Portland cement, and lime.
Insulation is Key
The secret to an oven that stays hot for 24 hours is insulation. You will need ceramic fiber blanket (often called Kaowool) to wrap the dome. For the floor insulation, you will need perlite or vermiculite to mix with cement.
What I’d Do in a Real Project: The Material List
If I were sourcing this for a client, my shopping list would look like this:
- Base: CMU blocks (cinder blocks), rebar, standard concrete mix.
- Hearth Floor: Calcium silicate board or a perlite/cement mix.
- Oven Floor: 12×12 inch firebrick tiles (smooth surface).
- Dome: Medium-duty firebricks (approx 150-200 bricks for a 36″ oven).
- Cladding: Stucco, stone veneer, or face brick to match the house.
Phase 3: Building the Base and Hearth
The foundation must be rock solid. If you live in an area with a freeze-thaw cycle, you must dig footings below the frost line to prevent heaving.
The Concrete Slab
Pour a reinforced concrete slab that is at least 5 to 6 inches thick. This slab will support the weight of the stand and the oven itself. Ensure this is perfectly level; any tilt here will translate all the way up to the chimney.
The Stand Height (Ergonomics)
This is where custom design beats a kit. The height of the oven floor should be tailored to the primary chef.
- The Rule: The oven floor should sit at the chef’s elbow height, usually between 40 and 44 inches from the ground.
- Why it matters: If it is too low, your back will ache from bending over to check the fire. If it is too high, you cannot see the back of the pizza to check for burning.
The Insulating Hearth
On top of your concrete stand, you need an insulating layer. Never lay firebricks directly on standard concrete; the concrete will suck the heat out of the oven floor. I recommend a 4-inch layer of vermiculite concrete (a mix of 5 parts vermiculite to 1 part Portland cement). This layer stops heat transfer and keeps the cooking floor blazing hot.
Phase 4: The Dome Construction
This is the most technical part of the build. The geometry of the dome dictates how well the air flows. Cold air should be drawn in the bottom of the door, heated by the fire, roll over the dome, and exit the top of the door into the chimney.
The Golden Ratio
There is a specific mathematical ratio for a functioning pizza oven. The height of the oven door must be 63% (approx 63-64%) of the internal height of the dome.
- Example: If your internal dome height is 18 inches, your door opening height should be roughly 11.25 inches.
- If the door is too high, heat escapes. If it is too low, the fire will choke for lack of oxygen.
Laying the Bricks
You will lay the firebricks in concentric circles. Many builders use a sand mold method. You pile damp sand on the hearth floor and shape it into the exact dome form you want. You then lay the bricks against this sand mound. Once the mortar dries, you scoop the sand out.
The Chimney Vent
The chimney must be placed outside the oven chamber, right above the entry arch (the “landing”). Do not put the chimney in the center of the dome, or all your heat will fly straight up and out. You want the heat to roll inside the dome before exiting.
Phase 5: Insulation and Cladding
Once the firebrick dome is built, it will look rough. It is also fragile to the elements. You must insulate and waterproof it.
Thermal Blanket
Wrap the exterior of the brick dome in ceramic fiber blankets. I usually specify two layers of 1-inch blanket. This ensures that even when the inside is 800°F, the outside of the oven is cool to the touch. This is a critical safety feature if you have children or pets running around the patio.
Chicken Wire and Scratch Coat
Wrap the insulation in chicken wire to give the exterior shell something to grip. Apply a “scratch coat” of masonry mortar over the wire. This creates a hard shell that protects the soft insulation.
The Final Finish
This is where we tie the design back to your home’s architecture.
- Modern/Minimalist: Smooth, white acrylic stucco. This looks crisp and architectural.
- Traditional/Rustic: Natural stone veneer or tumbled brick. This hides soot well and ages beautifully.
- Mediterranean: Warm terracotta-tinted lime wash or rough-troweled plaster.
Common Mistakes + Fixes
Even with a guide, things can go wrong. Here are the issues I see most often when I’m called in to fix a DIY job.
Mistake 1: Rushing the Curing Process
The Issue: You build the oven and light a huge fire the next day. The water trapped in the mortar turns to steam, expands, and cracks your dome.
The Fix: Patience. Let the oven air dry for a week. Then, start small fires. Day 1: A tiny kindling fire (200°F). Day 2: A slightly larger fire (300°F). Increase gradually over 5-7 days.
Mistake 2: Ignoring Water Runoff
The Issue: The oven gets soaked in a rainstorm, absorbing water into the insulation.
The Fix: Use a waterproof masonry sealer on the final stucco. If you live in a very wet climate, I recommend building a roof structure or pergola over the oven area.
Mistake 3: Poor Wood Storage
The Issue: Having to walk across the yard to get wood while cooking.
The Fix: Design wood storage directly into the base of the oven stand. Leave a void in the block work (an arch or square opening) beneath the hearth. It keeps wood dry and looks visually grounded.
Styling the Pizza Oven Zone
As a designer, I am focused on the atmosphere. The oven is a utility, but the surrounding area is where the memories happen. The lighting and furniture choices dictate how long guests will linger.
Lighting the Space
You need two types of light here. First, task lighting directed at the oven mouth so you can see the food. A flexible gooseneck barbecue light works, or a spotlight mounted on a nearby pergola. Second, ambient lighting. Use warm, dimmable string lights or path lights around the base of the oven to highlight the stone texture at night. Avoid harsh floodlights that kill the mood of the fire.
Furniture Layouts
Do not place the dining table too close to the oven face. The radiant heat can be intense.
- Zone 1: The Chef’s Zone. 3-4 feet of clear space directly in front of the oven.
- Zone 2: The Perch. Place a bar-height table or island about 6 feet away. This allows guests to watch the action and chat with the cook without being in the way.
- Zone 3: Dining. The main table should be 10-12 feet away, out of the smoke line but within the glow of the fire.
Final Checklist
Before you strike that first match, run through this list to ensure your project is complete and safe.
- Foundation: Is the slab fully cured (28 days is standard for full concrete strength)?
- Clearance: Is the oven at least 10 feet away from combustible siding, fences, or low-hanging tree branches?
- Ventilation: Does the chimney draw smoke effectively?
- Insulation: Is the outer shell cool to the touch when a fire is burning?
- Tools: Do you have a metal peel (for putting pizza in), a wooden peel (for prepping), and a brass bristle brush (for cleaning the floor)?
- Fuel: Do you have a supply of dry, hardwoods like oak, maple, or ash? (Avoid pine or softwoods; they contain resin that creates acrid smoke).
FAQs
Q: How much does it cost to build a DIY pizza oven?
A: A true masonry oven usually costs between $800 and $1,500 in materials. If you use high-end stone veneer or hire a mason for the brickwork, costs can easily exceed $3,000.
Q: Can I use regular bricks for the dome?
A: No. Regular red clay bricks are not designed for repeated thermal shock. They will spall (flake off) and eventually crumble. You must use firebricks for the internal cooking chamber.
Q: How long does it take to heat up?
A: A well-insulated masonry oven takes about 60 to 90 minutes to reach pizza-cooking temperatures (700°F – 900°F). However, once hot, it can hold baking temperatures for bread (400°F) for many hours after the fire is out.
Q: Do I need a building permit?
A: In many municipalities, a permanent masonry structure requires a permit, especially if it includes a chimney or is near a property line. Always check your local zoning laws and HOA guidelines before digging the foundation.
Conclusion
Building a backyard pizza oven is more than a construction project; it is a commitment to a slower, more intentional way of eating. It transforms a backyard from a passive viewing area into an active kitchen. The food tastes better not just because of the wood fire, but because of the effort and craftsmanship involved in the process.
From a design perspective, a masonry oven adds permanence and texture that ready-made grills simply cannot match. It anchors the hardscape and provides a gathering place that feels ancient and modern all at once. Take your time with the build, respect the curing process, and you will have a culinary centerpiece that lasts for generations.
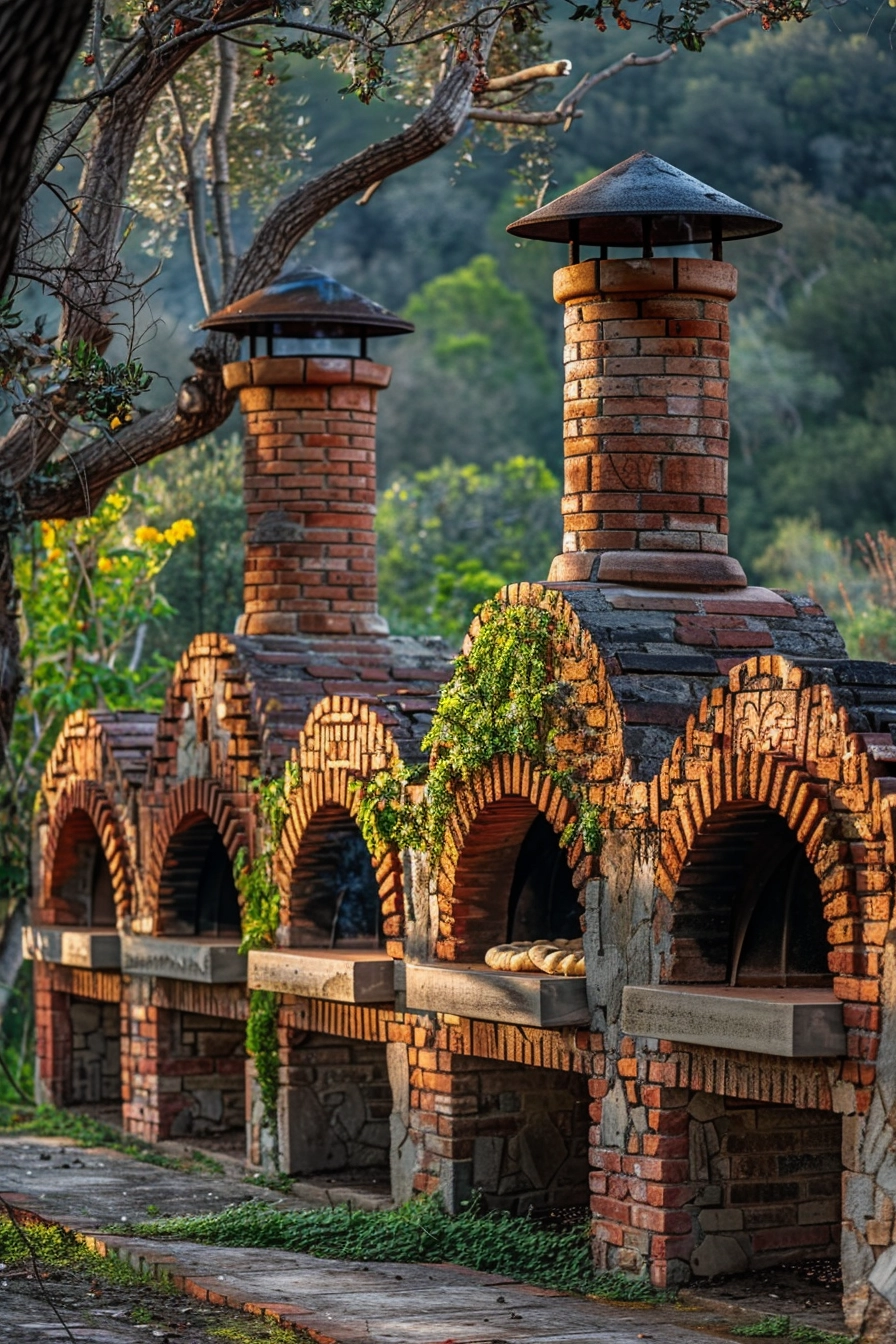
Picture Gallery


