
Title: How To Cover Bed Frame With Fabric: DIY Upholstery
Introduction
There is nothing quite as jarring in a serene bedroom design as a cold, metal bed frame or a dated, scratched wood platform. We spend a third of our lives in bed, so the visual impact of that piece of furniture is massive. Upholstering a bed frame is one of the most transformative DIY projects you can undertake, instantly softening the room and elevating the overall aesthetic.
I remember my first apartment had a basic metal frame that screeched every time I moved, and it ruined the cozy vibe I was trying to build. I decided to wrap the rails in batting and linen, and suddenly, the bed looked like a custom piece from a high-end showroom. If you are looking for visual examples of how this transformation works, remember that the Picture Gallery is at the end of the blog post.
In this guide, I will walk you through the process of covering your bed frame with fabric, whether you are refreshing an old headboard or softening hard side rails. We will cover fabric selection, necessary tools, and the specific techniques used by pros to get those crisp, tailored corners.
Assessing Your Frame and Design Goals
Before you buy a single yard of fabric, you need to understand the architecture of your current bed. Not all frames are built the same, and the method you choose depends on the underlying structure.
If you have a basic metal Hollywood frame, you are essentially building a box to go around it or attaching upholstered boards to it. If you have an existing wooden platform bed, you have a solid substrate to staple directly into.
Determine your style goal:
- The Slipcover Look: This is looser, casual, and usually features a skirt that touches the floor. It fits farmhouse or “shabby chic” aesthetics.
- The Tailored Upholstery Look: This is tight, smooth, and requires precise stapling. This is best for modern, transitional, or mid-century modern designs.
Designer’s Note:
When working with clients, I always check the clearance under the bed first. If you plan to upholster side rails, ensure you are not blocking under-bed storage or lowering the visual height of the bed too much. A wrapped rail adds bulk, usually about 1 to 1.5 inches of thickness per side.
Choosing the Right Fabric and Batting
The fabric you choose makes or breaks this project. Since a bed frame is a high-contact area—think of legs rubbing against the rails or pillows against the headboard—durability is key.
Fabric Selection Rules:
- Heavyweight Linen or Cotton Duck: These are excellent for beginners. They have a bit of give, hide staple imperfections well, and offer a clean, organic look.
- Performance Velvet: This is my go-to for luxury looks. It is incredibly durable and easy to clean, but it can be slippery to work with.
- Avoid Prints (Unless you are a pro): Pattern matching on long rails and corners is extremely difficult. Stick to solids or heathered textures for your first attempt.
- Avoid 100% Silk or thin Rayon: These will tear under the tension of stapling and show every lump in the batting.
Calculating Yardage:
Standard upholstery fabric bolts are 54 inches wide. For a standard Queen bed, you generally need about 5 to 7 yards of fabric if you are doing the headboard and rails. Always buy 15% more than you think you need for mistakes.
Batting Matters:
Do not skip the batting. Batting provides the “loft” and softness that distinguishes a nice piece of furniture from a cheap DIY. I recommend a 1-inch thick polyester batting or high-loft dacron. If you want a very square, modern edge, use high-density upholstery foam (0.5 inch) instead of loose batting.
Tools and Materials List
Having the right tools prevents frustration. You do not need a sewing machine for the method I am teaching here, which relies on stapling and folding.
Essential Tools:
- Electric Staple Gun: Do not use a manual hand stapler. Your hand will cramp, and you won’t get enough force to drive staples fully into hardwood.
- Staples (3/8 inch or 1/2 inch): The length depends on the hardness of your wood frame.
- Fabric Scissors: These must be sharp to cut clean lines through thick batting.
- Measuring Tape and Chalk: For marking cuts.
- Upholstery Tack Strip (Cardboard or Metal): This helps create blind seams if you are joining pieces of fabric.
- Rubber Mallet: Helpful for securing tack strips or decorative nailheads.
Common Mistakes + Fixes:
Mistake: Using staples that are too long.
Fix: If the staple goes all the way through the wood and pokes out the other side, it will snag your mattress or box spring. Test one staple in an inconspicuous area first.
Step-by-Step Guide: The Prep Work
Preparation is 80% of the work. If you rush this stage, the final fabric will look lumpy or crooked.
Step 1: Disassemble and Clean
Take the mattress and box spring off. If you can, detach the headboard and side rails. Working on them flat on the floor (or on sawhorses) is infinitely easier than trying to upholster a vertical surface.
Clean the frame thoroughly. If the wood has a high-gloss varnish, sand it lightly with 120-grit sandpaper. This gives the staples a bit more “bite” and prevents the wood from splitting.
Step 2: Apply the Batting
Cut your batting to cover the face of the frame, wrapping over the top and bottom edges.
Secure the batting with a few staples on the back of the frame.
Pro Tip:
Do not pull batting too tight. It should just lay on the surface. If you stretch it, it creates thin spots. Trim away excess batting at the corners to reduce bulk. You want the fabric to hug the corner, not a wad of cotton.
Step-by-Step Guide: Attaching the Fabric
This is where the magic happens. The goal is even tension across the entire length of the board.
Step 1: Center Your Fabric
Lay your fabric face down on the floor, then place the padded rail face down on top of it. Ensure you have equal overhang on all sides (at least 3-4 inches).
Step 2: The North-South-East-West Method
Do not start stapling at one end and work to the other. This pushes the fabric and creates ripples.
Place one staple in the center of the top rail (on the back).
Pull the fabric taut—remove about 10% of the slack, but don’t warp the weave—and place one staple in the center of the bottom rail.
Repeat this for the left and right sides.
Step 3: Fill in the Line
Working from the center out toward the corners, staple every 1 to 2 inches. Stop about 3 inches before you hit the corner.
Check your work constantly. Flip the rail over to ensure the fabric grain is straight.
What I’d Do in a Real Project:
I always run my hand firmly along the rail edge as I staple. I am feeling for smoothness. If I feel a staple from the batting layer underneath, I tap it down with a hammer before covering it with fabric.
Mastering the Corners
The difference between a pro job and an amateur one is always the corners. You want a crisp, “hospital corner” fold, similar to how you make a bed with sheets.
The Pleated Corner Technique:
- Pull the Center: Pull the corner of the fabric straight up over the corner of the frame. Staple it down on the back.
- Tuck the Sides: You now have two “wings” of fabric on either side. Fold one wing in at a 45-degree angle, creating a clean crease. Staple it.
- Fold the Final Flap: Fold the remaining wing over the first one. This creates a tidy vertical pleat on the corner.
- Secure: Staple heavily on the back. Trim excess bulk with scissors so the rail sits flush against the hardware.
If your fabric is very thick (like velvet), you may need to cut a slit in the excess fabric underneath the fold to allow it to lay flat. Be very careful not to cut too close to the visible edge.
Advanced Finishing Touches
Once the fabric is attached, the back of your headboard or rails might look messy with hundreds of staples and frayed edges.
Dust Cover (Cambric):
To finish like a pro, buy a yard of black “dust cover” fabric (often called cambric). Cut it to size slightly smaller than the frame. Staple this over the back to hide all your raw edges and structural wood. This prevents sawdust from falling and gives it a showroom finish.
Legs and Hardware:
If your bed frame has wooden legs, you have a choice. You can tape them off and leave them exposed wood for contrast. Or, you can replace them entirely. I often swap out generic legs for mid-century tapered legs or acrylic feet to modernize the piece.
Nailhead Trim:
If the expanse of fabric feels too plain, consider adding a nailhead trim. Use a spacer tool (usually comes with the nails) to ensure even spacing.
Designer Warning: Ensure your line is perfectly straight. Use a chalk line or laser level as a guide. Wavy nailheads look very messy.
Final Checklist
Before you put the mattress back on, run through this list to ensure safety and durability.
- Staple Check: Run your hand over every stapled area. Are there any protruding staples? Hammer them flat to avoid tearing your mattress or scratching your hand.
- Corner Bulk: Do the rails fit back together? If the corners are too bulky with fabric, you may need to loosen the bolts on the bed frame hardware to accommodate the extra thickness.
- Fabric Tension: Is the fabric sagging anywhere? If so, remove a few staples, pull tighter, and restaple.
- Hardware Access: Did you accidentally cover the bolt holes? Use an awl or a small knife to puncture the fabric exactly where the screws need to pass through.
- Protection: Spray the finished frame with a fabric protector like Scotchgard, especially if you chose a light-colored linen.
FAQs
Can I upholster a metal bed frame?
Yes, but you cannot staple into metal. You have two options: attach thin plywood strips to the metal frame using self-tapping screws and then upholster the wood. Or, create a “slipcover” sleeve that slides over the metal headboard and pulls tight at the bottom with velcro.
How do I clean an upholstered bed frame?
Vacuum it regularly with the upholstery attachment to remove dust. For stains, spot clean with a water-free solvent (if you used code S fabric) or a mild soap solution (for code W fabric). Always check the cleaning code of the fabric you buy.
Do I need to remove the old fabric first?
Not necessarily. If the old fabric is smooth and not smelly, you can go right over it. However, if the old fabric is textured (like a heavy brocade) or dark and you are switching to a light fabric, you should remove it to prevent texture or color bleed-through.
What if my bed frame has curved corners?
Curved corners are trickier than square ones. You will need to make small pleats—eases—all the way around the curve. Imagine pleating a dumpling wrapper. Use many staples close together to hold the curve smooth.
Conclusion
Covering a bed frame with fabric is one of the highest-reward projects in interior design. It requires minimal tools—mostly just patience and a good staple gun. By choosing the right fabric and taking the time to properly pad the frame, you change the acoustic and visual quality of your bedroom.
This project allows you to customize your space in a way that buying retail furniture simply cannot. You control the color, the texture, and the height. Whether you choose a moody velvet or a crisp white linen, the result is a bed that feels luxurious, grounded, and uniquely yours.
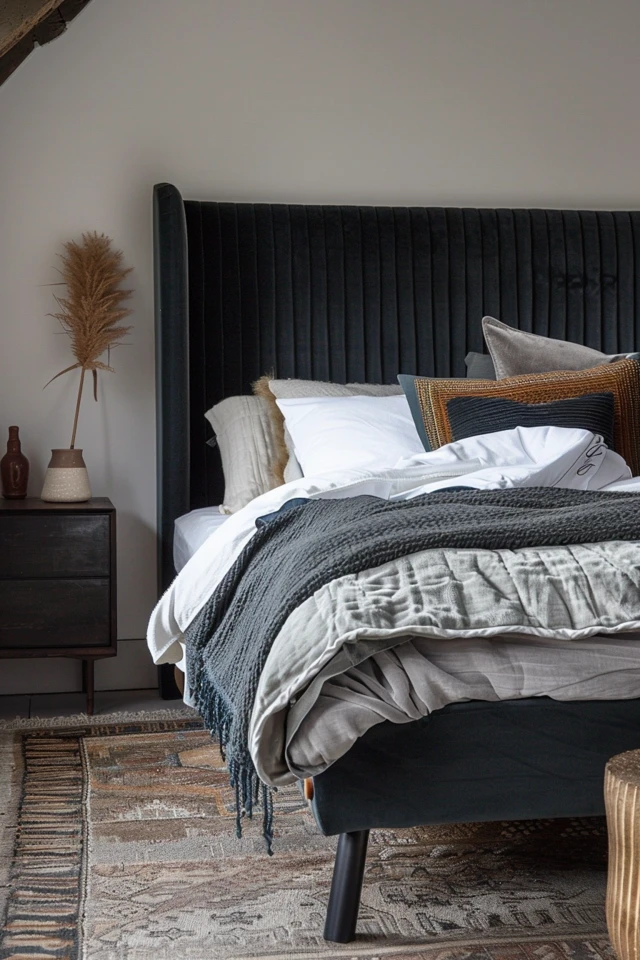
Picture Gallery


