
Title: How to Create a Living Plant Wall Inside Your Home
Introduction
There are few design elements as immediately arresting as a living plant wall. It changes the entire acoustics, air quality, and energy of a room the moment you install it. In my design practice, clients often request these vertical gardens to soften modern architecture or bring life to windowless corners.
However, a living wall is not just decor; it is a biological machine that requires specific inputs to survive. Many people attempt this project only to end up with a wall of dead leaves and water-damaged drywall because they treated it like hanging a picture frame. Success lies in understanding the intersection of plumbing, lighting, and horticulture.
We will break down exactly how to plan, install, and maintain a vertical garden that thrives rather than just survives. For a dose of visual inspiration before you start drilling holes, be sure to look at the Picture Gallery at the end of this blog post.
1. Choosing the Right System for Your Space
The first step in creating a living wall is determining how the plants will actually attach to your vertical surface. There is no “one size fits all” here, and your choice depends heavily on whether you own the home or are renting. The market is flooded with products, but they generally fall into three categories: loose pocket systems, rigid tray systems, and trellis methods.
Loose Pocket Systems (Felt)
These are often the most accessible for DIY enthusiasts. They consist of breathable, recycled felt pouches stapled or grommeted to a waterproof backing board.
Pros: The felt allows roots to breathe, preventing root rot. It creates a seamless “jungle” look quickly because the pockets are flexible.
Cons: You must ensure the backing is 100% waterproof, or you risk ruining the wall behind it.
Rigid Tray or Box Systems
These are modular plastic grids that lock together. You usually plant directly into a removable plastic container that slots into the grid.
Pros: Easier to swap out individual dead plants without disturbing the neighbors. They usually have built-in reservoirs.
Cons: They can look bulky until the plants grow in fully. They are generally heavier per square foot.
Trellis or Shelf Systems (The Renter’s Choice)
If you cannot drill into studs, a high-tension floor-to-ceiling trellis or an open shelving unit is your best bet. This relies on pots sitting on surfaces rather than a unified soil volume.
Pros: Zero damage to walls. Easy to move.
Cons: It looks more like “plants on a shelf” than a true living wall, though aggressive vining plants can hide the structure over time.
Designer’s Note: The Weight Calculation
A common oversight is underestimating the weight of wet soil. A fully saturated living wall can weigh between 10 to 15 pounds per square foot.
If your wall is 4 feet wide by 6 feet tall, you are hanging nearly 300+ pounds on that structure.
You must anchor into studs or use masonry bolts. Drywall anchors are not sufficient for a project of this scale.
2. Lighting: The Fuel for Your Wall
The number one reason indoor living walls fail is a lack of light. Our human eyes are incredibly adaptable; we can read a book in a dim corner and think the light is “bright.” Plants disagree. Light intensity drops off significantly every foot you move away from a window.
Assessing Natural Light
If you are relying on natural light, the wall needs to be facing South or West (in the Northern Hemisphere) and be within 3 to 5 feet of the glass.
East light is gentle and good for ferns but may not sustain vigorous growth.
North light is rarely enough for a dense living wall unless the windows are floor-to-ceiling.
Supplemental Grow Lights
In 90% of the projects I design, we install supplemental track lighting. This isn’t just for plant health; it highlights the texture of the foliage, turning the wall into a focal point at night.
Use full-spectrum LED bulbs that screw into standard track heads. They appear white to the eye but provide the red and blue wavelengths plants need.
Aim for about 1,000 to 2,000 lumens directed at the foliage.
Common Mistakes + Fixes
Mistake: Placing the lights too close or too far.
Correction: Lights should be mounted on the ceiling about 24 to 36 inches away from the wall surface. If they are too close, you burn the upper leaves. If they are too far, the light intensity dissipates before reaching the bottom plants.
3. Plant Selection and Zoning
You cannot simply pick plants that look pretty together; they must have identical water and light requirements. A living wall is a communal living situation. If you mix a succulent (dry) with a fern (wet), one of them will die.
The “Low Light” Tropical Palette (Safest Bet)
For most interiors, you want plants that tolerate consistent moisture and moderate light.
Pothos (Epipremnum aureum): The workhorse of vertical gardens. It trails beautifully and is nearly unkillable.
Heartleaf Philodendron: Similar to Pothos but with a matte finish and darker green leaves.
Dracaena: Adds upright spikes for textural contrast.
Aglaonema (Chinese Evergreen): Great for adding splashes of pink or silver patterns.
The “High Texture” Fern Palette
This requires higher humidity and more frequent watering.
Bird’s Nest Fern: creates large, architectural rosettes.
Rabbit’s Foot Fern: Adds a soft, lace-like texture.
Maranta (Prayer Plant): Adds movement and color, though they can be temperamental regarding water quality.
Designer’s Note: Grouping for Impact
Avoid the “polka dot” look where you place one of every plant randomly.
Plant in “drifts” or clusters of 3 to 5 of the same species.
Create diagonal swoops of color or texture. This mimics how plants grow in nature and guides the eye across the installation.
4. Irrigation and Water Management
Watering a vertical garden is the most intimidating part of the process. Gravity is your enemy here. Water tends to rush to the bottom plants, leaving the top dry and the bottom soggy.
Manual Watering
For walls smaller than 6 square feet, you can hand water.
Use a pump sprayer or a watering can with a long, thin spout.
Water the top row heavily; the water will trickle down to lower layers.
Tip: Always install a catch basin or a gutter at the very bottom of the wall to catch runoff.
Recirculating Systems
This is the standard for professional installations.
A reservoir (tank) sits at the base of the wall.
A small submersible pump pushes water up a tube to the top of the wall.
A drip line distributes water across the top row, and gravity pulls it down through the felt or trays.
Excess water drips back into the tank to be reused.
Drip Irrigation Logic
If you use an automatic system, you need a digital timer.
Set it to run for short bursts (e.g., 2 minutes) once a day or every other day.
Monitor the bottom plants. If they are soggy, reduce the duration.
What I’d Do in a Real Project:
If this is a permanent installation in a renovation, I always ask the contractor to plumb a drain line. Emptying a catch basin manually is a chore that clients eventually stop doing, leading to overflows. If you can’t plumb a drain, buy a wet-vac dedicated to the plant wall for easy maintenance.
5. Installation and Protection
Before you hang a single leaf, you must protect the architecture of your home. Plants transpire, meaning they release moisture into the air. This increases humidity right against your drywall.
The Air Gap
Never install a living wall system directly flush against drywall or wood paneling unless the system has a built-in air gap.
Use 1×2 inch pressure-treated furring strips to mount your system.
This creates a small gap between the plant tray and the wall, allowing air to circulate and preventing mold growth on the sheetrock.
Waterproofing the Backing
Even with a plastic tray system, accidents happen.
Paint the wall area behind the installation with exterior-grade or marine-grade paint.
Alternatively, mount a sheet of corrugated plastic or polycarbonate behind the system as a shield.
Dealing with “Splash Zones”
Consider the floor directly beneath the wall.
If you have hardwood floors, place a runner rug with a rubber backing in front of the wall.
During watering, splashes are inevitable.
Keep a microfiber towel nearby to wipe leaves and catch drips immediately.
6. Maintenance and Pruning
A living wall is not a static installation. It grows, changes, and occasionally throws a tantrum. Routine maintenance is the difference between a lush feature and a straggly mess.
Pruning for Density
When vining plants like Pothos get too long, they can look stringy.
Don’t be afraid to cut them back.
Snip the vines just above a leaf node. This encourages the plant to branch out and become bushier at the base, covering the mechanical parts of the wall system.
Cleaning the Leaves
Dust blocks sunlight. In a vertical arrangement, dust settles heavily on the broad leaves.
Once a month, wipe down the leaves with a damp cloth or use a leaf-shine spray.
This also gives you a chance to inspect for pests like spider mites or mealybugs.
Fertilization
Since the volume of soil in these pockets is small, nutrients deplete quickly.
Add this to your water can or reservoir once a month during the growing season (Spring and Summer).
Stop fertilizing in Winter when growth naturally slows down.
Final Checklist
Before you commit to buying plants, ensure you have ticked these boxes:
Structure: Have I located the studs? Is the hardware rated for 300+ lbs?
Light: Do I have a light meter reading of at least 150-200 foot-candles, or have I purchased track lighting?
Water: Do I have a plan for where the excess water goes (drain or catch basin)?
Protection: Is the wall behind the unit waterproofed or painted with exterior paint?
* Access: Can I safely reach the top row with a stepladder?
FAQs
Can I put a living wall in a bathroom?
Yes, bathrooms are actually excellent locations due to the high humidity. However, many bathrooms have small windows. You will almost certainly need to install a grow light bulb in your vanity fixture or ceiling can light to keep the plants alive.
Do living walls attract bugs?
They can, specifically fungus gnats, if the soil stays too wet. To prevent this, let the top inch of soil dry out slightly between waterings. Using “sticky stakes” hidden behind the leaves is a great proactive measure to catch strays before they multiply.
How much does a DIY living wall cost?
A small DIY system (2×4 feet) usually costs between $300 and $600. This includes the felt system ($100), plants ($150), soil ($50), and hardware/lighting ($100). Professional rigid systems will cost significantly more.
What happens if a plant dies?
It happens to the best of us. The beauty of pocket or tray systems is modularity. You can simply pull out the dead plant (root ball and all), shake out the loose soil, and pop a fresh plant into that specific pocket without dismantling the whole wall.
Conclusion
Creating a living plant wall is an ambitious project, but the payoff is unmatched by any piece of furniture or art you could buy. It brings a sense of calm and connection to nature that is often missing in modern interiors.
Start small if you are nervous. Try a vertical planter in a kitchen for herbs, or a small felt system in a bright hallway. Once you master the rhythm of watering and pruning, you can scale up to a floor-to-ceiling masterpiece.
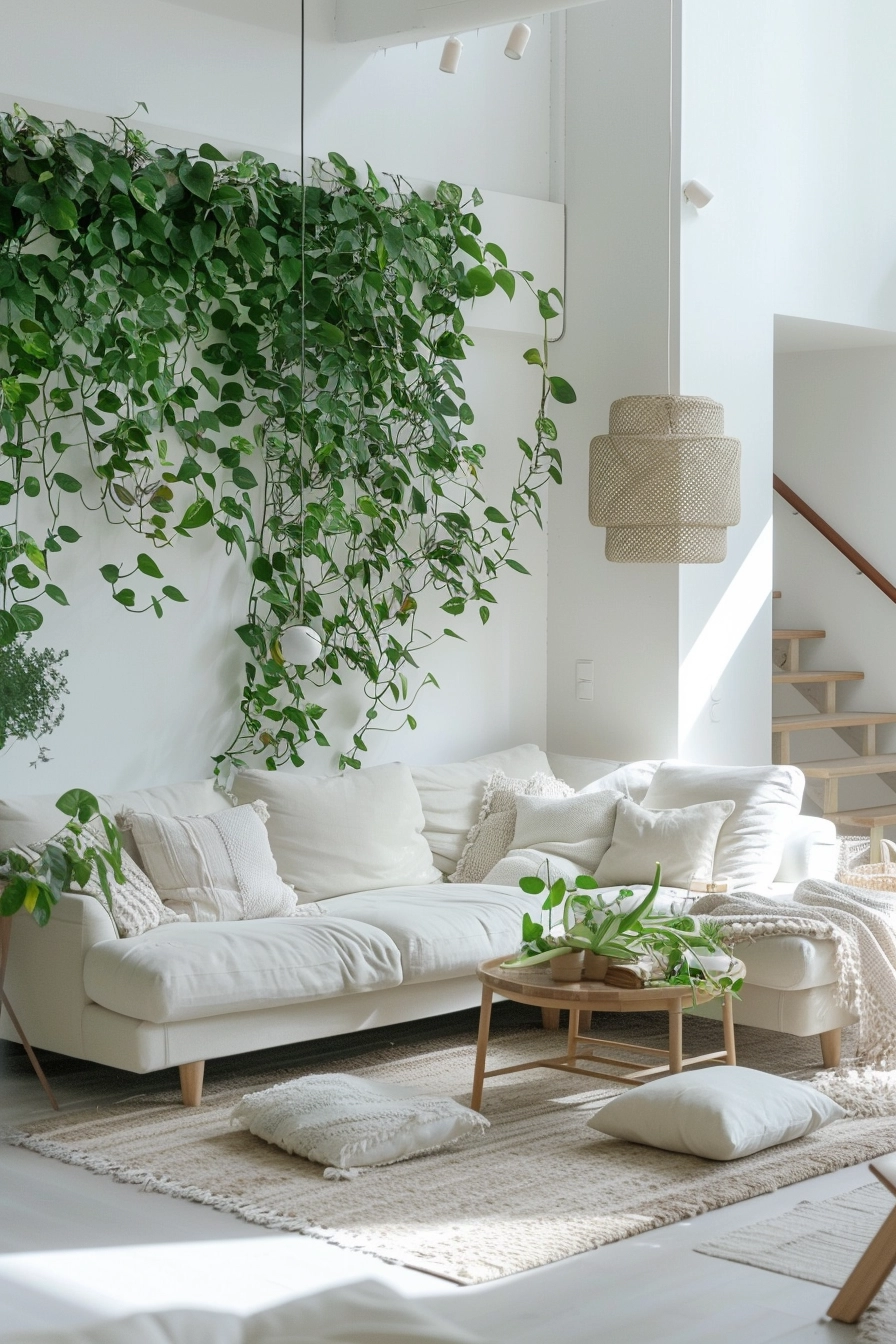
Picture Gallery


