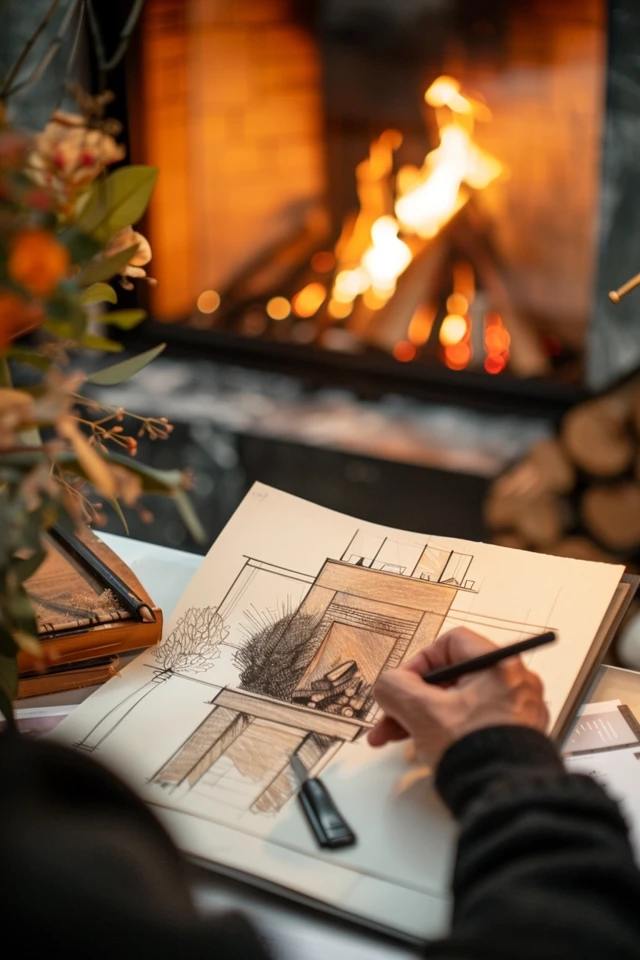
Are you ready to unleash your artistic talents and learn how to draw a fireplace? Look no further! In this step-by-step guide, I will walk you through the simple process of creating a stunning fireplace drawing. Whether you’re a beginner or an experienced artist, you’ll find these instructions easy to follow.
To start, we’ll begin by drawing the mantle of the fireplace using narrow, inverted trapezoids. Then, extend long straight lines downward from the ends of the mantle to form the top of the hearth. We’ll gradually add more trapezoids to continue the hearth, giving it a realistic appearance.
Next, let’s focus on the surround and the firebox opening. Use straight lines and curved lines to outline these elements. To bring your fireplace to life, sketch firewood inside the firebox using curved lines. Don’t forget to include details such as the bark and cut ends of the wood.
Now, let’s draw the flame! Use curved lines that meet at sharp points to create a realistic-looking flame. Add texture to the flames with additional curved lines. Finally, complete the drawing by adding the bricks of the jambs, pilasters, or legs using horizontal and vertical lines.
Once your masterpiece is complete, why not add some color? Use shades of red for the bricks, brown for the wood, and white for the marble elements to enhance the realism of your fireplace drawing. Let your creativity shine!
Key Takeaways
- Learn how to draw a fireplace step by step with this easy-to-follow guide.
- Start by drawing the mantle and hearth, then move on to the surround and firebox opening.
- Don’t forget to add details like firewood, flames, and the bricks of the fireplace.
- Color your drawing with realistic shades to make it come alive.
- Unleash your creativity and create a masterpiece!
Step-by-Step Fireplace Drawing Tutorial
In this step-by-step fireplace drawing tutorial, I will guide you through the process of drawing a fireplace with a more decorative design. By following these easy sketching tips and beginner drawing techniques, you’ll be able to create a stunning fireplace drawing. Let’s get started!
Gather Your Materials
Before we begin, make sure you have the necessary materials. You’ll need a pencil, eraser, drawing paper, and coloring tools if you’d like to add color to your drawing.
Step 1: Create the Frame
- Start by drawing a square box in the lower middle of your paper. This will be the base of your fireplace.
- Add vertical and horizontal lines to the square to create the frame of the fireplace.
Step 2: Draw the Mantel
Next, draw the lining for the fireplace mantel. You can choose to have straight edges or add a molded trim design to make it more ornate.
Step 3: Add Depth and Detail
To create depth and style, add detailing lines to the frame and mantel. This will give your fireplace drawing a more realistic look.

Step 4: Sketch the Fire Pit
Draw the fire pit inside the fireplace using curved lines. Remember, this is just a basic outline.
Step 5: Add the Flames
Now, let’s bring the fire to life! Sketch easy-looking flames spewing from a wood log in the fire pit. Use curved lines to create the flame shape.
Step 6: Draw the Columns and Bricks
Complete the fireplace by drawing columns on the sides. Each column should have its own individual brick design. Take your time to add the details.
Step 7: Finalize Your Drawing
Erase any unnecessary guidelines and shapes to clean up your drawing. Take a moment to admire your work!
Feel free to color your fireplace drawing to make it more vibrant and lifelike. Use warm colors like red, orange, and yellow for the flames, and choose earthy tones for the bricks and mantel.
Now that you’ve learned these easy fireplace sketching tips and techniques, you can create beautiful fireplace drawings with confidence. Practice and experiment with different styles to make each drawing unique. Have fun and let your creativity shine!
Tips for Drawing a Cozy Fireplace Scene
If you want to create a cozy fireplace scene, follow these quick steps for a beautiful artwork. Begin by forming the surround and mantel of the fireplace using long vertical lines and a rectangle. This will provide the foundation for your drawing.
Next, add an overmantel above the fireplace, giving it a more decorative touch. Draw the firebox with curved lines to give it depth and dimension. To create a homely atmosphere, decorate the fireplace for the holidays. Add a garland and hang Christmas stockings on the mantel.
Now, it’s time to bring the fire to life. Draw the fire inside the firebox using jagged and uneven lines. Don’t worry about perfection – the irregularity will add authenticity to the flames. Lastly, create the bricks of the fireplace using evenly spaced horizontal and vertical lines. This will give your drawing a realistic texture.
Once your drawing is complete, take it to the next level by adding color. Use crayons or colored pencils to bring vibrancy to the garland, stockings, fire, and other elements in the scene. Lastly, don’t forget to shade the mantel and hearth to give them a realistic look. With these simple steps, you’ll be able to draw a cozy fireplace scene that exudes warmth and comfort.

