
Title: How To Hang Pictures On A Cubicle Wall: Personalizing Workspace
Introduction
Walking into a standard office cubicle often feels like stepping into a beige void. The fabric walls are usually drab, the lighting is harsh, and the space feels completely devoid of personality. As a designer, I see this blank slate not as a constraint, but as a micro-design challenge that can significantly impact your mood and productivity.
Many of my clients hesitate to decorate their workspaces because they worry about damaging company property or violating office codes. However, transforming your 6×6 square into a source of inspiration is entirely possible with the right non-invasive techniques. For a dose of inspiration before you start tackling your own office design, make sure to check out the Picture Gallery at the end of the blog post.
You do not need power tools, and you certainly do not need to settle for taping photos to your monitor. By understanding the mechanics of partition walls and applying a few interior design principles regarding scale and layout, you can curate a professional gallery wall right at your desk. Let’s look at how to safely and stylishly hang art in your cubicle.
1. Assessing Your Cubicle Architecture and Material
Before buying frames or hooks, you must identify exactly what kind of wall you are working with. Not all cubicles are built the same, and the underlying material dictates the weight capacity and the hardware you can use.
Most standard partitions consist of a honeycomb cardboard or fiberboard core covered in a thin layer of foam and fabric. These are great for lightweight items but tricky for heavy frames. You can identify this type by pressing your thumb into the wall; if it gives slightly and bounces back, you have a tackable surface.
Some modern offices use “hardwall” systems. These are fabric-wrapped metal or hard plastic. If you press against these, they feel solid like drywall or masonry. You cannot penetrate these walls with pins or tacks.
Finally, you might have glass or whiteboard partitions. These require suction or tension-based solutions. Knowing your surface prevents the embarrassing accident of a framed photo crashing onto your keyboard in the middle of a conference call.
Designer’s Note: The “Pin Test”
I always carry a standard push pin when assessing a commercial space. Find an inconspicuous spot near the floor and try to insert the pin. If it goes in more than 1/4 inch, you have a tackable surface suitable for specialized hangers. If it hits a hard stop immediately, you are dealing with a hardwall system and will need adhesive or over-the-wall solutions.
2. The Best Hardware for Fabric and Hard Walls
Once you know your wall type, selecting the right hardware is the most critical step. Using the wrong hook is the number one reason art falls in offices. Here is a breakdown of the specific tools I use for corporate styling.
Panel Wall Wire Hooks
For traditional fabric-over-cork partitions, panel wall wire hooks are the gold standard. These are thin pieces of metal designed to curve behind the fabric weave or poke through to the cork. They minimize damage and are easy to remove.
- Look for hooks labeled “fabric panel clips.”
- Ensure the hook has a stabilizing point so the picture doesn’t swing when you type.
- Check the weight rating; standard clips usually hold up to 5 pounds.
Cubicle Partition Hangers (Over-the-Wall)
If you have hard walls or need to hang a heavy whiteboard or large framed diploma, over-the-wall hangers are best. These brackets fit over the top cap of the cubicle wall.
- Measure the thickness of your cubicle wall first; standard widths are 1.5 to 3 inches.
- Look for adjustable brackets if you are unsure of the width.
- These are visible hardware, so I usually recommend painting them to match the wall color if possible.
Velcro and Command Strips
For hard surfaces like glass or metal-backed fabric, adhesive strips are excellent. However, you must use them correctly to avoid peeling the fabric upon removal.
- Use the “picture hanging” variety that clicks together (Velcro style), not the standard foam tape.
- Clean the surface with isopropyl alcohol first to remove dust and oils.
- Wait one hour after applying the strip to the wall before attaching the frame.
The T-Pin Trick
For very lightweight items (under 1 pound), standard T-pins used in sewing are a designer’s secret weapon. Insert the pin into the fabric at a 45-degree angle pointing downward. Leave the head sticking out slightly. This creates a tiny, incredibly strong hook perfect for foam core prints or small canvases.
Common Mistakes + Fixes
Mistake: Using standard office staplers or tape.
Fix: Tape dries out and fails; staples rust and damage fabric. Always use hardware designed for vertical load-bearing.
Mistake: Ignoring weight limits.
Fix: Weigh your frame on a kitchen scale. If it is 4 pounds and your hook is rated for 5, add a second hook to distribute the load.
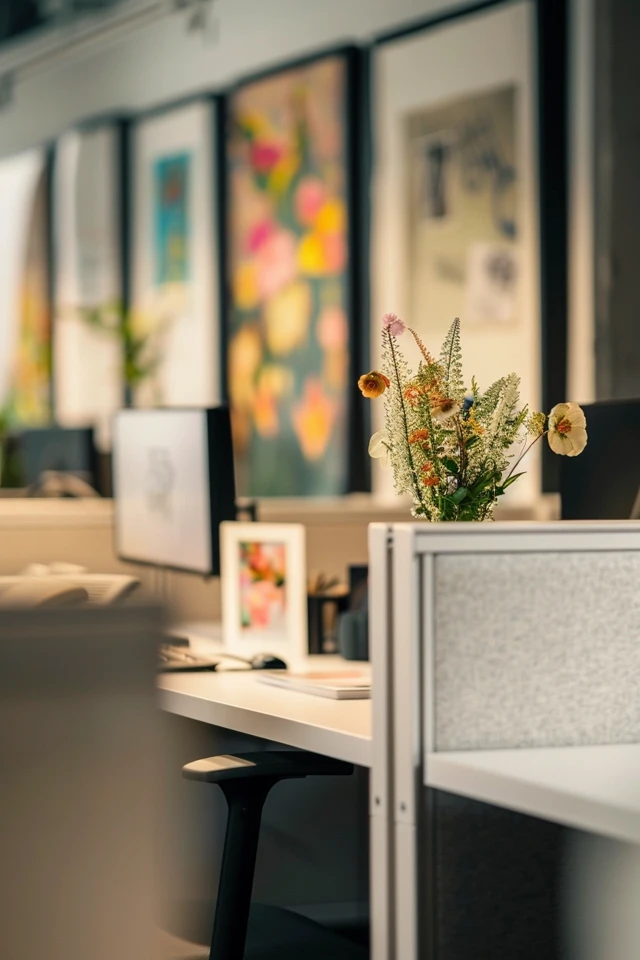
3. Layout and Composition in Small Spaces
In a small cubicle, every square inch of visual real estate counts. The biggest error I see is people hanging art too high or scattering small photos randomly, which creates visual clutter rather than a designed look.
The Seated Eye Level Rule
In residential design, we hang art at standing eye level (about 57 to 60 inches from the floor). In a cubicle, you are seated 90% of the time. You must lower your artwork.
- Sit in your chair with good posture.
- Look straight ahead. This is your center line.
- The center of your main piece of art should sit right at this level, usually about 45 to 50 inches off the floor.
Scale and Proportions
A single 4×6 photo looks lost on a cubicle wall. Conversely, a massive poster can feel oppressive.
- Aim for art that fills about 50% to 60% of the available wall width.
- If you have a 48-inch wide panel, your art arrangement should be roughly 24 to 30 inches wide.
- Leave “breathing room” around the edges. Never hang art closer than 2 inches to the corner of the wall.
The Grid Layout
For a professional, organized look, use a grid layout. This is excellent for hanging multiple smaller frames (like family photos or certificates).
- Use identical frames for cohesion.
- Space them evenly, leaving 1.5 to 2 inches between frames.
- Use a ruler and a level. Crooked pictures are more noticeable in small spaces.
Working Around Monitors
Your computer monitors are the dominant visual element in the space. Do not try to compete with them.
- Hang art at least 6 to 8 inches above the top of your monitor.
- If you hang art too low behind a screen, it creates visual tension and looks accidental.
- If you have dual monitors, center your art on the gap between them or on the wall space next to the monitors, not directly behind them.
4. Choosing the Right Art and Frames
The materials you choose for your frames are just as important as the images inside them. In a corporate environment, safety and weight are primary concerns.
Acrylic vs. Glass
I almost always recommend swapping out glass for acrylic (plexiglass) in office settings.
- Acrylic is significantly lighter, putting less strain on fabric walls.
- It is shatter-resistant. If a cleaning crew bumps your wall, you won’t be picking shards out of the carpet.
- Standard glass has a green tint; acrylic is often clearer.
Frame Weight and Material
Avoid heavy, ornate wood or plaster frames. They are often too heavy for friction-based hooks.
- Choose thin profile aluminum or simple composite wood frames.
- “Gallery style” frames with thin borders look modern and maximize the image size without adding bulk.
- If you love the look of a heavy frame, look for a plastic reproduction that mimics wood. It will weigh a fraction of the real thing.
Subject Matter and Color Psychology
Your workspace influences your mindset. The colors you choose can help with focus or stress relief.
- Blues and Greens: These are biophilic colors that reduce stress and improve focus. Landscapes or botanical prints are excellent for high-stress jobs.
- Yellows and Oranges: These are high-energy colors. They are great for creative fields but might be distracting if you need deep concentration.
- Black and White: Monochromatic photography creates a sophisticated, sleek look that blends well with most office furniture (which is usually grey or black).
What I’d do in a real project: The “Mini-Checklist”
If I were styling a client’s cubicle tomorrow, here is exactly what I would buy:
- Frames: Three 8×10 frames with thin black matte metal borders.
- Glazing: Non-glare acrylic (to stop overhead fluorescent light reflection).
- Mats: Oversized white mats (makes the art look expensive and airy).
- Hardware: Panel wall clips with stabilizing pins.
- Layout: A horizontal row of three, centered on the back wall, 8 inches above the monitors.
5. DIY Solutions and Budget Ideas
You do not need to spend a fortune at a custom framer to get a high-end look. There are several ways to mount images that bypass heavy frames entirely, which is often the smartest move for cubicle walls.
Foam Core Mounting
This is one of my favorite tricks for renters and office workers. You can have photos printed directly onto foam core or mount them yourself using spray adhesive.
- They are feather-light, meaning you can use T-pins or weak Velcro without fear.
- They have a clean, frameless, modern aesthetic.
- You can create a “gallery wrap” look by gluing black cardstock to the foam edges.
Washi Tape Frames
If your office allows adhesive on the fabric (test first!), Washi tape is a fun, temporary solution.
- Use the tape to create a geometric border directly on the wall around a print.
- It comes in endless patterns and colors.
- It is low-tack and peels off without leaving residue.
Binder Clip Hangers
For a slightly industrial, creative vibe, use gold or black binder clips.
- Clip the top of your print or photo.
- Hang the wire loop of the binder clip over a push pin or cubicle hook.
- This makes swapping out art incredibly fast—perfect if you like to change photos seasonally.
Wire Grid Systems
If you want to maximize vertical storage and display, buy a wire grid panel.
- Hang the lightweight grid using two sturdy over-the-wall cubicle brackets.
- Use small clothespins to attach photos, notes, and swatches to the grid.
- This acts as a “mood board” and combines function with decoration.
Final Checklist
Before you hammer that first hook, ensure you have covered these bases to guarantee a safe and stylish installation.
- Check Policy: Confirm with your office manager that personal decorations are allowed.
- Test Wall: Perform the push-pin test to confirm if the wall is tackable or hard.
- Weigh Items: Ensure your art is within the weight limit of your chosen hooks.
- Switch Glazing: Swap glass for acrylic to reduce weight and increase safety.
- Measure Height: Mark your seated eye level to avoid hanging art too high.
- Check Clearance: Ensure frames clear the top of your monitors by at least 6 inches.
- Level It: Bring a small bubble level; nothing looks worse than crooked art in a square cubicle.
FAQs
Can I hang a heavy mirror in my cubicle?
I generally advise against heavy glass mirrors on fabric walls. The risk of the fabric tearing or the hook failing is too high. If you must have a mirror, look for “shatterproof” acrylic mirrors or lightweight peel-and-stick mirror tiles. If you have a sturdy over-the-wall bracket on a hardwall system, a small framed mirror (under 5 lbs) is acceptable.
How do I hide the wires if I hang a lighted sign?
Cable management is key for a clean look. Run the cord straight down the wall behind your monitor. You can buy fabric cord covers that match typical gray or beige cubicle walls. Velcro cable ties can also secure the wire to the side of a frame so it doesn’t dangle loosely.
What if my cubicle walls are glass?
For glass walls, suction cup hooks are an option, but they can be unreliable with temperature changes. A better option is high-quality, clear command strips designed for glass. Alternatively, use an over-the-wall hanger that hooks onto the top of the glass pane, provided the top edge is accessible and not flush with the ceiling.
How do I fix the holes when I move out?
Fabric walls are forgiving. Usually, rubbing the fabric fibers with your finger or the edge of a coin will close up the pinhole. If the fabric is textured, “fluffing” it slightly with a soft toothbrush can make the hole disappear completely. For hardwall systems where you used adhesive, use a citrus-based adhesive remover to clean off any sticky residue.
Conclusion
Personalizing your cubicle is more than just decoration; it is about reclaiming your space and creating an environment where you can thrive. By assessing your wall type, choosing the correct specialized hardware, and following basic design rules regarding scale and placement, you can turn a generic workspace into a personal sanctuary.
Remember that the goal is to create visual interest without clutter. Start with one or two key pieces, live with them for a week, and adjust as necessary. Your workspace should support your workflow, not distract from it. With the right approach, even a standard 6×6 fabric box can feel like home.
Picture Gallery


