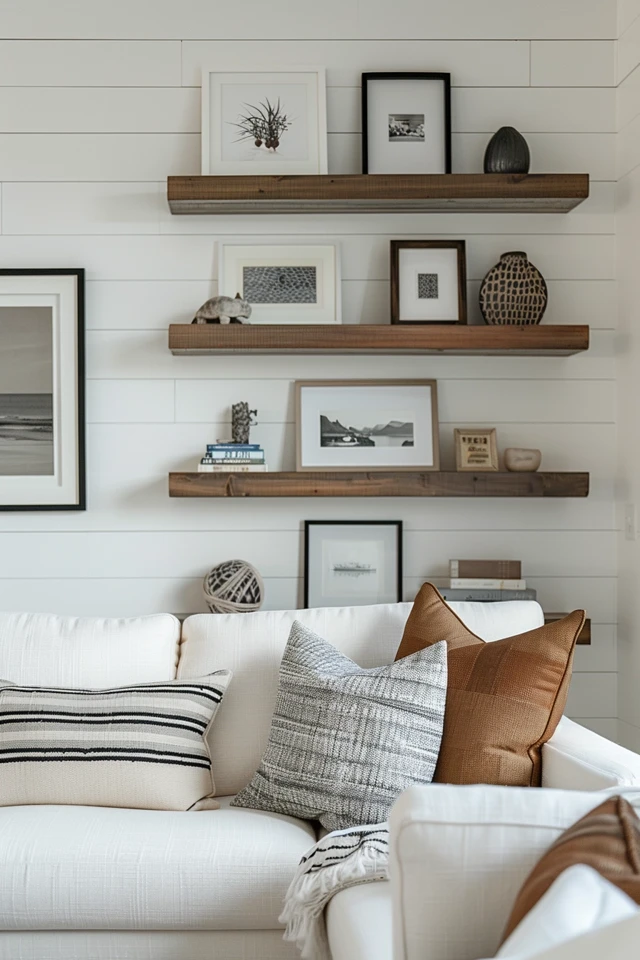
Shiplap walls are a popular choice for adding a rustic or modern touch to your home decor. When it comes to hanging things on shiplap walls, there are several options that will allow you to avoid damaging the wood.
One option is to use picture hangers, which are specifically designed to hold pictures and other wall accents. These hooks are sturdy and can securely hold items without leaving any visible damage on the shiplap.
Adhesive hooks are another great solution for hanging items on shiplap walls. These hooks can be applied directly to the surface of the shiplap without the need for nails or screws. The adhesive is strong enough to hold lightweight objects while still being easily removable without causing any damage.
If you’re looking for a temporary hanging solution, double-sided tape can be a convenient option. It provides a secure hold for lightweight items and can be easily removed without leaving any residue on the shiplap.
For heavier items, such as mirrors or shelves, consider using wall anchors. These anchors provide extra support and stability by anchoring into the studs behind the shiplap. They can hold a significant amount of weight without compromising the integrity of the shiplap.
When using nails, choose the appropriate size and length that will go through the shiplap and into the studs for a more permanent hanging solution. Make sure to locate and mark the studs before hammering in the nails to ensure a secure hold.
Magnetic dots, corkboards, hook and loop velcro tape, bar and cable hanging kits, and wall track hanging kits are other options to consider depending on your specific hanging needs.
Remember to choose the right hanging method based on the weight and size of the item you want to hang. With these damage-free shiplap hanging methods, you can easily decorate your shiplap walls without compromising their charm.

Key Takeaways:
- Picture hangers and adhesive hooks provide damage-free hanging options for shiplap walls.
- Double-sided tape is a temporary solution for lightweight items.
- Wall anchors offer extra support for heavier items.
- Choose the appropriate hanging method based on the weight and size of the item.
- Consider using magnetic dots, corkboards, or hook and loop velcro tape for specific hanging needs.
Shiplap Wall Hanging Tips and Tricks
Hanging items on shiplap walls can be a bit different from hanging them on traditional drywall. To ensure secure and effective shiplap wall hanging, here are some essential tips and useful tricks:
- Locate the studs: Before hanging anything on your shiplap walls, it’s important to locate the studs for added support. You can use a stud finder to easily locate the studs and mark their positions. This will help you determine the best places to hang your items securely.
- Choose the right fasteners: When using nails or screws to hang items on shiplap walls, make sure to use the appropriate size and length. The nails or screws should be long enough to go through the shiplap and into the studs for a secure hold. This will help prevent any damage to the shiplap and keep your items securely in place.
- Consider adhesive hooks or double-sided tape: If you prefer not to use nails or screws, adhesive hooks or double-sided tape can provide a secure hold without damaging the shiplap. Before applying adhesive hooks, ensure that the surface of the shiplap is clean and free from dust or debris. This will ensure proper adhesion and a secure hold. Additionally, allowing the adhesive to dry for a while before hanging anything on the hook can enhance its effectiveness.
- Use wall anchors for heavy items: For heavier items such as mirrors or artworks, it’s advisable to use wall anchors. Wall anchors provide additional support and help distribute the weight evenly, preventing any potential damage to the shiplap. Always follow the manufacturer’s instructions when using wall anchors to ensure a secure hold.
By following these shiplap hanging tips and tricks, you can confidently decorate your shiplap walls without compromising their charm. Remember to choose the right hanging method based on the weight and size of the item you want to hang. Whether it’s using nails, adhesive hooks, or wall anchors, these secure shiplap hanging solutions will allow you to showcase your favorite decor pieces while preserving the beauty of your shiplap walls.

Remember, proper installation techniques are crucial to avoid any damage to your shiplap walls, so take your time and ensure everything is securely in place.
Conclusion
Hanging things on shiplap walls is a fantastic way to showcase your creativity and add a personal touch to your home decor. With a variety of options like picture hangers, adhesive hooks, double-sided tape, wall anchors, and more, you can easily find the perfect solution for your DIY shiplap wall décor.
When choosing the right hanging method, always consider the weight and size of the item you want to hang. This will ensure a secure hold without damaging the shiplap. Following the tips and tricks provided, such as locating studs for added support and properly cleaning the surface before applying adhesive hooks, will result in a successful shiplap wall art installation.
Now it’s time to unleash your creativity and have fun with your DIY shiplap wall décor. Whether it’s displaying family photos, artwork, or even a stylish corkboard, your shiplap walls will become a focal point in your home. Embrace the unique and stylish look that shiplap brings, and enjoy the warm and inviting atmosphere it creates.


