
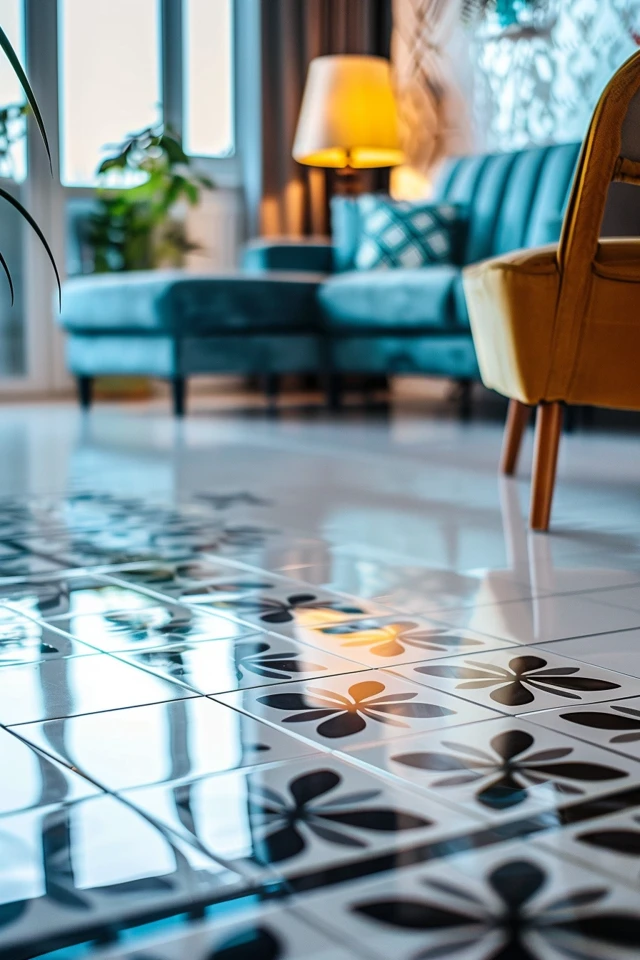
Are you planning a tile installation project? Whether you’re a seasoned DIY enthusiast or tackling a home improvement project for the first time, it’s essential to be aware of common tiling mistakes that can occur during the installation process. From improper wall preparation to layout errors, these mistakes can mar the final result.
But don’t worry! There are smart fixes for these tiling blunders that can help you achieve a flawless and professional-looking finish. By following expert tips and techniques, you can hide any imperfections and ensure that your tile installation turns out beautifully.
Key Takeaways:
- Properly prepare the wall by cleaning it thoroughly before tiling.
- Apply caulk carefully for a tight seal and prevent mold growth.
- Invest in high-quality tools to ensure accurate cuts and precise installation.
- Avoid layout errors by planning and arranging tiles in a way that achieves the desired pattern or design.
- Pay attention to details such as grout and tile thickness for a flawless result.

How to prepare the wall and apply caulk correctly
One of the most common tiling mistakes is not properly preparing the wall before tiling. It is important to clean the wall thoroughly, removing any grease, dirt, and dust, to ensure a clean surface for the tiles to adhere to.
Another common mistake is haphazardly applying caulk. To achieve a tight seal and prevent mold growth, it is important to clean the area before applying the new caulk and to smooth it out using a wet finger.
By following these tips and techniques, you can avoid these tiling mistakes and achieve a professional finish.
Preparing the wall
- Clean the wall thoroughly by scrubbing it with a mild detergent and water solution.
- Remove any existing wallpaper, paint, or flaking plaster.
- Repair any cracks or holes in the wall using a wall filler or spackling compound.
- Smooth out the surface by sanding it lightly with fine-grit sandpaper.
- Ensure the wall is dry and free of any dust or debris before proceeding with tiling.
Applying caulk
- Clean the area where caulk will be applied, removing any old caulk or dirt.
- Insert a caulk tube into a caulk gun and cut the tip of the tube at a 45-degree angle.
- Apply a thin, even bead of caulk along the joint or gap using steady pressure on the caulk gun.
- Smooth out the caulk immediately using a wet finger or a caulk finishing tool.
- Wipe away any excess caulk with a damp cloth.
By properly preparing the wall and applying caulk correctly, you can ensure a smooth and durable surface for tile installation.

Using the right tools and avoiding layout errors
When it comes to tiling, using the right tools is essential for a successful project. Investing in high-quality tools such as a wet saw, grout float, and tile trowels can make a significant difference in the outcome. These tools allow for accurate cuts and precise installation, ensuring a professional-looking finish.
Additionally, avoiding layout errors is crucial to achieve a visually pleasing result. Take the time to plan and arrange the tiles in a way that aligns with your desired pattern or design. Utilizing techniques such as herringbone or chevron can add an extra touch of sophistication to your tile installation.
By using proper tools and carefully planning the layout, you can avoid common tile installation problems and ensure a flawless end result. Whether you’re working on a DIY project or hiring a professional, these tips will help you achieve the best possible outcome for your tiling project.

Conclusion
When it comes to tiling, mistakes can happen. However, with the right knowledge and techniques, it is possible to hide these imperfections and achieve a professional-looking result. By properly preparing the wall, applying caulk correctly, using the right tools, avoiding layout errors, and paying attention to details such as grout and tile thickness, you can ensure a successful tiling project.
Whether you are tackling a DIY tile repair or a full tile installation, these smart fixes will help you achieve a beautiful and flawless result. Instead of worrying about visible imperfections, you can confidently transform your space and enjoy the new look in your home.
Remember, hiding tile imperfections and concealing tiling mistakes doesn’t have to be a daunting task. With quick tile touch-ups and the right techniques, you can create a seamless and visually appealing surface. So, don’t let a few errors discourage you from taking on your tiling project. Get started today and see the difference these smart fixes can make!