
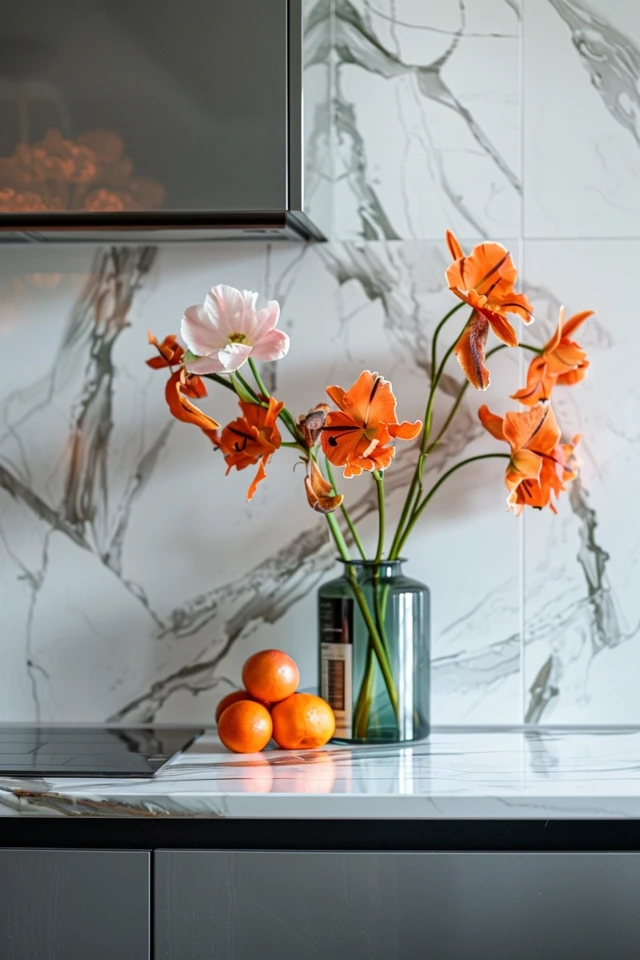
Installing a marble backsplash is a surefire way to elevate the look and feel of your kitchen, adding a touch of luxury and elegance. While it may seem like a daunting task, with the right tools and step-by-step instructions, you can easily tackle this DIY project. In this article, I will guide you through the process of installing a marble backsplash, from planning and preparation to the finishing touches.
Before we dive into the details, let’s take a moment to envision the end result. Imagine a stunning marble backsplash serving as the focal point of your kitchen, with its smooth surface reflecting light and creating a sense of opulence. It’s not just a practical addition, but a statement piece that will transform your space.
Key Takeaways:
- Installing a marble backsplash can bring a luxurious upgrade to your kitchen.
- With the right tools and instructions, it is a manageable DIY project.
- Proper planning and preparation are essential for a successful installation.
- The installation process involves spreading mortar, applying marble tiles, and grouting.
- Maintaining and cleaning the marble backsplash will ensure its longevity and beauty.

Planning and Preparing for Installation
Before you begin your marble backsplash installation, it’s crucial to have a well-thought-out plan and proper preparation. This will ensure a smooth and successful project. Here are the essential steps to take:
- Measure the area: Start by measuring the space where you want to install the marble backsplash. Accurate measurements are essential for determining the amount of tile you’ll need. Measure both the width and height of the area to calculate the square footage.
- Determine tile quantity: Once you have the measurements, you can determine how many marble tiles you’ll need for the backsplash. Be sure to account for any cuts or waste. It’s always a good idea to purchase a few extra tiles to have on hand in case of breakage.
- Gather materials and tools: Take inventory of all the materials and tools needed for the installation. This may include marble tiles, tile adhesive, grout, a tile cutter or wet saw, a trowel, a grout float, drop cloths, sandpaper, and safety equipment such as goggles and gloves.
- Prep the kitchen: Before you start installing the backsplash, prepare the kitchen area. Clear the countertops of any items that may hinder your work. Protect the countertops with drop cloths to prevent any accidental damage. Sand the backsplash area to create a smooth surface for the tile adhesive to adhere to.
By properly planning and preparing for your marble backsplash installation, you’ll save time and ensure a successful outcome. Taking the time to measure, determine tile quantity, gather materials, and prep the kitchen will set you up for a smooth installation process.
“By failing to prepare, you are preparing to fail.”

Installing the Marble Backsplash
Now that the kitchen is prepped and ready, it’s time to dive into the installation process for your beautiful marble backsplash. Follow these steps to achieve a flawless outcome:
1. Spreading Mortar for the Marble Backsplash
Begin by spreading mortar on the wall using a notched trowel. This will create a solid and adhesive surface for the marble tiles to adhere to. Make sure to spread the mortar evenly and in small sections to prevent it from drying out before you can apply the tiles.
2. Applying the Marble Tile
Once the mortar is applied, begin placing the marble tiles onto the wall. Start at one end and work your way towards the other, pressing each tile firmly into the mortar. Use a level or straight edge to ensure that the tiles are aligned correctly. If necessary, use tile spacers to maintain consistent spacing between each tile.
3. Cutting Marble Tiles for the Backsplash
As you reach outlets or corners, you may need to cut the marble tiles to fit. Use a wet saw to make precise cuts. Remember to measure and mark the tiles before cutting to ensure an accurate fit. Take your time and exercise caution when operating the wet saw.
4. Attaching the Marble Tiles
Continue placing and attaching the marble tiles until you have covered the entire backsplash area. Work methodically and double-check the alignment as you go. The adhesive mortar should still be wet and workable, allowing you to adjust the tiles if needed.
5. Grouting the Marble Backsplash
Once the marble tiles are securely attached, it’s time to grout the backsplash. Prepare the grout according to the manufacturer’s instructions, then use a grout float to spread it over the tiles, ensuring that it fills in the gaps between them. Wipe off any excess grout using a damp sponge, working diagonally across the tiles to avoid pulling out the grout from the joints.
“Installing the marble tiles may require precise measurements and delicate cuts, but the end result is worth the effort.” – Home Renovation Magazine
Congratulations! You have successfully installed your marble backsplash. Take a moment to admire the transformation and let the beauty of the marble enhance your kitchen’s aesthetic.

Finishing Touches and Maintenance
Now that your beautiful marble backsplash is installed, it’s time to add those finishing touches and establish a maintenance routine to keep it looking pristine. Sealing the marble is an essential step that will protect it from stains and water damage. Not only does this ensure the longevity of your backsplash, but it also helps maintain its luxurious appearance.
Cleaning your marble backsplash regularly is key to preserving its natural beauty. Using a mild cleanser and a soft cloth, gently wipe away any spills or splatters. Avoid harsh chemicals or abrasive cleaners that can potentially damage the marble surface. By treating your marble backsplash with care, you’ll be able to enjoy its elegance for years to come.
Maintaining a marble backsplash doesn’t have to be a complex task. A simple maintenance routine involves wiping down the surface after each use and regularly applying a marble-specific sealer. This not only safeguards against stains but also enhances the natural hues and patterns of the marble. By investing a little time and effort into maintaining your marble backsplash, you can continue to bask in its luxurious allure.