
How To Organize A Spare Room: Multipurpose Space Planning
We have all seen that one room in the house that becomes a “catch-all” for everything without a permanent home. It starts with a few boxes from a move, then a treadmill that doubles as a clothes hanger, and eventually, the door stays shut when guests come over. The spare room is often the most valuable, yet underutilized, square footage in a home because it lacks a clear identity.
Transforming this area requires shifting your mindset from “storage unit” to “functional destination.” Whether you need a home office that doubles as a guest suite, or a craft room that shares space with a home gym, the key lies in intentional zoning and rigorous editing. If you need visual inspiration before diving into the logistics, you can find a curated Picture Gallery at the end of this blog post.
In this guide, we will walk through the exact process I use with clients to reclaim these spaces. We will cover floor planning, furniture scale, and storage systems that hide the clutter while keeping the room accessible. Let’s turn that closed door into a room you actually want to enter.
Phase 1: Defining The Functions And Zoning
The biggest mistake homeowners make is buying furniture before defining the activity. A multipurpose room cannot do everything. It usually can do two things very well, or three things moderately well if the space allows. You need to identify the “Primary Function” (daily use) and the “Secondary Function” (occasional use).
For example, a home office is used daily (Primary), while a guest bed is used perhaps four times a year (Secondary). This hierarchy dictates your layout. If you prioritize the guest bed in a room used mostly for work, you will spend your workdays feeling cramped.
Establishing The Zones
To organize a multipurpose room, you must create distinct zones. You do not want your guests waking up staring at a stack of unpaid bills, and you do not want to be on a Zoom call with a pile of laundry in the background.
- The Visual Divider: In larger rooms (12×14 feet or larger), you can float a sofa or a low bookshelf perpendicular to the wall to physically separate the desk area from the relaxation area.
- The Rug Rule: Use area rugs to define spaces. A 5×8 rug under a desk creates an “office island,” while a separate rug anchors the sleeper sofa or reading nook.
- Vertical Separation: If floor space is tight, use height. High shelving can store office supplies, while lower cabinets can hold guest linens.
Designer’s Note: The Compatibility Check
I often see clients try to combine functions that are fundamentally incompatible. A quiet home office does not pair well with a loud gaming room or a high-traffic playroom. Try to pair “quiet with quiet” (office + library/guest) or “active with active” (gym + playroom). This ensures the room’s atmosphere remains consistent regardless of which mode it is in.
Phase 2: Space Planning And Layout Rules
Once you know what the room needs to do, you have to map it out. Space planning is where organization happens. If the flow is wrong, the room will always feel cluttered, no matter how many bins you buy.
The Golden Rules of Clearance
When arranging furniture in a multipurpose room, you must respect traffic patterns. If you squeeze too much in, the room becomes non-functional.
- Major Walkways: You need a minimum of 30 to 36 inches of clearance for main traffic paths. This is the space you walk through to get across the room.
- Desk Clearance: You need at least 42 to 48 inches behind a desk. This accounts for the chair itself and the space needed to scoot back and stand up without hitting a wall or a bed.
- Drawer and Door Swing: Always measure the depth of a drawer or door when fully open. Add 15 inches of standing room behind it so you are not trapped while looking for a file.
Common Mistake + Fix: The Perimeter Trap
The Mistake: Pushing every single piece of furniture against the walls. This leaves a “dance floor” in the middle that serves no purpose and actually makes the room look cheaper and less designed.
The Fix: Pull at least one piece of furniture off the wall. Even floating a desk just 12 inches into the room, or angling a reading chair in a corner, creates depth. In a multipurpose room, floating the desk to face into the room (rather than staring at a wall) commands authority and separates “work” from the rest of the space.
Phase 3: Selecting Hardworking Furniture
In a spare room, every piece of furniture must earn its keep. If it only does one thing, it might not belong there. We need convertible, scalable pieces that maximize functionality without dominating the footprint.
The Bed Dilemma: Sleeper Sofa vs. Murphy Bed
This is the most common question I get. The answer depends on your “Primary Function.”
- The Murphy Bed: This is best if the room is a gym or playroom 90% of the time. When the bed is up, you reclaim the entire floor footprint. However, installation is expensive and permanent. Ensure you have 85 to 90 inches of clearance for the bed to lower.
- The Sleeper Sofa: This is best if the room acts as a TV den or office most of the time. It offers seating during the day. Look for “high-leg” sleepers rather than boxy futons; seeing the floor beneath the sofa makes a small room feel larger.
- The Daybed: An excellent compromise for very small rooms (under 10×10 feet). A twin daybed can serve as a reading spot and a guest bed for one, without any mechanical conversion needed.
Desks and Tables
For a multipurpose room, avoid heavy executive desks. They are visual anchors that are hard to work around.
- The Writing Table: Look for legs rather than solid blocks of drawers. A table with a 24-inch depth is sufficient for a laptop; you don’t need the standard 30-inch depth if you aren’t using a massive monitor setup.
- The Wall-Mounted Drop Desk: For tight spaces, a drop-leaf desk attached to the wall is a lifesaver. It vanishes when not in use. Ensure it is mounted into studs to handle the weight of leaning elbows.
Phase 4: Vertical Storage and Organization
Organizing a spare room is really about managing “stuff” that doesn’t belong in the main living areas. The goal is to hide the visual clutter so the room feels serene, not like a storage unit.
The Wall of Utility
Instead of scattering small storage units around the room, commit to one wall of concentrated storage. A floor-to-ceiling unit (built-in or IKEA hack) on one wall is visually quieter than three small bookcases on different walls.
- Closed Storage on Bottom: Use the bottom 30 inches of shelving for cabinets or drawers. This hides the ugly stuff—printer paper, gym weights, or spare cables.
- Open Display on Top: Use the upper shelves for books, plants, or decorative baskets. This draws the eye up and makes the ceiling feel higher.
- Uniform Bins: If you use open shelving, matching bins are non-negotiable. Whether it’s woven hyacinth or matte plastic, uniformity tricks the brain into seeing “clean” instead of “cluttered.”
The Closet Intervention
Often, the spare room closet becomes the household dumping ground. To organize this effectively, remove the single hanging rod. In a spare room, you rarely need 5 feet of hanging space for guests.
What I’d Do: Install a vertical divider in the closet. Dedicate one narrow section (12-18 inches wide) for tall items like a vacuum or ironing board. Fill the rest with deep shelving. This is prime real estate for bulk items, off-season bedding, or archived files.
Phase 5: Lighting and Ambience
Lighting dictates the mood. A gym needs bright, energizing light. A guest room needs soft, warm light. An office needs focused task light. In a multipurpose room, you need all three.
Layering the Light
Do not rely on the single “boob light” fixture in the center of the ceiling. It casts shadows and makes the room feel small.
- Ambient Light: Use a semi-flush mount fixture or recessed lighting on a dimmer switch. This is critical. Being able to dim the lights transitions the room from “work mode” to “guest mode.”
- Task Light: A desk lamp is mandatory for the office zone. A floor lamp next to the sleeper sofa serves the reading zone.
- Color Temperature: Stick to 3000K LED bulbs. This is a crisp white that is good for working but not as sterile and blue as 4000K-5000K daylight bulbs. Avoid 2700K (very yellow) for the main overhead light if you plan to work in there, as it can induce eye strain.
Phase 6: Window Treatments and Finishing Touches
Window treatments are functional tools in a spare room. If this room is for sleeping (guests) or screen use (office/media), light control is the priority.
The Layered Approach
I always recommend a dual system for spare rooms:
1. Inside Mount Shades: Use a solar shade (allows light but blocks glare) or a cellular shade (insulates the window) mounted inside the frame. This is your privacy layer.
2. Drapery Panels: Mount curtain rods high and wide. The rod should be 4 to 6 inches above the window frame (or at the ceiling) and extend 10 to 12 inches past the window on each side.
Why this matters:
When the curtains are open, they should sit against the wall, not cover the glass. This maximizes natural light, which makes a small spare room feel airy. When guests stay over, they can close the drapes for blackout conditions.
Final Checklist: What I’d Do In A Real Project
If I were hired to organize your spare room tomorrow, here is the exact order of operations I would follow. This checklist prevents backtracking and wasted budget.
- Audit the Contents: Remove everything from the room. Sort into “Keep in Room,” “Relocate to Garage/Basement,” and “Donate/Trash.” Be ruthless.
- Measure Twice: Sketch the room including windows, door swings, and outlet locations. Note the ceiling height.
- Select the Hero Piece: Choose the largest item first (usually the bed or desk). Place it on your plan. If it doesn’t fit with 30 inches of walking space, size down.
- Plan the Storage Wall: allocate one wall for vertical storage. Buy the tallest bookcases your ceiling allows.
- Rug Sizing: Buy a rug that fits the room, not just the furniture. Leave 12 to 18 inches of bare floor around the perimeter of the room.
- Lighting Installation: Install the dimmer switch and bring in lamps before loading in the small accessories.
- Load In: Bring items back in, starting with the storage units. Fill them before styling surfaces.
FAQs
What is the smallest size a room can be to function as a guest room?
Ideally, a room should be at least 8×10 feet to comfortably fit a full-size bed and a small dresser. If your room is smaller (e.g., 7×9), you are better off using a twin daybed or a high-quality sleeper chair rather than forcing a large mattress that touches three walls.
How do I soundproof a home office that shares a wall with a noisy room?
True soundproofing requires construction (adding mass inside the walls), but you can dampen sound significantly with decor. Add heavy velvet curtains, a thick wool rug with a felt pad underneath, and fully filled bookshelves against the shared wall. Books are excellent sound absorbers.
I rent and can’t build shelves. How do I maximize storage?
Look for “tension rod” shelving systems or freestanding modular units (like the Elfa freestanding system). These offer the height and density of built-ins but are completely removable. Also, utilize the back of the door with an over-the-door organizer for smaller items like gift wrap or craft supplies.
Should I put a TV in the spare room?
Only if it serves the Primary Function (e.g., a gaming room or den). If it is primarily an office, a TV is a distraction. For guests, most people prefer Wi-Fi access for their own devices rather than a dedicated television. If you must have one, consider a Frame TV that looks like art when not in use to reduce visual clutter.
Conclusion
Organizing a spare room is about making hard choices regarding how you live. It is tempting to want a room that serves five different purposes, but the most successful spaces are those that do two things beautifully. By respecting the scale of the room, prioritizing vertical storage, and using lighting to define zones, you can create a sanctuary that works as hard as you do.
Start with the layout, invest in the right storage, and remember that an empty floor is a luxury in itself. Your spare room has the potential to be the favorite room in the house—it just needs a plan.
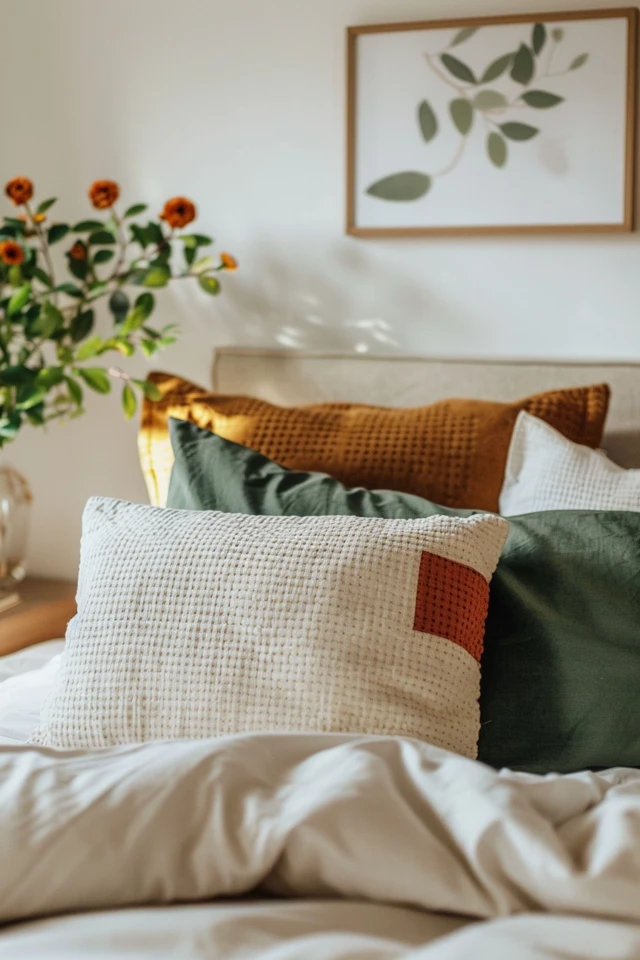
Picture Gallery


