
How To Paint A Tray Ceiling: Accentuating Features
Painting a tray ceiling is one of the most effective ways to elevate the architectural character of a room. Many homeowners feel intimidated by the angles and layers, leaving the entire surface “builder white.” This is a missed opportunity to add depth and sophistication to your space.
A tray ceiling, also known as a recessed or inverted ceiling, features a center section that is several inches or feet higher than the perimeter. This design trick adds volume and visual interest without changing the actual roofline. When painted correctly, it can make a room feel infinitely taller or intimately cozy.
However, the complexity of the job requires a strategic approach. You are dealing with gravity, multiple angles, and the critical intersection of different colors. If you are looking for visual inspiration, check out the Picture Gallery at the end of this blog post.
Understanding The Anatomy of Your Tray Ceiling
Before you open a can of paint, you need to define the terminology of the structure. Knowing these parts helps you decide where to stop and start your colors.
The Perimeter (Soffit):
This is the dropped border that surrounds the room. It is usually at the same height as a standard ceiling (often 8 or 9 feet). It frames the recessed area.
The Vertical Reveal (The Drop):
This is the vertical strip of drywall that connects the lower perimeter to the higher center. It can range from 6 inches to over a foot in height.
The Slope (if applicable):
Some tray ceilings have an angled transition instead of a sharp vertical drop. This creates a softer, more traditional look but complicates color transitions.
The Center Tray:
This is the highest flat surface of the ceiling. It is the focal point of the feature.
Designer’s Note:
One common issue I see is homeowners treating the vertical reveal as part of the wall. In rooms with 8-foot ceilings, this visually lowers the lid of the room. Unless you have 10-foot ceilings or higher, I generally recommend treating the vertical reveal as part of the ceiling structure, not the wall.
Strategic Color Placement
Choosing where to put the color is just as important as the color itself. The placement changes the perceived dimensions of the room.
Option 1: The Monochromatic Look
You paint the entire structure—perimeter, reveal, and tray—the same color. This is ideal for modern, minimalist spaces. It removes visual clutter and makes the architectural shape subtle.
Option 2: High Contrast Center
This involves painting the perimeter white (or a light neutral) and the center tray a darker, contrasting color. This draws the eye upward immediately. It works exceptionally well in dining rooms or bedrooms where you want to create a sense of intimacy.
Option 3: The “step-up” Gradient
This is a more advanced technique. You paint the walls one color, the vertical reveal a shade lighter (50% strength), and the center tray the lightest shade (25% strength or white). This creates a gradient effect that mimics the way light fades, making the ceiling feel vaulted.
Common Mistakes + Fixes:
Mistake: Painting the angled slope a dark color in a small room.
Fix: Treat the angled slope as part of the “lid.” Keep it light to prevent the room from feeling like it is closing in on you. Dark colors on slopes visually lower the ceiling.
Essential Prep Work and Materials
Painting a ceiling is physically demanding. Proper preparation saves your neck and your floors.
You need to clear the room as much as possible. If furniture is too heavy to move, push it to the absolute center of the room and cover it with heavy-duty plastic sheeting.
Required Tools:
- Telescoping Extension Pole: Do not rely on a ladder for the main rolling. Get a pole that extends 2 to 4 feet for standard rooms, or 4 to 8 feet for high foyers.
- 18-Inch Roller Cage: Standard 9-inch rollers are fine for walls, but an 18-inch roller speeds up ceiling work significantly and reduces lap marks.
- Painter’s Tape (Multi-Surface and Delicate): You will need standard tape for baseboards and delicate tape for freshly painted walls or ceiling trim.
- Canvas Drop Cloths: Plastic is slippery on floors. Canvas stays in place and absorbs drips.
- Angled Sash Brush (2.5 inch): This is non-negotiable for cutting in straight lines at the ceiling edges.
Real-World Constraints:
If you are renting, check your lease regarding ceiling paint. Landlords often hate repainting ceilings because it is labor-intensive. If you get permission, stick to a color that is easily covered, like a soft grey or beige, rather than navy blue or charcoal.
Step-by-Step Execution Order
The order of operations is vital for a clean finish. Working out of order increases the risk of drips ruining finished surfaces.
Step 1: Paint the Crown Molding (If Present)
If your tray ceiling has crown molding, paint this first. It is easier to “cut in” to the wall or ceiling later than it is to paint molding without getting splatter on a finished wall.
Step 2: The Perimeter (Soffit)
Paint the lower dropped section next. Cut in the edges where it meets the wall and the vertical reveal. Roll the flat surface.
Step 3: The Vertical Reveal or Slope
This is the trickiest part. If you are painting this a different color than the center, you need sharp lines. If you are not confident in your freehand cutting, wait for the perimeter paint to cure (at least 24 hours) before taping it off to paint this section.
Step 4: The Center Tray
Paint the highest section last. This prevents any accidental roller splatter from the lower sections hitting your finished center.
Designer’s Note on Scale:
When rolling the center tray, roll across the shortest width of the rectangle. This helps you maintain a “wet edge.” If you roll the long length, the paint at the start of your stripe may dry before you return for the next lap, creating visible distinct stripes.
Choosing the Right Sheen
The finish of the paint affects how imperfections are seen. Ceiling drywall is often finished to a lower standard than wall drywall because builders assume it won’t be scrutinized up close.
Flat or Matte Finish:
This is the industry standard for ceilings. It absorbs light and hides tape joints, screw pops, and uneven texture. Use this for 90% of tray ceiling projects.
Eggshell or Satin:
Only use these sheens if you have a perfectly skim-coated ceiling or if you are using a dark, dramatic color. Dark colors in a flat finish can look chalky and mark easily. However, be warned: any sheen will highlight every bump in the drywall.
High Gloss:
This is a high-drama designer move. It creates a mirror-like effect that reflects light and makes the room feel massive.
Constraint: This requires a Level 5 drywall finish (glass-smooth). Do not attempt this on standard textured ceilings or older plaster.
Managing Lighting and Shadows
Tray ceilings often house recessed can lights or a central chandelier. These light sources change how paint colors read.
Ambient Lighting:
If you have a ceiling fan or chandelier in the center, a dark tray color can make the fixture “pop.” A white fixture on a white ceiling disappears.
Cove Lighting:
Many tray ceilings have a lip for LED rope lighting. If you use cove lighting, you must ensure your paint job is flawless. The up-lighting will graze the surface of the ceiling, casting long shadows from even the tiniest roller fuzz or brush stroke.
What I’d do in a real project:
- For the Cove: If installing LED strips, I would paint the inside of the cove channel a flat white, regardless of the ceiling color. This ensures the light reflected is pure and bright, not tinted by the wall color.
- For Glare: If the room has floor-to-ceiling windows, I avoid semi-gloss on the tray. The reflection from the windows can create distracting glare spots on the ceiling.
Coordinating with Room Decor
The ceiling should converse with the floor. If you choose a heavy, dark color for the tray, you need to anchor the room with substantial furniture or rugs.
Rug Sizing and Balance:
If you paint a dark tray ceiling, ensure your area rug is large enough to ground the space. For a living room, the rug should be at least 6 to 8 inches wider than the sofa on both sides. A “floating” postage-stamp rug combined with a heavy dark ceiling makes the room feel top-heavy and unstable.
Window Treatments:
Your curtain hardware height interacts with the tray. Mount your curtain rods as high as possible—ideally just below the crown molding or the perimeter ceiling.
This bridges the gap between the wall and the tray ceiling, guiding the eye smoothly upward. If you mount curtains on the window frame, you create a dead zone of wall space that disconnects the ceiling from the rest of the room.
Final Checklist for Success
Before you call the project done, run through this list to ensure a professional result.
- The Light Check: Inspect your work with a bright shop light held at an angle against the ceiling. This reveals “holidays” (missed spots) that you can’t see from the floor.
- Edging: Check the crispness of your lines where the wall meets the perimeter. Use a small artist brush to touch up any bleeds.
- Fixture Re-installation: Ensure escutcheon plates (the decorative covers on light fixtures) are flush against the new paint.
- Clean Up: Remove tape slowly at a 45-degree angle while the paint is still slightly tacky to prevent peeling.
FAQs
Should the tray ceiling be lighter or darker than the walls?
There is no single rule, but a lighter tray lifts the ceiling, making the room feel airy. A darker tray lowers the ceiling visually, creating coziness. If you have 8-foot ceilings, stick to lighter shades. If you have 10-foot ceilings, you have the luxury of going darker.
Can I paint the tray ceiling the same color as the walls?
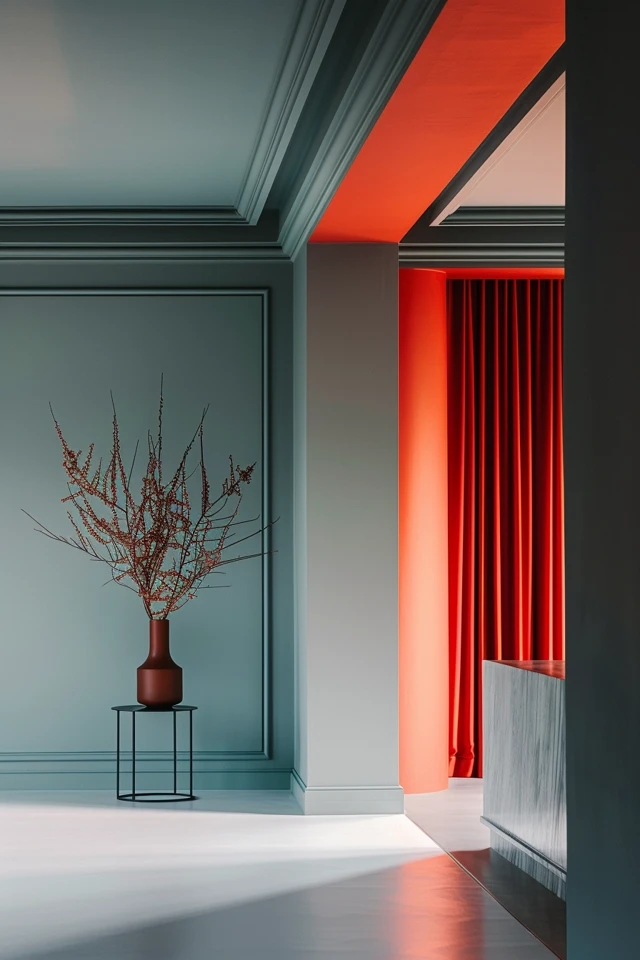
Yes. This is called “color drenching.” It is very trendy right now. It blurs the boundaries of the room and wraps you in color. It works best with moody colors like slate blue, sage green, or terracotta.
How do I paint a tray ceiling with textured drywall?
You must use a thicker nap roller cover—typically 1/2 inch to 3/4 inch. You will need to apply more pressure to get the paint into the crevices. Do not try to paint straight lines on textured ceilings without specialized “frog tape” designed for textured surfaces, or accept that the line will be slightly organic.
Do I need to prime if I am just changing the shade of white?
If the finish is sound and clean, you can usually skip priming. However, if the previous paint is oil-based (common in older homes) and you are switching to latex, you absolutely must use a bonding primer. Test a small spot with rubbing alcohol; if the paint rubs off, it is latex. If not, it is oil.
Conclusion
Painting a tray ceiling is a commitment of time and physical effort, but the payoff is substantial. It turns a standard structural element into a custom design feature.
By respecting the anatomy of the tray, choosing the right sheen, and carefully prepping your space, you can achieve a finish that looks like it cost thousands in professional labor. Take your time with the cutting-in process, and don’t be afraid to test color swatches on the ceiling itself—lighting at that height looks very different than it does on the walls.
Picture Gallery


