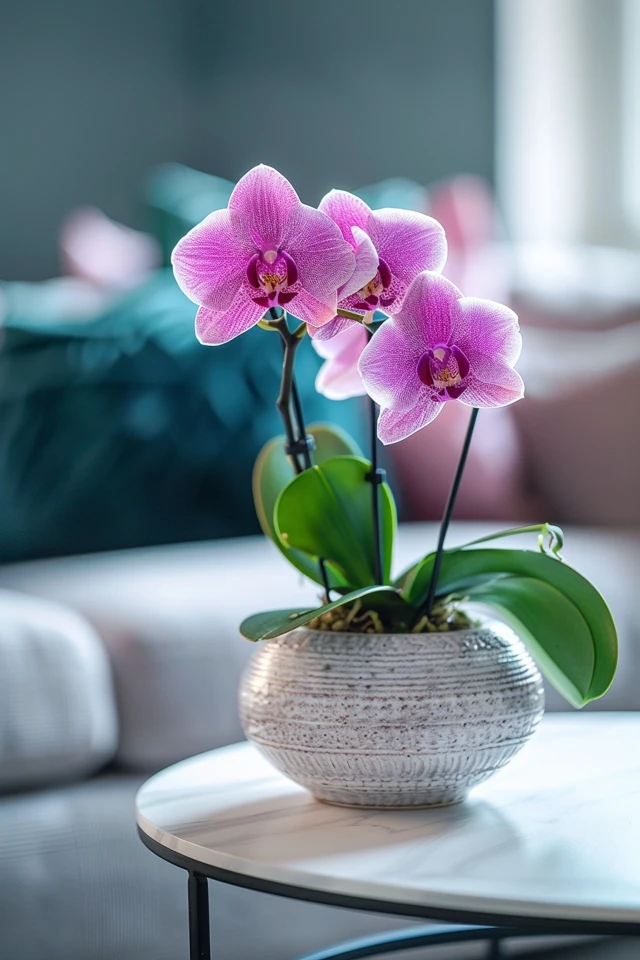
Are you an orchid enthusiast looking to propagate your favorite plants? One method of orchid propagation that you might consider is removing a keiki from the mother orchid stem. Keikis are small clones of the original plant that can be potted individually once they have developed several leaves and roots.
But how exactly do you remove a keiki from an orchid stem without causing harm? Let me guide you through the orchid keiki removal process.
Key Takeaways:
- Orchid keikis are clones of the mother orchid and can be removed once they have developed several leaves and roots.
- Use a sterile cutting tool to carefully cut the stem about two inches above and below the keiki.
- Apply a fungicide, such as cinnamon, to prevent fungal infections.
- Plant the keiki in a 4-inch pot using a suitable potting medium like bark, sphagnum moss, or peat moss.
- Gradually increase the amount of light the keiki receives and fertilize it once it shows signs of growth.

How is a Keiki Formed?
A keiki, which means “baby” in Hawaiian, is formed on an orchid plant through the accumulation of growth hormones at a node. This node, also known as a bud or offshoot, is where the keiki begins its development. As the growth hormones gather in this area, they trigger the growth of a new plantlet, which eventually becomes a mature keiki.
To successfully track the formation of a keiki, it’s essential to closely monitor the mother orchid. Pay attention to any nodes that show signs of swelling or increased growth. These are indications that a keiki may be forming. Once the keiki has developed a few small leaves and roots that are 2-3 inches long, it is ready to be removed from the mother plant.
Removing a keiki too early can be detrimental to its survival. It’s important to allow the keiki enough time to develop and establish its own root system. By waiting until the keiki is more mature, you increase its chances of becoming a strong and independent orchid plant.
Keikis are nature’s way of allowing orchids to reproduce and propagate. By understanding how a keiki is formed, you can take the necessary steps to ensure its successful growth and future blooming.
How to Pot a Keiki
After removing a keiki from its mother orchid, the next step is to pot it in a suitable container. This is an essential part of the orchid propagation process and requires some care to ensure the keiki’s successful growth.
To pot a keiki, you will need a 4 inch pot and a potting medium. There are several options for the potting medium, including bark, sphagnum moss, peat moss, or a commercial orchid potting mix. Choose the medium that suits your preferences and the specific needs of your orchid.
Tip: Tightly packing the moss around the keiki helps provide support as it grows.

Begin by filling the pot with the chosen potting medium. Create a small hole or indentation in the center to place the keiki. Gently place the keiki into the hole, ensuring that its roots are covered with the potting medium. Pack the medium around the keiki, pressing it firmly to provide stability and support.
Quote: “Properly potting a keiki is crucial for its successful growth and development.” – Orchid enthusiast Sally Thompson
Once potted, place the keiki in a location where it can receive indirect sunlight. Avoid placing it in direct sunlight, as this can cause the keiki to become sunburned or dehydrated. Provide appropriate humidity levels by misting the keiki’s leaves regularly or placing it in a humidity tray with water.
Continue to monitor the keiki’s growth and ensure that the potting medium remains moist but not overly saturated. Over time, as the keiki becomes well-established, you may need to consider switching to using bark as the potting medium for better water drainage and airflow.
Remember to provide regular care and attention to the potted keiki as it grows. This includes gradually increasing the amount of light it receives, fertilizing it with a balanced orchid fertilizer, and adjusting the pot size as necessary to accommodate its growth.
By following these steps, you can successfully pot a keiki and help it thrive into a mature and beautiful orchid plant.

How to Grow a Keiki
To grow a keiki successfully, it is important to provide the right conditions for its development. One of the key factors to consider is the amount of direct sunlight the keiki receives. Initially, it is best to avoid exposing the keiki to too much direct sunlight. This can be done by placing it in an area with filtered or diffused light.
As the keiki starts showing signs of growth, such as the emergence of new leaves, it is time to gradually increase the amount of light it receives. This can be done by gradually moving the keiki to a location with more direct sunlight. However, it is important to monitor the keiki closely during this process to ensure it does not get exposed to excessive sunlight, which can cause damage to the tender leaves.
In addition to proper lighting, fertilization is also crucial for the growth of a keiki. Once the keiki has developed leaves and is actively growing, regular fertilization is recommended. Choose a balanced orchid fertilizer and follow the instructions on the packaging for the correct dosage and frequency. Fertilizing the keiki will provide it with the necessary nutrients to support healthy growth and development.
With proper care and attention, a keiki should start flowering between 2 to 3 years of age. However, it is important to note that the production of keikis can also be a sign of stress in the original orchid plant. Therefore, monitoring the health and happiness of the mother plant is essential for the overall well-being of both the keiki and the orchid.

