
If you’re looking to uninstall your ADT Doorbell Camera, it’s important to do so safely and without causing any damage. Whether you’re moving to a new home, upgrading your security system, or simply want to make changes to your current setup, this guide will walk you through the process step-by-step.
Removing an ADT Doorbell Camera may seem daunting, but with the right knowledge and precautions, it can be a straightforward DIY task. By following the manufacturer’s instructions, using the right tools, and taking your time, you can successfully uninstall the camera and continue with your home security needs.
Key Takeaways:
- Follow the manufacturer’s instructions for safe removal.
- Turn off the power before starting the removal process.
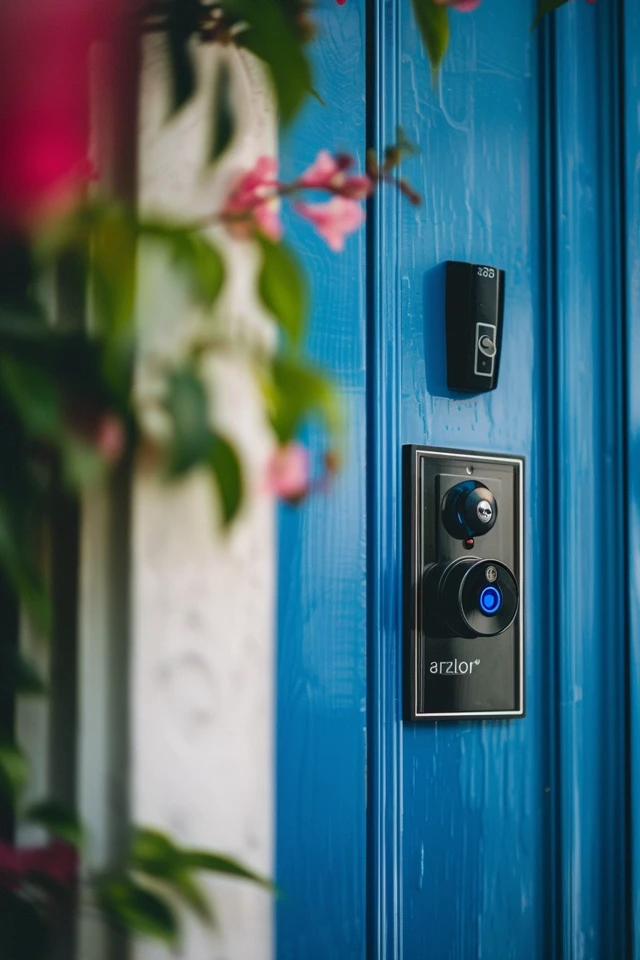
- Disconnect the wires from the camera.
- Remove the mounting bracket from the wall.
- Detach the camera itself.
By following these steps and considering the tips provided in this guide, you’ll be able to remove an ADT Doorbell Camera safely and securely. Remember to proceed with caution, take your time, and follow safety guidelines to ensure a successful removal process.

Step-by-step ADT Doorbell Camera removal
Removing an ADT Doorbell Camera may seem daunting, but with the right knowledge and careful execution, you can safely uninstall it on your own. Follow this detailed step-by-step guide to confidently remove your ADT Doorbell Camera:
- Turn off the power: Begin by turning off the power supply to the doorbell camera to avoid any electrical hazards. Locate the corresponding circuit breaker in your electrical panel and switch it off.
- Disconnect the wires: Once the power is off, carefully remove the cover of your doorbell to expose the wiring. Take note of the wire connections and use a screwdriver to loosen them. Remember to label each wire to ensure a smooth reinstallation process.
- Remove the mounting bracket: Look for screws or bolts holding the doorbell camera’s mounting bracket in place. Use the appropriate tools, such as a screwdriver or wrench, to remove them. Be cautious not to damage the surrounding area while removing the bracket.
- Detach the camera: Once the mounting bracket is removed, gently detach the ADT Doorbell Camera from its bracket. Check for any additional screws or connectors holding the camera in place, and remove them accordingly.
“Removing an ADT Doorbell Camera is a simple process if you follow the proper steps. Take your time and be thorough to ensure a successful uninstallation.”
By following these steps, you can safely uninstall your ADT Doorbell Camera without any damage. Remember to store the camera and its parts in a safe place if you plan to reinstall it or replace it with a new one. Keep in mind that hiring a professional technician is always an option if you feel uncertain or uncomfortable performing the removal yourself.

ADT Doorbell Camera removal tips
Removing an ADT Doorbell Camera without causing any damage requires careful steps and considerations. Here are some tips to help you securely remove your ADT Doorbell Camera:
- Turn off the power: Before starting the removal process, it’s essential to shut off the power supply to the ADT Doorbell Camera. Locate the breaker box in your home and switch off the corresponding circuit.
- Gather the necessary tools: Equip yourself with the right tools for the job. You may need a screwdriver, wire cutter/stripper, electrical tape, and a ladder if the camera is mounted at a height.
- Follow the manufacturer’s instructions: Consult the instruction manual or online resources provided by ADT for specific guidance on removing their doorbell camera model. It’s important to adhere to the recommended steps to ensure a safe removal.
- Disconnect the wires: Carefully detach the wiring connected to the doorbell camera. Use a screwdriver to loosen the screws holding the wires in place, then remove the wires by gently pulling them out.
- Remove the mounting bracket: Most ADT Doorbell Cameras are attached to a mounting bracket. Unscrew the screws securing the bracket to the wall or door frame. Pay close attention to any additional screws or fasteners, and remove them as well.
- Detach the camera itself: Once the mounting bracket is removed, you can detach the camera from it. Look for any locking mechanisms or tabs that may be holding the camera in place and release them accordingly.
By following these tips, you can safely remove your ADT Doorbell Camera without causing any damage. Remember to take your time and exercise caution throughout the process to ensure a successful removal.

Conclusion
Removing an ADT Doorbell Camera is a task that can be accomplished safely and securely with the right knowledge and precautions. By following a few simple steps, you can uninstall the camera without causing any damage or compromising your home security system.
The first and most important step is to turn off the power to the camera. This can usually be done by accessing the main control panel of your ADT system. Once the power is turned off, it is safe to proceed with the removal process.
Next, disconnect the wires that are connected to the camera. It is crucial to ensure that no electrical current is running through the wires before attempting to remove them. Once the wires are disconnected, you can move on to removing the mounting bracket and detaching the camera itself.
Remember to always refer to the manufacturer’s instructions for your specific model of ADT Doorbell Camera. Using the right tools, such as a screwdriver or wrench, will help make the removal process easier and more efficient. Take your time and exercise caution throughout the process to avoid any unnecessary accidents or damage.
After removing the camera, make sure to secure the wiring and follow safety guidelines for proper disposal or storage. With these DIY ADT Doorbell Camera removal tips, you can confidently handle the task and continue with your home security needs.