
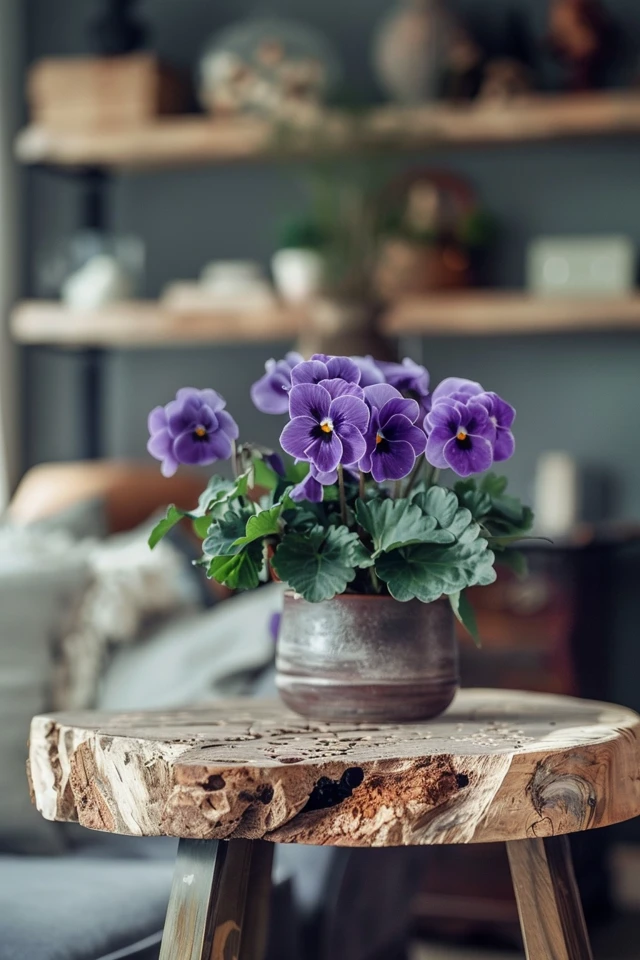
African violets are beautiful and delicate houseplants that require regular care and attention to thrive. One important aspect of their care is repotting, which helps refresh the soil, promote healthy growth, and encourage vibrant flowering. In this guide, I’ll walk you through the step-by-step process of repotting African violets, share tips for selecting the best soil, and provide insights on when it’s time to repot.
When it comes to repotting African violets, timing is crucial. It’s generally recommended to repot them every six months to prevent the stems from becoming long and leggy. This also helps avoid overwatering, which can be detrimental to the plant’s health. By repotting regularly, you’ll ensure that your African violet remains vigorous and stunning for years to come.
When selecting a new pot for your African violet, consider reusing the old pot if it’s the right size. However, if you do opt for a new pot, make sure it has plenty of drainage holes to prevent water from accumulating and causing root rot. Azalea pots, which are shallower, are a great option as they reduce the risk of overwatering.
Before repotting, it’s essential to sterilize the old pots to eliminate any harmful bacteria or nematodes. This can be done by soaking them in a solution of one-part bleach to ten parts water for about 30 minutes. Rinse the pots thoroughly with clean water before use.

Next, you’ll need to prepare the potting mix. African violets require a well-draining soil, and you can either use a commercial potting mix specifically formulated for African violets or make your own. A good homemade mix can be created by combining coconut coir, vermiculite, and perlite in equal parts. This will provide the plant with the proper balance of moisture retention and airflow.
When it’s time to repot, gently remove the African violet from its current pot. Be careful not to damage the stems or leaves during this process. If you notice any dead or damaged parts, prune them away to allow the plant to allocate its resources to healthy growth.
Once the plant is in its new pot, water it deeply to help settle the soil and promote root development. However, avoid fertilizing the plant for at least six weeks after repotting. This will give the plant time to adjust to its new environment without the risk of fertilizer burn.
To reduce transplant shock, consider covering your repotted African violet with a clear plastic bag or humidity dome for about a week. This will create a greenhouse effect, ensuring that the plant retains moisture and facilitates a smoother transition.
Finally, broken stems and leaves are great opportunities for propagation. You can either place them in soil or water to encourage new roots to develop. This will allow you to create new African violet plants and expand your collection.
Key Takeaways:
- Repot African violets every six months to maintain their health and avoid overwatering.
- Select a pot with proper drainage, such as an azalea pot, to prevent root rot.
- Sterilize old pots before reuse to eliminate harmful bacteria and nematodes.
- Use a well-draining potting mix formulated for African violets or create your own by combining coconut coir, vermiculite, and perlite.
- Be gentle when repotting to avoid damaging the stems and leaves.

Signs that Your African Violet Needs Repotting
If you want your African violet to thrive and continue beautifying your home, it’s important to pay attention to signs that indicate it needs repotting. Here are some key indications to look out for:
- Stunted growth: If your African violet is not growing as vigorously as it used to or seems to be stuck in its current size, it may be a sign that it’s time to repot. Repotting will provide fresh nutrients and space for the roots to expand, promoting healthier growth.
- Reduced flowering: If your African violet is producing fewer flowers than usual, or if the flowers are smaller and less vibrant, it could be an indication that it’s becoming pot-bound. Repotting will rejuvenate the plant and encourage it to bloom more abundantly.
- Pot-bound roots: Check the drainage holes of your African violet’s pot. If you notice roots growing through the drainage holes or circling tightly around the root ball, it’s a clear sign that repotting is necessary. Pot-bound roots can restrict nutrient uptake and lead to root rot.
- Drooping leaves: When the leaves of your African violet start drooping even after proper watering, it may indicate that the roots have outgrown the current pot and are unable to absorb water efficiently. Repotting will provide a fresh start and improve the plant’s overall health.
- Long “necks” or unsightly stems: If your African violet has developed long, bare stems that detract from its appearance, it’s a strong indication that repotting is needed. Repotting will help to correct the long “necks” and encourage the growth of new, compact foliage.
Observing these signs and addressing them promptly will ensure that your African violet remains healthy, vibrant, and a delightful addition to your indoor garden.
Proper Techniques for Repotting African Violets
When repotting African violets, it’s important to follow proper techniques to ensure the health and vitality of your plants. Here are some steps and tips for successful repotting:
1. Start by selecting a new pot that is one size smaller or larger than the current pot. This will allow room for growth without overwhelming the plant.
2. Ensure that the pot has plenty of drainage holes to prevent water-logged soil. Good drainage is essential for the overall health of African violets.
3. If you prefer, you can reuse the old pot. However, it’s crucial to sterilize it first to eliminate harmful organisms that could affect the plant’s health.
4. Use a fresh, well-draining potting mix specially formulated for African violets. Alternatively, you can create your own mix using ingredients like coconut coir, vermiculite, and perlite. This will provide the optimal growing conditions for your plants.
5. When removing the African violet from its pot, be gentle to avoid damaging the stems and leaves. Take this opportunity to prune away any dead or damaged parts to promote healthy growth.
6. After repotting, water the plant deeply to help it settle into its new home. However, avoid fertilizing for at least six weeks to give the plant time to adjust to its new environment.
7. To minimize transplant shock, consider covering the plant with a clear plastic bag or a humidity dome for about a week. This will help create a humid microclimate and promote successful acclimatization.
8. Finally, if you have any broken stems or leaves, don’t despair! These can be easily propagated in both soil and water, allowing you to expand your African violet collection.
By following these techniques for repotting African violets, you can ensure that your plants thrive and continue to bring beauty to your indoor space.
