
How To Root Lantana Cuttings In Water: Propagation Guide
Lantana is one of those powerhouse plants that bridges the gap between delicate floral beauty and rugged landscape durability. As a designer, I constantly recommend it to clients who want high-impact color that can withstand heat and neglect. The clusters of tiny, multi-colored blooms add a vibrant, playful texture to patio containers and garden borders alike.
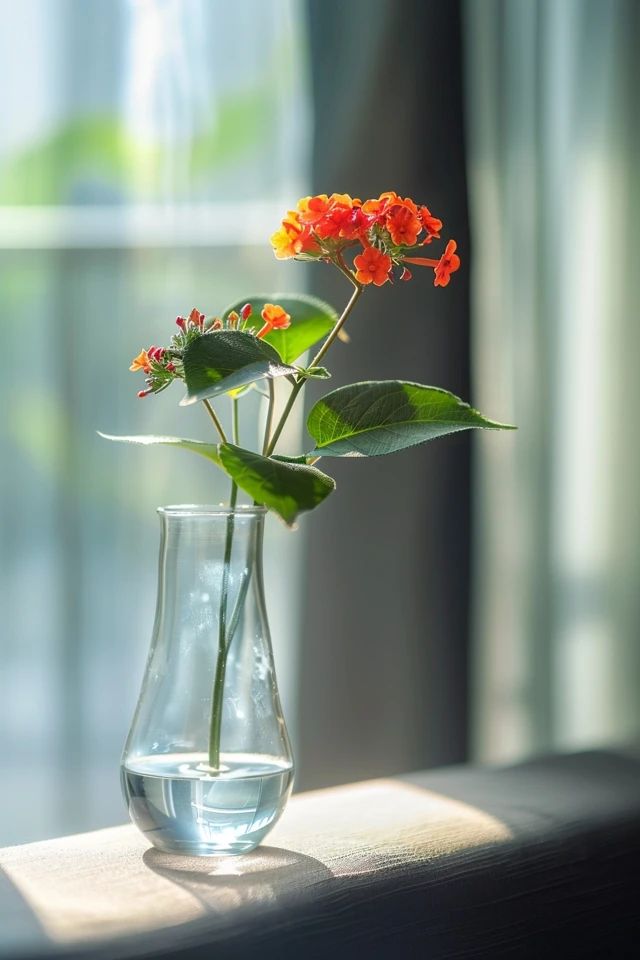
While you can buy established plants from the nursery, propagating your own is a rewarding way to expand your garden for free. There is something deeply satisfying about snipping a stem and watching a new root system develop in a simple glass of water on your windowsill. For plenty of visual inspiration on how to style these blooms, be sure to check out the Picture Gallery at the end of this blog post.
Propagating Lantana in water is surprisingly straightforward, but it does require adherence to a few specific rules regarding timing and stem selection. If you follow the right steps, you can turn a single mother plant into a dozen new additions for your landscape. This guide will walk you through the precise method I use to ensure healthy roots and a successful transition to soil.
Why Choose Water Propagation for Lantana?
Water propagation is often favored by home gardeners because it provides immediate visual feedback. Unlike soil propagation, where you have to guess if roots are forming, clear glass vessels allow you to monitor progress daily. This eliminates the urge to tug on the stem to check for resistance, which can damage fragile new root hairs.
From a design perspective, water propagation stations can serve as temporary interior décor. A collection of vintage apothecary bottles or sleek glass test tubes filled with cuttings brings a touch of life to a kitchen island or a sunny bathroom shelf. It turns a gardening chore into a biophilic design element.
However, water propagation does have its quirks. The roots formed in water are often more brittle than those formed in soil. They are acclimated to an aquatic environment, meaning the transition to potting mix requires a gentle hand. Despite this, the high success rate and the “fun factor” make water rooting my preferred method for Lantana during the active growing season.
Gathering Your Supplies and Choosing the Right Stem
Success starts with the right tools and the right plant material. You cannot simply snap off a branch and expect it to thrive. For a professional-grade result, you need to be precise with your cuts and sanitation.
Here is the essential toolkit you will need:
- Bypass Pruners or Floral Snips: Ensure they are sharp to avoid crushing the stem tissue.
- Rubbing Alcohol: Use this to sterilize your shears before making cuts to prevent bacterial transfer.
- Clear Glass Vessels: Small jars, bud vases, or propagation tubes work best. Avoid wide-mouth mason jars unless you have a frog lid to support the stem.
- Distilled or Filtered Water: Tap water often contains chlorine and fluorides that can inhibit rooting in sensitive cuttings.
Selecting the Mother Plant
The state of the mother plant dictates the health of your cutting. You want to take cuttings from a plant that is well-hydrated. I recommend watering the mother plant deeply the night before you plan to propagate. This ensures the stems are turgid and full of stored energy.
You are looking for “semi-hardwood” stems. This is the Goldilocks zone of growth. New green growth is often too prone to rotting, while old, woody growth is too tough to push out new roots quickly. Look for a stem that is firm but still pliable. It should snap cleanly if bent but still have a green appearance near the tip.
The Step-by-Step Water Propagation Process
Once you have identified a healthy candidate, timing is everything. Ideally, take your cuttings in the morning when the plant moisture levels are highest. Avoid taking cuttings during the heat of the afternoon when the plant is stressed.
1. Make the Cut
Select a healthy stem and cut a length of about 4 to 6 inches. You want to make your cut just below a leaf node (the bump where leaves emerge). This is where the highest concentration of rooting hormones resides. Cut at a 45-degree angle. This increases the surface area for water uptake and prevents the stem from sitting flat against the bottom of the glass.
2. Strip the Foliage
This step is crucial for preventing rot. Remove all leaves from the bottom 3 inches of the stem. You only want to leave two or three sets of leaves at the very top of the cutting. If there are any flower buds or open blooms, snip them off.
It can be painful to cut off the flowers, but you must do it. The cutting has limited energy. You want that energy directed toward root production, not toward maintaining a bloom.
3. Position in Water
Place the prepared cutting into your glass vessel filled with room-temperature filtered water. Ensure that no leaves are submerged in the water. Submerged leaves will rot rapidly, fouling the water and killing the stem.
The water level should cover at least one or two nodes (the spots where you removed the leaves). Roots will primarily emerge from these nodes.
4. Placement and Lighting
Place your vessel in a spot that receives bright, indirect light. A north or east-facing window is usually ideal. Avoid direct southern sun, which can heat the water and cook the delicate stem. If you don’t have natural light, a standard grow light placed 12 inches above the cutting works perfectly.
Maintenance and Potting Up
Now that your cuttings are settled, the waiting game begins. However, this is not a “set it and forget it” process. Stagnant water loses oxygen and breeds bacteria.
Water Management
Change the water every 2 to 3 days. If the water looks cloudy, change it immediately. Rinse the vessel out with hot water if you notice any algae buildup. This keeps the environment oxygenated, which is vital for root development.
Monitoring Root Growth
Lantana is relatively fast. You should start seeing small white nubs (root primordia) emerging from the nodes within 10 to 14 days. Actual roots will follow shortly after.
When to Transplant
There is a specific window for moving water cuttings to soil. You want the roots to be roughly 1 to 2 inches long. If you wait until the roots are 4 or 5 inches long and tangling, they will struggle to adapt to soil.
The Potting Mix
When roots reach the target length, prepare a small 4-inch pot. Do not put a tiny cutting into a giant gallon pot; the excess soil will hold too much water and cause root rot.
Use a sterile potting mix. I prefer a blend of:
- 2 parts peat moss or coconut coir
- 1 part perlite (for drainage)
- 1 part vermiculite (to retain moisture)
Pre-moisten the soil so it is damp but not soggy. Make a hole with a pencil and gently insert the cutting. Firm the soil around the stem to eliminate air pockets.
Styling Your Lantana in the Landscape
Once your propagated Lantana is established and hardened off, it is time to integrate it into your home’s design. Lantana is incredibly versatile, but it shines best when used with intention regarding scale and color theory.
Container Design
Lantana makes an excellent “filler” or “spiller” in container arrangements. The trailing varieties are perfect for hanging baskets or tall urns flanking a front door.
- Scale Rule: For a balanced look, the height of your plants should be roughly equal to or 1.5 times the height of the container.
- Pairing: Pair purple Lantana with chartreuse Sweet Potato Vine for a high-contrast, modern look. For a warmer, Mediterranean vibe, pair yellow/orange Lantana with blue Salvia or purple Fountain Grass.
Garden Bed Layout
In the ground, Lantana acts as a ground cover or a low shrub, depending on the variety.
- Spacing: Space plants 2 to 3 feet apart. They grow rapidly and will close the gap by mid-summer. Crowding them too closely limits airflow and can lead to powdery mildew.
- Texture: Use Lantana to soften the edges of hardscaping. The airy, sprawling nature of the plant looks beautiful spilling over a stone retaining wall or a concrete walkway.
Safety and Constraints
As a designer, I always have to consider the household’s inhabitants. It is important to note that all parts of the Lantana plant are toxic if ingested. If you have curious dogs or young children who put things in their mouths, this might not be the plant for ground-level beds. Consider using it in high hanging baskets instead.
Designer’s Note: Handling the “Faint”
Here is a lesson I learned the hard way early in my career. When you move a water-rooted cutting into soil, it will likely “faint” or wilt dramatically. This happens because the roots are suddenly working harder to pull moisture from soil particles rather than drinking freely from a cup.
Do not panic and overwater.
Many people see the wilt and flood the pot, which rots the roots. Instead, increase the humidity around the foliage. I create a “mini greenhouse” by placing a clear plastic bag over the pot (supported by chopsticks so it doesn’t touch the leaves) for the first 3 to 4 days. This keeps humidity high and stops the leaves from losing water while the roots establish. Remove the bag for an hour a day to let it breathe, and remove it entirely after a week.
Common Mistakes + Fixes
Even with the best intentions, propagation can fail. Here are the most common issues I see and how to correct them.
Problem: Stem turns black and mushy at the bottom.
Correction: This is bacterial rot. You likely didn’t change the water enough, or the water level was too high. Recut the stem above the rot (if there is enough length left) and start over with a sterilized glass and fresh water.
Problem: Leaves turn yellow and drop off.
Correction: This usually indicates a lack of nitrogen or insufficient light. While water has oxygen, it has no nutrients. If rooting takes longer than 3 weeks, add a single drop of liquid fertilizer to the water to sustain the plant.
Problem: Roots are growing, but they are brown.
Correction: Healthy water roots should be white or creamy. Brown roots indicate rot. Snip off the brown parts with sterile scissors and change the water immediately.
Problem: The cutting wilts immediately after cutting.
Correction: The cutting is transpiring (losing water) faster than it can take it up. Remove more leaves to reduce surface area. You can also cut the remaining leaves in half horizontally to reduce moisture loss further.
What I’d Do in a Real Project
If I were hired to refresh a client’s patio using propagated Lantana, here is the specific checklist I would follow to ensure a cohesive, high-end look:
- Variety Selection: I would stick to one or two color palettes. A chaotic mix of every Lantana color can look messy. I prefer the ‘Dallas Red’ for drama or ‘New Gold’ for a clean, bright look.
- Acclimatization: I would never put a freshly potted propagation straight into the harsh sun. I would keep the pots on a covered porch for 10 days to “harden off” before planting them in the final decorative containers.
- Soil Prep: In the final containers, I would use a premium potting mix amended with slow-release fertilizer (like Osmocote). Lantana is a heavy feeder during blooming season.
- The “Thriller”: I would use a vertical element, like a Cordyline or a Dracaena spike, in the center of the pot, and ring it with 3 of my propagated Lantana plants. This creates instant volume.
Final Checklist
Before you start snipping, run through this mental check to ensure you are ready to propagate.
- Season: Is it spring or early summer? (Fall cuttings are harder to root).
- Health: Is the mother plant hydrated and pest-free?
- Tools: Are your shears sharp and cleaned with alcohol?
- Vessel: Is your glass clean and narrow-necked?
- Location: Do you have a spot with bright, indirect light?
- Patience: Are you ready to change water every 48 hours?
FAQs
How long does it take for Lantana cuttings to root in water?
Generally, you will see root initiation within 2 weeks, and they should be ready to pot up in soil by week 4. In cooler temperatures, this may take a week longer.
Can I propagate Lantana in winter?
It is difficult. Lantana goes semi-dormant in many zones during winter. The energy levels in the plant are low, and rooting will be very slow. It is best to wait until active growth resumes in spring.
Is it better to propagate in soil or water?
Soil often produces stronger root systems initially, but water is easier for beginners because you can see the progress. For high-volume production, I use soil. For a few fun stems at home, I use water.
My Lantana cutting has flowers. Should I keep them?
No. You must remove them. Flowers consume a massive amount of energy. If you leave them on, the cutting will likely exhaust itself and die before it can push out roots.
Is Lantana invasive?
In frost-free zones like Florida, Hawaii, and parts of California, some varieties of Lantana (specifically Lantana camara) can be invasive. Always check your local agricultural extension service. Sterile cultivars (like ‘Gold Mound’) are a responsible choice for these regions.
Conclusion
Rooting Lantana in water is a delightful intersection of gardening and science. It allows you to multiply your collection without spending a dime, and it provides a fascinating look at the hidden world of root development.
By following the rules of proper stem selection, rigorous hygiene, and careful light management, you can achieve a near-perfect success rate. Whether you are filling a sprawling border in the backyard or creating a compact container garden on an apartment balcony, these vibrant, hardy plants will reward your efforts with non-stop color until the first frost.
Picture Gallery


