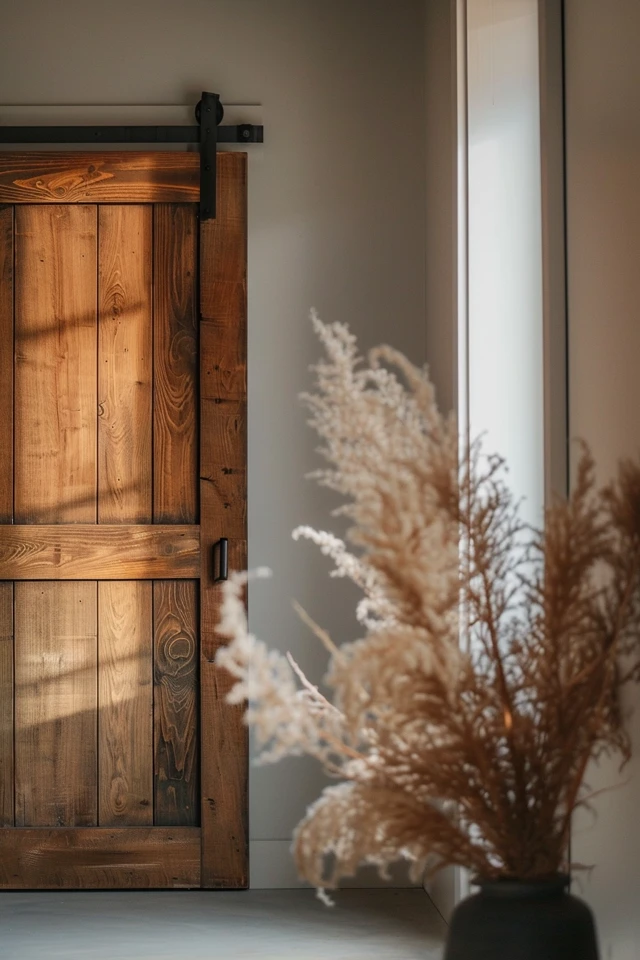
Staining a barn door is a wonderful way to add a timeless and rustic touch to your home decor. However, achieving the perfect finish requires the right techniques and tools. I’m here to guide you through the process of staining your barn door, ensuring a beautiful and professional result.
One common mistake people make when staining a barn door is using the wrong brush. This can lead to uneven application and unsatisfactory results. To avoid this, choose a brush specifically designed for staining, like a natural bristle brush. This type of brush will help you achieve a smooth and even coat of stain.
Another crucial aspect to consider is the choice of stain for your barn door. There are various factors to keep in mind, such as the desired color and the compatibility of the stain with the type of wood used for your door. To ensure you make the right choice, I recommend testing the stain on a scrap piece of wood or in an inconspicuous area before applying it to the entire door.
In addition to brushes, there are other staining applicators that can provide a more controlled and even application. Sponges and staining pads are excellent alternatives that allow for better maneuverability, especially when working with intricate designs or details. Using these applicators can help you achieve a professional finish.
By following these tried and tested finishing techniques, you can transform your barn door into a stunning centerpiece for your home. Let’s dive in and discover the step-by-step process to stain your barn door like a pro.

Key Takeaways:
- Choose the right brush for staining to ensure an even application.
- Test the stain on a small area before applying it to the entire barn door.
- Consider using staining applicators like sponges or staining pads for better control.
- Follow a step-by-step process to achieve a professional finish.
- Protect the surrounding areas during the staining process.
Choosing the Right Stain for Your Barn Door
When it comes to staining your barn door, selecting the right stain is essential in achieving the desired look. The color and finish you choose can make a significant difference in the overall aesthetic of your door. To help you make an informed decision, here are some valuable tips and recommendations for choosing the best stains for barn doors.
Consider Your Desired Look
Before diving into the vast selection of stains available, take a moment to envision the look you want to achieve for your barn door. Do you prefer a more transparent finish that showcases the natural wood grain, or would you like a richer and opaque color? Understanding your design goals will help narrow down your options and ensure the stain you choose aligns with your vision.
Wood Compatibility
Another crucial factor to consider is the type of wood your barn door is made of. Different stains interact differently with various wood species, resulting in unique color variations. Ensure that the stain you choose is compatible with the wood you are working with to achieve the desired result. It’s always a good idea to test the stain on a small inconspicuous area or a scrap piece of wood before applying it to the entire door.
Popular Stain Brands
When it comes to barn door stains, several reputable brands offer a wide range of colors and finishes. Consider brands like Varathane, Minwax, and Sherwin Williams, which are known for their quality and reliability. These brands have a variety of stain options that cater to different design preferences. Reading reviews and learning from the experiences of other DIYers can also help you make an informed decision.
Choosing the best stain for your barn door is a crucial step in the staining process. By considering your desired look, wood compatibility, and popular stain brands, you can ensure that your barn door achieves the stunning finish you envision. Once you have chosen the right stain, remember to follow the manufacturer’s instructions for proper application and drying times.

Applying the Stain to Your Barn Door
Now that I have selected the perfect stain for my barn door, it’s time to apply it and bring out the rustic charm. To start, I’ll prepare the door by sanding it with a medium-grit sandpaper. This will create a smooth surface and ensure the stain adheres evenly.
Before applying the stain, it’s important to remove any dust or debris from the door’s surface. I’ll carefully clean it to ensure a flawless finish. To protect the surrounding areas, I’ll cover them with drop cloths or plastic sheets. This will prevent any accidental spills or stains.
For a controlled and even application, I’ll be using staining applicators like sponges or staining pads. Starting with a small area, I’ll dip the applicator into the stain and wipe it onto the door, following the direction of the wood grain. I’ll continue applying the stain in thin, even coats until I achieve the desired color and depth.
After each coat, I’ll allow the stain to dry fully before applying additional coats. This will ensure a smooth and professional-looking finish. Depending on the stain and wood type, I might consider adding a sealant or top coat to protect the finish and enhance its durability.
With the application complete, I’ll step back and admire my beautifully stained barn door. The DIY barn door staining process has transformed the door into a stunning focal point, adding a touch of rustic elegance to my home. I can’t wait to explore more barn door renovation ideas and unleash my creativity on future projects.


