
Iridescent Tile Bathroom Ideas for a Dreamy Look
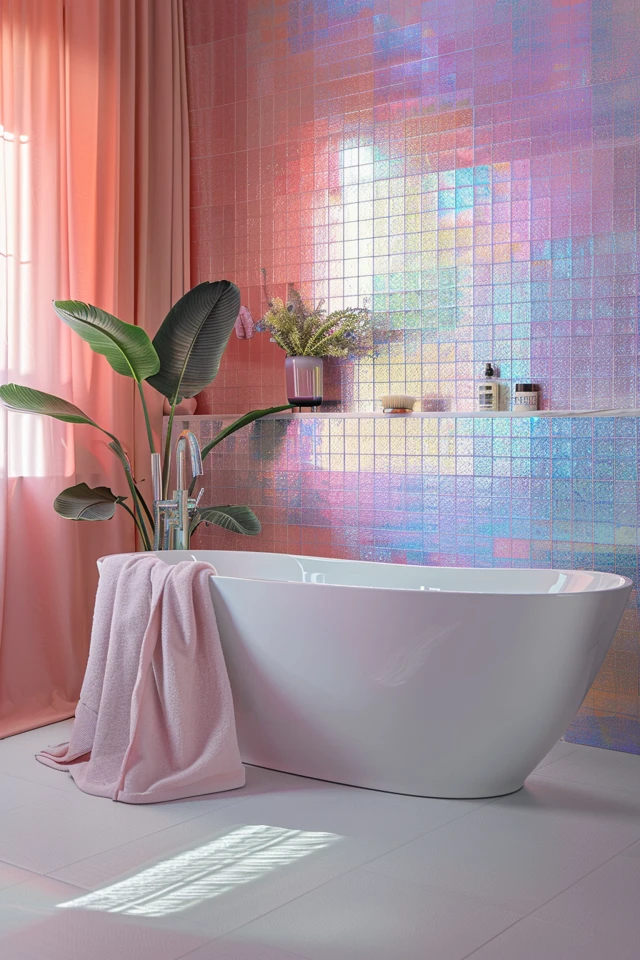
There is something inherently magical about bathroom finishes that interact with light rather than just reflecting it. Iridescent tile, often reminiscent of seashells, pearls, or the surface of a soap bubble, adds a layer of depth and movement that flat static colors simply cannot achieve. It transforms a utilitarian space into a personal spa that feels alive and shifting throughout the day.
However, working with iridescent materials requires a disciplined hand to ensure the space feels sophisticated rather than childish or overwhelming. For plenty of visual inspiration, don’t miss the curated Picture Gallery located at the very end of this blog post.
In this guide, I will walk you through the technical and aesthetic rules I use when designing bathrooms with these shimmering finishes. We will cover material selection, critical installation details, and the lighting secrets that make these tiles truly glow.
1. Selecting the Right Material: Glass, Ceramic, or Shell
When clients ask for an “iridescent” look, they are usually referring to a finish that displays a spectrum of colors that change depending on the angle of view. The most common carrier for this finish is glass mosaic tile. Glass is naturally reflective, and when backed with an iridescent film or treated with a metallic glaze, it offers the most dramatic “water-like” effect.
However, glass is not your only option, and sometimes it is not the best one for durability. Glazed ceramic tiles can also have an iridescent topcoat (often called a luster finish). These tend to be more subtle than glass, offering a pearlescent sheen rather than a full rainbow spectrum. They are excellent for vintage-inspired bathrooms or spaces where you want warmth without high-gloss sparkle.
Another high-end option is genuine mother-of-pearl (shell) tile. This material is incredibly thin (often 2mm to 4mm) and requires a very specific installation method. It offers the most organic, authentic iridescence because it is a natural material. If you choose shell tile, be aware that it requires regular sealing and is sensitive to acidic cleaners.
2. Placement Strategy: The “Jewelry” Rule
In interior design, we often treat high-impact materials like jewelry. You wouldn’t wear a diamond necklace, chandelier earrings, and a tiara all at once; similarly, you shouldn’t plaster every wall of a bathroom in iridescent tile. The rule of thumb here is to choose one focal point.
The Vanity Backsplash
This is the safest and most effective place for iridescent tile. A standard backsplash height is 4 inches, but for a dramatic effect, I recommend taking the tile from the vanity deck all the way to the ceiling. This vertical stretch draws the eye up and makes small bathrooms feel taller.
The Shower Niche
If you are budget-conscious or afraid of committing to a bold look, the shower niche is your best friend. A typical niche is roughly 12 inches by 24 inches. Using a high-end iridescent mosaic here acts as a surprise accent without overwhelming the room. It also allows you to buy a very expensive tile since you only need 3 to 5 square feet.
The Feature Wall
For a wet room or a large walk-in shower, a single feature wall of iridescent tile can be stunning. The key here is lighting. Ensure this wall is the one that receives the most natural light from a window or is washed by recessed fixtures. Do not put iridescent tile on a wall that is constantly in shadow; it will look gray and lifeless.
3. The Technical Side: Adhesives and Grout
This is where many DIY projects and even some general contractors fail with glass or translucent tile. The color of the adhesive (thinset) you use matters immensely. Because glass and many iridescent tiles are semi-translucent, the color of the wall behind them will bleed through.
The Golden Rule of Thinset
You must use a bright white, polymer-modified thinset specifically designed for glass tile. If you use a standard gray mortar, your beautiful shimmering tiles will look muddy, dark, and dull. There is no fixing this once the tile is set; the only solution is demolition.
Grout Selection
Choosing a grout color for iridescent tile is tricky. If you choose a high-contrast color (like dark gray), you will emphasize the grid pattern and distract from the shimmer of the tile. If you choose white, the tile blends together for a more cohesive sheet of color.
For 90% of my projects involving iridescent glass, I specify a “bright white” or “translucent” grout. Yes, translucent grout exists (often urethane or epoxy-based), and it contains tiny glass beads that refract light, allowing the grout to virtually disappear. This is the pro move for a seamless look.
4. Lighting: The Engine of Iridescence
Iridescent tile is visually dead without proper lighting. The “rainbow” effect is caused by light diffraction, so you need light sources that hit the tile at angles. A single ceiling flush mount in the center of the room will not do the job.
Color Temperature (Kelvin)
The color of your light bulbs will drastically change how the tile looks.
2700K (Warm White): This will pull out the golds, pinks, and warmer tones in the tile.
3000K (Soft White): This is the industry standard for bathrooms. It provides a clean, neutral light that allows the true colors of the spectrum to show without casting a yellow or blue tint.
4000K+ (Daylight): This will make the bathroom feel clinical and can make iridescent tiles look cold or harsh. Stick to 3000K.
Fixture Placement
To maximize the shimmer, use “wall grazing” techniques. This involves placing recessed downlights or LED strips close to the tiled wall (about 6 to 12 inches away). The light skims down the surface of the tiles, catching every slight texture variation and amplifying the iridescence. If the light source is behind the viewer, the effect is flattened.
5. Balancing the Palette
Because the tile itself is busy and colorful, the rest of the bathroom elements must be quiet to maintain balance. If your tile has an “oil slick” finish (blues, purples, greens), keep your paint colors crisp white or a very pale gray.
Hardware Finishes
Chrome and Polished Nickel are the natural companions to iridescent tile because they mirror the reflective quality. However, if you want to ground the space and make it feel more modern, Matte Black hardware provides a striking contrast that anchors the eye. Brushed Gold can work, but be careful—it can clash if the tile reflects too much pink or purple.
Countertops
Avoid countertops with heavy veining or speckling. A busy granite countertop paired with iridescent mosaic tile is a recipe for visual chaos. Stick to solid quartz in pure white or a very subtle marble-look stone. The countertop should act as a blank canvas for the backsplash.
Designer’s Note: A Lesson from the Field
I once took over a project where a previous contractor had installed a gorgeous, expensive white iridescent glass subway tile. The homeowner was devastated because the tile looked like a dirty gray-green on the wall.
Upon investigation, we realized two things had gone wrong. First, the installer used gray thinset, which shadowed through the glass. Second, the glass tile had a slight natural green tint (common in glass), and they installed it in a room with no windows and 2700K yellow lighting. The combination created a swampy hue.
We had to tear it out. The lesson? Always buy one sheet of your tile and tape it to the wall in your specific bathroom. Look at it in the morning, afternoon, and with the electric lights on. Never buy 100 square feet of tile based on a showroom sample.
Common Mistakes + Fixes
Mistake: Using sanding grout on glass tile.
Sanded grout contains silica sand which can scratch the delicate surface of glass or mother-of-pearl tiles during installation.
Fix: Always specify unsanded grout for joints smaller than 1/8 inch, or use a high-performance epoxy grout designated as safe for glass.
Mistake: Ignoring the “Cut Edges.”
When you cut glass tile, the edge is often sharp and chipped. Leaving these exposed on an outside corner looks unfinished and dangerous.
Fix: Plan your layout to hide cuts in the inside corners. For outside corners, use a metal Schluter edge profile (anodized aluminum or chrome) to cap the tiles cleanly. Bullnose pieces for glass mosaic are rare and often expensive.
Mistake: Small scale tile in a large room.
Using a tiny 1/2-inch mosaic on a massive wall can create a “pixelated” effect that makes your eyes vibrate.
Fix: For large walls, scale up. Look for 1×4 inch iridescent bricks or even 3×6 inch subway tiles. Save the tiny mosaics for smaller zones like niches or accent bands.
What I’d Do in a Real Project: The “Modern Mermaid” Checklist
If I were designing a guest bathroom today using iridescent tile, here is the exact specification list I would use to ensure success:
1. The Tile: 1×4 inch stacked glass mosaic in a “Pearl/White” iridescence. Installed vertically for a modern lift.
2. The Location: Vanity wall only, floor to ceiling.
3. The Grout: Laticrete Spectralock (Epoxy) in Bright White.
4. The Adhesive: Bright White Glass Tile Mortar.
5. The Vanity: Floating white oak or a matte navy blue cabinet to ground the shine.
6. The Lighting: Two linear LED sconces mounted vertically on either side of the mirror (3000K).
7. The Mirror: Frameless or thin metal frame to let the tile behind it take center stage.
Final Checklist for Your Project
Use this checklist before you purchase any materials to ensure you have covered all the logistical bases.
Sample Test: Have you taped a sample sheet to your wall to test lighting?
Thinset Check: Is your contractor aware they must use bright white modified thinset?
Grout Type: Have you selected an unsanded or glass-safe epoxy grout?
Edge Trim: Have you measured the linear footage of exposed edges and purchased a metal profile to match?
Wall Prep: Is the wall perfectly flat? Glass tile shows every bump in the drywall.
* Lighting Upgrade: Have you checked your bulb color temperature? Aim for 3000K.
FAQs
Is iridescent tile trendy or timeless?
White pearlescent tile is timeless; it functions similarly to white subway tile but with more interest. Dark, heavy “oil slick” colors or bright colored glass mosaics tend to be more trend-driven. If you are worried about resale value, stick to white or light gray iridescence.
Is it hard to keep clean?
Glass tile is actually very easy to clean because it is non-porous. Mold and mildew cannot penetrate the surface. However, because it is high-gloss, it shows water spots and toothpaste splatters easily. You will want to wipe it down with a microfiber cloth and glass cleaner regularly.
Can I use iridescent tile on the floor?
Generally, no. Most glass and high-gloss ceramic tiles are extremely slippery when wet. Unless the tile is a very small mosaic (where the grout lines provide traction) and rated for floor use (check the friction coefficient), keep these tiles on the walls.
Does iridescent tile cost more to install?
Yes, usually. Cutting glass requires a special diamond blade and more patience to avoid chipping. Many tile setters charge a premium for glass mosaic installation because the prep work must be perfect; you cannot hide uneven walls with glass tile.
Conclusion
Iridescent tile offers a unique opportunity to manipulate light and mood in a bathroom. It bridges the gap between the hard surfaces required in a wet room and the soft, ethereal atmosphere we crave in a relaxation space.
By respecting the technical requirements—specifically the white adhesive and proper lighting—you can avoid the common pitfalls that make these projects look cheap. Remember to scale your tile to the room size, balance the shimmer with matte finishes, and always prioritize the quality of your installation materials. With the right planning, your bathroom won’t just look clean; it will glow.
Picture Gallery


