
Mirror Painting Ideas Aesthetic: Get Inspired!
We have all stared at a generic, builder-grade mirror and felt absolutely nothing. It is functional, sure, but it usually lacks the personality that makes a house feel like a curated home. I remember my first apartment had a massive, frameless slab of glass in the bathroom that made the space feel sterile and cold.
Instead of tearing it out and losing my security deposit, I decided to treat the mirror as a canvas. A few hours and some acrylic paint later, that boring sheet of glass became the focal point of the room. It transformed the light bouncing around the space and added a layer of texture that didn’t clutter the floor plan.
If you are looking for visual examples of these techniques, I have curated a Picture Gallery at the end of this blog post to spark your creativity. Before you scroll down, let’s walk through the practical techniques, materials, and design rules you need to execute this DIY project like a professional.
1. Selecting the Right Materials and Prep Work
The difference between a project that looks high-end and one that looks like a messy craft day is entirely in the prep work. Mirrors are non-porous surfaces, which means standard wall paint will eventually peel off if you just slap it on. You need specific mediums that bond to glass or slick frames.
For painting directly on the glass, heavy-body acrylics are your best friend. They hold their texture and don’t drip as easily as standard craft paints. If you are painting a frame, I almost always recommend a high-quality spray paint or a chalk-style paint, depending on the finish you want.
Before you open a single tube of paint, clean the mirror with rubbing alcohol, not standard glass cleaner. Glass cleaners often leave a streak-free residue that actually repels paint. The alcohol strips oils and dust, giving your paint the best possible surface to grip.
Designer’s Note: The “Peel” Factor
One thing that usually goes wrong is that DIYers underestimate how easy it is to scratch paint off glass. If this mirror is in a high-traffic zone, like a hallway drop zone where keys might hit it, you must seal your work. I use a clear, brush-on polyurethane for frames, but for glass art, I simply advise keeping the design out of the direct “touch zone.”
2. The “Cloud Mirror” and Foam Frame Aesthetic
You have likely seen the puffy, cloud-like mirrors taking over social media. This is a fantastic solution for renters because it adds significant architectural interest without drilling heavy holes or buying expensive vintage frames. The aesthetic is playful, soft, and adds great acoustic dampening to a room.
To achieve this, you use expanding polyurethane foam (the kind used for insulating gaps in windows). Lay your mirror flat on a drop cloth—never try this while the mirror is hanging up. Spray the foam slowly around the border, allowing it to expand naturally into organic, cloud-like shapes.
Once the foam cures (usually 24 hours), it hardens into a paintable surface. You can leave it creamy white for a modern look or paint over it. I recommend using a primer first, as the foam is porous and will soak up your colored paint quickly.
Common Mistakes + Fixes
Mistake: Spraying too fast or too much.
Fix: The foam expands to double or triple its size. Do a test line on a piece of cardboard first to get a feel for the pressure of the nozzle. If you overdo it, wait for it to cure completely, then carve it back with a serrated bread knife.
3. Painting the Glass: Floral Borders and Organic Blobs
Painting directly on the reflective surface is a bold move that creates depth. The reflection doubles the visual impact of whatever you paint. Currently, the most requested aesthetics are wildflower borders or abstract, organic “blobs” in the corners.
When planning a floral border, do not aim for symmetry. Nature isn’t perfectly symmetrical, and trying to match the left side to the right side will make you crazy. Start with your largest flowers in three distinct clusters (perhaps bottom left, top right, and a smaller one in the middle left) to balance the visual weight.
For abstract shapes, think about the color palette of your room. If you have a neutral beige sofa and a navy rug, mix custom paint colors that bridge that gap. I often mix a tiny bit of baking soda into acrylic paint to give the abstract shapes a matte, terracotta-like texture that contrasts beautifully with the sleek glass.
Pro-Level Rule of Thumb: The Reflection Zone
Always leave the “face zone” clear. Stand in front of the mirror before you paint and use a dry-erase marker to roughly circle where your face and torso reflect. Keep your painted designs outside of this circle so the mirror remains functional.
4. Transforming the Frame: Antique Gold to High-Gloss Pop
Sometimes the “aesthetic” isn’t about covering the glass, but saving a cheap plastic frame. A dated, plastic wood-grain frame can look like a high-end antique with the right product. My secret weapon for this is a product called Rub ‘n Buff.
It is a wax-based metallic finish that you apply with your finger or a soft cloth. Unlike gold spray paint, which can look flat and cheap, this wax has dimension and sheen. It catches the light exactly like real gold leaf.
Alternatively, for a postmodern or Memphis-design aesthetic, go for high gloss. Take the frame off (or tape the glass meticulously) and use a high-gloss lacquer spray paint in a bold color like cobalt blue or kelly green. The shiny frame against the shiny glass creates a very chic, monochromatic texture look.
What I’d Do in a Real Project
If I am styling a moody powder room, I would take a thrifted, ornate mirror and paint the frame matte black. Then, I would dry-brush a tiny amount of silver metallic paint just on the raised edges of the carving. This gives it a gothic, historic feel for under $15.
5. Faux Antique Mirror Glass
If you want the “Old World” aesthetic of a cloudy, desilvered mirror found in a French flea market, you can fake it. This is perfect for mirrors that are strictly decorative, like those above a fireplace mantel, where clarity isn’t the priority.
You will need a spray bottle filled with a 1:1 mix of vinegar and water, and a can of “mirror effect” spray paint or silver metallic spray paint. You actually do this on the back of a piece of glass, but if you are working with an existing mirror, you have to work on the front with sheer layers.
Mist the water/vinegar solution onto the glass so it beads up. Lightly spray your black or dark grey paint over the droplets. Let it dry for a minute, then blot the water droplets away. The paint will stick everywhere except where the water was, creating that spotted, aged look.
Scale and Lighting
For an antique finish, lighting is crucial. Place these mirrors where they will reflect a light source, like a chandelier or a window. The imperfections in your paint job will scatter the light warmly, creating an incredible atmosphere in the evening.
6. Styling Your Painted Mirror
A painted mirror is technically art, so you need to treat it like a canvas when placing it in a room. A common error is hanging it too high. The center of the mirror should be roughly 60 to 65 inches from the floor, which is standard eye level.
If you have painted a heavy border on the mirror, give it room to breathe. Do not crowd it with other wall art. Let the painted mirror be the “hero” of that wall. If it is a floor mirror, ensure you have a rug underneath it to ground the vignette; otherwise, it looks like it is just floating or waiting to be moved.
Consider the color echo. If you painted pink flowers on your mirror, add a throw pillow or a small vase in that same pink shade elsewhere in the room. This makes the DIY project feel intentional and integrated, rather than like an afterthought.
7. Final Checklist: The DIY Designer’s Protocol
Before you commit to the first stroke of paint, run through this mental checklist. This is the exact process I use to ensure a project doesn’t turn into a headache.
1. Functionality Check:
Is this the only mirror in the bathroom? If yes, keep the painting to the extreme edges. If it is decorative (hallway/living room), you can be more aggressive with the design.
2. The Scratch Test:
If you are painting a frame, test your paint in a hidden spot (like the back). If it scratches off with a fingernail after drying, you need to sand the surface and use a primer.
3. Masking Precision:
Spend 80% of your time taping. Use high-quality painter’s tape and press the edges down firmly with a credit card to prevent bleed-under.
4. Drying Environment:
Do not paint in high humidity or direct scorching sun. Humidity makes paint tacky, and direct sun dries it too fast, causing cracks.
5. The Step-Back Rule:
While painting, step back 5 feet every 10 minutes. What looks good with your nose against the glass might look chaotic from viewing distance.
8. FAQs
Q: Can I clean the mirror after painting it?
A: Yes, but be gentle. Do not spray cleaner directly over the painted areas. I recommend using a microfiber cloth slightly dampened with water for the painted parts, and standard glass cleaner only on the exposed glass.
Q: Is this reversible?
A: If you paint directly on the glass with acrylics, yes. You can usually scrape it off with a razor blade scraper and some warm soapy water if you want to change the design later.
Q: Can I use oil paints on a mirror?
A: I do not recommend it. Oil paints take a very long time to dry (sometimes weeks) and can slide on the slick glass surface. Acrylics or enamels are much better suited for this.
Q: How do I seal acrylic paint on glass?
A: For decorative mirrors that won’t be touched often, you don’t necessarily need to seal it. However, you can brush on a layer of clear gloss medium or a specialized glass varnish to protect your work from chipping.
Q: Will the paint look the same on the reflection side?
A: If you are painting on the front of the mirror, the “underside” of the paint (what you see in the reflection) will look like the color of the paint. If you paint on the back of clear glass, you see the smooth side.
9. Conclusion
Transforming a mirror with paint is one of the most low-risk, high-reward projects you can take on. It allows you to inject color, whimsy, or vintage charm into a room without buying new furniture. Whether you choose a trendy foam frame or a delicate hand-painted floral border, the key is confidence and preparation.
Remember that your home is a reflection of you—pun intended. Don’t be afraid to experiment with shapes and colors that bring you joy. If you mess up, that is the beauty of glass; a razor blade gives you a clean slate to try again.
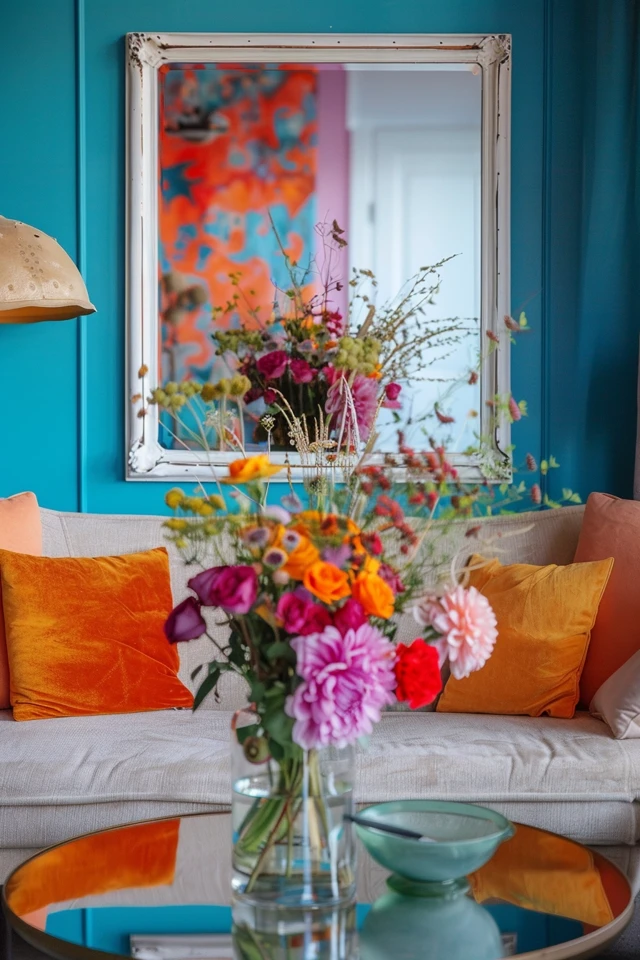
10. Picture Gallery


