
Nautical Landscaping Ideas for Seaside Charm
There is a distinct rhythm to life by the water. The air feels different, the light hits softer, and the boundaries between the indoors and the outdoors seem to blur. When I work with clients on coastal properties, the goal is never to fight the elements, but to embrace the rugged, wind-swept beauty of the environment.
However, achieving that effortless seaside charm requires a surprising amount of discipline. It is easy to veer into kitschy territory with too many decorative anchors and bright red life preservers. True nautical landscaping is about textures—weathered wood, crunching gravel, swaying grasses—and a functional layout that withstands salt, sand, and sun.
For immediate visual inspiration, don’t miss our curated Picture Gallery at the end of the blog post.
1. Establishing the Hardscape: The Foundation of Coastal Design
In any landscape project, hardscaping dictates how you move through the space. For a nautical theme, you want to avoid rigid, perfectly manicured concrete. Instead, focus on materials that look like they have been there for decades.
Crushed Shell and Gravel
The quintessential coastal look often involves crushed oyster shells or pea gravel. This is not just an aesthetic choice; it is practical drainage. Coastal soil is often sandy, and solid pavers can shift over time. Loose aggregates forgive the ground movement.
From a design perspective, the “crunch” underfoot adds a sensory layer to the garden. I typically specify a layer depth of 2 to 3 inches over a compacted base. For driveways, you need at least 4 inches to prevent rutting. If you cannot source oyster shells locally, “Jersey Gold” gravel or simple river rock offers a similar palette.
Weathered Wood Decking
Wood is the warmest element you can introduce. While I love the look of natural cedar or teak that has silvered out to a gray patina, maintenance is a reality check for many homeowners.
If you choose real wood, use Ipe or Teak. These hardwoods are dense, resistant to rot, and naturally turn a beautiful silvery-grey without sealing. If you opt for composite decking (which I often recommend for rentals or low-maintenance homes), choose a “driftwood” colorway with varied grain patterns to avoid a plastic appearance.
Pathway Dimensions
A common mistake in DIY landscaping is making pathways too narrow. In a relaxed, beachy setting, two people should be able to walk side-by-side.
Main Pathways: Aim for a minimum width of 48 inches.
Secondary Garden Paths: Keep these at least 36 inches wide.
Stepping Stones: If using flagstones set in grass or gravel, space the centers 24 to 26 inches apart to accommodate a natural stride.
2. The Nautical Color Palette and Planting Strategy
The colors of the coast are not actually bright navy and stark white. In nature, the coastal palette is muted: sage greens, sandy beiges, soft blues, and weathered grays. Your plant selection should reflect this.
The “Unruly” Look
Nautical landscaping should feel a bit wild. We want to mimic the dunes. I always advise clients to plant in “drifts” rather than rows. Group 5, 7, or 9 of the same plant together to create a sweeping effect.
Top Plant Selections for Seaside Charm
1. Hydrangeas: The classic choice. For that deep blue color, your soil needs to be acidic. If you are near the ocean, Hydrangea macrophylla is surprisingly salt-tolerant.
2. Ornamental Grasses: Varieties like Maiden Grass (Miscanthus) or Fountain Grass (Pennisetum) provide movement. They catch the wind and create that soothing rustling sound.
3. Rugosa Roses: Also known as beach roses. They are incredibly hardy, tolerate salt spray, and produce beautiful rose hips in the late summer.
4. Russian Sage or Lavender: These add that dusty purple hue that complements the gray hardscaping perfectly.
Designer’s Note: The Salt Factor
I once worked on a project where the homeowner insisted on planting delicate Japanese Maples on the ocean-facing side of the house. Despite my warnings, they planted three. Within one season, the salt spray burned the leaves to a crisp. If you live within a mile of the ocean, always check the “salt tolerance” of a plant before buying. If you are inland but want the look, you have more freedom, but sticking to hardy, drought-tolerant plants keeps the aesthetic authentic.
3. Maritime Decor and Lighting (Without the Kitsch)
This is the area where designs usually succeed or fail. The key to authentic nautical decor is utility. Objects should look like they serve a purpose on a boat or a dock.
Rope Details
Manila rope is a fantastic texture to introduce. I often use thick (2-inch diameter) manila rope swags through heavy timber posts to define a patio edge or driveway.
Drape Depth: Allow for a 3 to 4-inch dip in the center of the rope swag. Too tight looks rigid; too loose looks sloppy.Post Spacing: Keep posts 4 to 6 feet apart. Any wider and the rope will sag too much and become a tripping hazard.
Lighting the Way
Avoid modern, sleek black fixtures. Go for copper, brass, or galvanized steel.
Onion Lanterns: These are round glass globes protected by a metal cage. They are historically accurate to New England coastal towns.Bulkhead Lights: These are oval, caged lights often mounted horizontally. They are perfect for illuminating steps or retaining walls.
Kelvin Temperature: Always use 2700K (warm white) bulbs. Anything cooler (3000K+) looks like a hospital and ruins the cozy, sunset vibe.
Repurposing with Restraint
If you want to use a boat element, use one. A single, weathered wooden dinghy turned into a planter can look charming if it is tucked into a bed of tall grasses. An old pylon used as a driveway marker works well. But when you combine a boat planter, a lighthouse statue, and an anchor in one yard, it looks like a mini-golf course.
4. Functional Zones: Fire, Dining, and Lounging
Coastal living is about being outside. Your layout needs to support long evenings and wet swimsuits.
The Fire Pit Area
A fire pit is non-negotiable for seaside landscapes. It extends the usability of your yard into the shoulder seasons.
The Setup: I prefer a circular layout using Adirondack chairs. They have wide armrests perfect for balancing a drink.
Spacing Rules: The edge of the fire pit should be 18 to 24 inches high. Place the front legs of your chairs 30 to 36 inches back from the fire. This allows enough room to stretch your legs without melting your shoes.
Circulation: Leave at least 3 feet of walking space behind the chairs so guests can move around the circle without disturbing those seated.
Outdoor Dining
For the dining table, look for materials that age well. A teak table is an investment, but it lasts 20+ years. If you are on a budget or renting, a high-quality aluminum set powder-coated in a matte finish is a great alternative.
Ensure you have a shade solution. The coastal sun is harsh. A large canvas market umbrella is classic. If you are installing a pergola, keep the slats wide to allow air circulation, or grow wisteria over it for natural shade.
The Outdoor Shower
If plumbing allows, an outdoor shower is the ultimate luxury. It keeps sand out of the house and provides a refreshing cool-down.
Privacy: Use vertical cedar planks or tall grasses for screening.Drainage: A simple dry well (a pit filled with gravel) underneath the floorboards is usually sufficient for rinse-off showers.
5. Common Mistakes and Concrete Fixes
Even with the best intentions, I see the same errors pop up in DIY coastal projects. Here is how to correct them.
Mistake 1: Using Indoor Furniture Outside
Wicker that isn’t resin-based or standard indoor cushions will rot in damp air.
The Fix: Look for “Solution-Dyed Acrylic” fabrics (like Sunbrella). These fabrics are fade-resistant and bleach-cleanable. For wicker, ensure it is “All-Weather Resin Wicker” (HDPE), which withstands UV rays and rain.
Mistake 2: Ignoring Wind Loads
Coastal areas get high winds. Lightweight aluminum chairs will end up in your neighbor’s pool.
The Fix: Choose heavy furniture. Teak, wrought iron, or Polywood (recycled plastic lumber that is very heavy) are best. If you have light furniture, you must stack it or secure it when not in use.
Mistake 3: Over-Polishing
Trying to keep a coastal yard perfectly weed-free and manicured is a losing battle.
The Fix: Embrace the chaos. Use ground covers like creeping thyme or sedum in between stones. Let the wood turn gray. The aesthetic is “wabi-sabi”—finding beauty in imperfection.
What I’d Do in a Real Project: A Mini-Checklist
If I were hired to design a nautical backyard today, this is the exact workflow I would follow. You can use this as your project roadmap.
1. Site Analysis: I would identify the direction of the prevailing wind and the sun. I would place the fire pit in a wind-protected corner and the dining area where it gets late afternoon shade.
2. Palette Selection: I would choose three hardscape materials (e.g., gravel, granite, cedar) and stick to them strictly.
3. Planting Plan: I would map out the “bones”—trees and large shrubs first. Then I would fill in with mass plantings of grasses.
4. Lighting Layer: I would plan for low-voltage path lights and string lights overhead for ambiance.
5. Furniture Sourcing: I would order the furniture early (lead times are long). I would measure the patio twice to ensure the furniture scale is correct.
6. The “One Thing”: I would select one focal point feature—perhaps a large piece of driftwood found on a local beach or a singular copper water feature.
Final Checklist for Success
Hardscape: Have you chosen permeable materials like gravel or sand-set pavers?Plants: Are your plants salt-tolerant and drought-resistant?
Furniture: Is your furniture heavy enough to withstand wind?
Fabrics: Are you using marine-grade or solution-dyed acrylic fabrics?
Lighting: Are you using warm (2700K) bulbs and corrosion-resistant fixtures?
* Decor: Have you edited your accessories to avoid the “theme park” look?
Frequently Asked Questions
How do I achieve this look in a small city backyard?
Focus on the materials. Use a pea gravel patio instead of concrete. Use a horizontal board fence (reminiscent of shiplap). Plant ornamental grasses in large planters. You don’t need the ocean view to have the ocean vibe.
Is crushed shell expensive?
It depends on your location. Near the coast, it is often cheaper than pavers or poured concrete. Inland, shipping costs can make it pricey. In that case, look for local “river wash” gravel in beige tones.
Can I do this if I am a renter?
Absolutely. Focus on container gardening. Plant tall grasses in large pots to create privacy. Use outdoor rugs to cover unsightly concrete. Use string lights for atmosphere. All of this can move with you.
How do I maintain the gray wood look without it rotting?
Cleaning is key. Wash your wood deck once a year with a gentle cleaner to remove algae and mold. You can apply a clear, penetrating oil that repels water but allows the wood to gray naturally. Avoid film-forming varnishes that will peel.
Conclusion
Nautical landscaping is about more than just a style; it is about capturing a feeling of ease. It is creating a space where you can walk barefoot, where the maintenance is minimal, and where the surroundings encourage you to slow down.
By focusing on authentic materials like stone, weathered wood, and hardy plants, you create a landscape that doesn’t just look like the coast—it functions with the resilience of the coast. Whether you are right on the water or landlocked in the suburbs, these principles will help you build a sanctuary that feels like a permanent vacation.
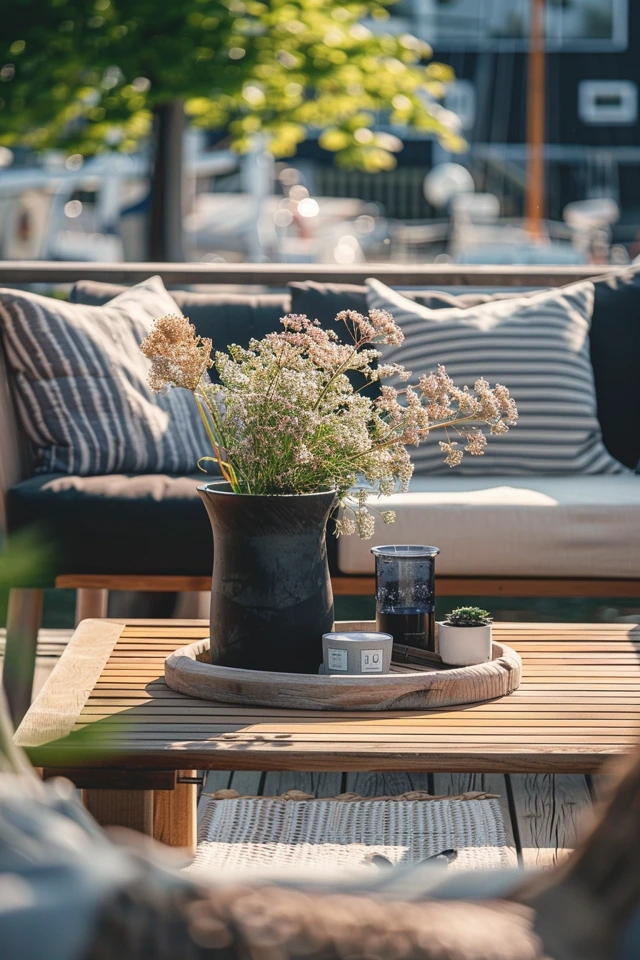
Picture Gallery


