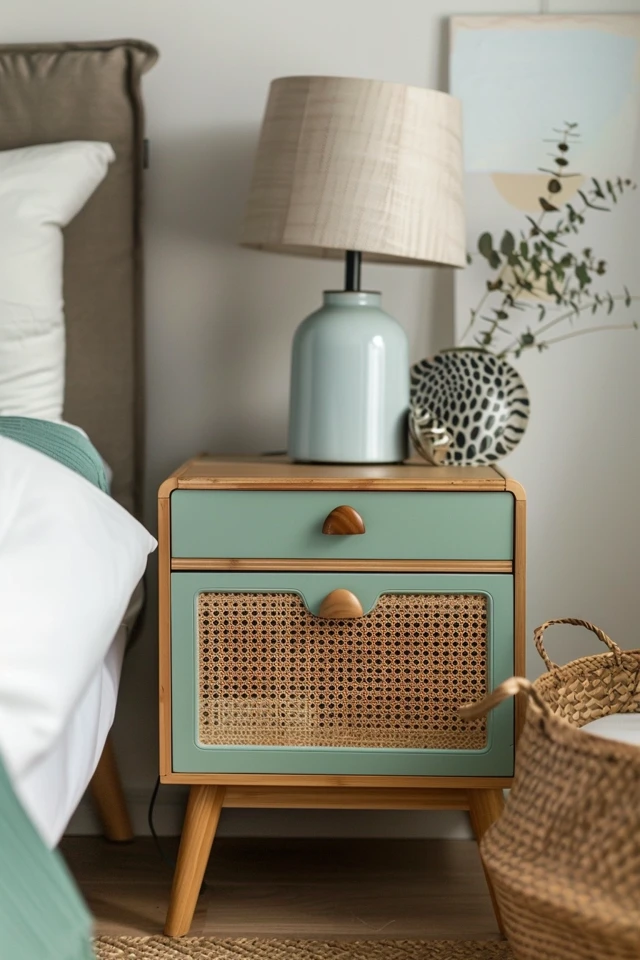
Do you want to transform your bedroom decor without breaking the bank? Refinishing old furniture, like nightstands, can be a cost-effective way to breathe new life into your space. With a little creativity and some DIY skills, you can give your nightstands a makeover that reflects your personal style and adds a unique touch to your bedroom.
Finding affordable nightstands to refinish is easier than you might think. Thrift stores and online marketplaces are great places to hunt for hidden gems that can be revitalized with a fresh coat of paint and a few design tweaks. And when it comes to revamping your nightstand, one of the most popular options is using chalk paint.
Chalk paint offers a wide range of colors and is known for its ease of use. Whether you prefer a sleek, modern look or a rustic, shabby chic vibe, chalk paint can help you achieve the desired style. Plus, with proper preparation and finishing touches, your refinished nightstand will not only look fabulous but will also withstand the test of time.
Ready to get started on your nightstand refurbishing project? Here are some expert tips and tricks to help you along the way.
Key Takeaways:
- Refinishing old furniture is an affordable way to transform your bedroom decor.
- Thrift stores and online marketplaces are great sources for finding affordable nightstands to refinish.
- Chalk paint is a popular choice for refinishing nightstands due to its ease of use and variety of colors.
- Proper surface preparation, such as sanding, ensures that the paint will stick properly.
- Adding unique touches, such as lining the drawers with wallpaper or adding a charging station, can make your nightstand both functional and stylish.
Steps to Refinish a Nightstand with Chalk Paint
If you’re looking for a creative way to transform your nightstand, upcycling it with chalk paint is a fantastic option. This furniture refinishing project allows you to breathe new life into your bedside tables, giving them a fresh and unique look. Follow these steps to achieve a stunning nightstand makeover:

Cleaning and Preparation
- Start by thoroughly cleaning the nightstand to remove any dirt or grime. Use a mild detergent and a soft cloth to wipe down all surfaces.
- Next, remove any hardware such as drawer pulls or knobs. This will make the painting process easier and ensure an even finish.
Sanding the Surface
If your nightstand has a glossy finish, lightly sanding it will help the chalk paint adhere better.
Note: Skip this step if your nightstand has a matte or rough surface.
Applying Chalk Paint
- Using a brush or roller, apply the first coat of chalk paint to the nightstand. Make sure to cover all surfaces evenly, including the top, sides, and drawers.
- Allow the first coat to dry completely before applying the second coat. This will usually take around 1-2 hours, depending on the paint brand and room temperature.
- Apply the second coat of chalk paint, ensuring a smooth and even application.
Protecting the Finish
Once the paint is dry, seal and protect the finish with a layer of wax or varnish. This will enhance the durability of the paint and provide a beautiful, polished look.

Adding Personal Touches
To make your refinished nightstand truly unique, consider adding personal touches and decorative elements:
“I love getting creative with my nightstand makeovers. Sometimes, I’ll paint the drawer pulls a contrasting color or add stenciling or decoupage designs to the surface. It’s all about adding those special touches that reflect your personal style.” – Emily, DIY enthusiast
You can also consider functional additions like lining the drawers with wallpaper to give them a pop of color or installing a charging station for easy access to your devices.
With these steps, you can easily achieve a stunning nightstand makeover using chalk paint. Upcycling your bedside tables not only allows you to showcase your creativity but also contributes to sustainable living by giving old furniture a new lease on life. It’s a rewarding and budget-friendly way to transform your bedroom decor!

Tips for a Successful Nightstand Makeover
When it comes to rejuvenating your nightstands, there are a few tips that can help you achieve a stunning bedside table restoration. One of the key things to consider is choosing a color that complements your bedroom decor and personal style. Whether you opt for a bold statement or a subtle hue, the right color can completely transform the look of your nightstand.
Another important tip is to take your time during the painting process. This will ensure that you achieve a smooth and even finish, free from any streaks or brush marks. Remember to apply thin coats of paint and allow sufficient drying time between each layer. Patience is key when it comes to achieving a professional-looking result.
To add some texture and interest to your painted nightstand designs, consider using different painting techniques. Distressing or dry brushing can create a vintage or rustic look, while adding depth and character to the piece. Additionally, experimenting with different finishes, such as matte or glossy, can help you achieve the desired aesthetic.
Don’t be afraid to get creative with the design of your nightstand. Consider adding patterns, using stencils, or even using multiple colors to create a unique and eye-catching piece. Let your imagination run wild and make your nightstand a true reflection of your personal style.
Lastly, if you plan on selling or donating the nightstand in the future, it’s a good idea to use a removable paint or finish. This will allow for easy restoration and customization by the new owner. It’s always great to repurpose and give new life to your furniture.

