
Rustic Shower Tile Ideas for Cozy Bathroom Vibes
There is something deeply grounding about starting your day in a bathroom that feels connected to the earth. A rustic shower isn’t just about throwing some wood on the wall; it is about texture, warmth, and imperfection. For those who want to jump straight to the visuals, we have curated a comprehensive Picture Gallery at the end of the blog post.
Modern rustic design has evolved past the kitschy “cabin” look of the 1990s. Today, it balances raw, organic materials with clean functionality. We want the shower to feel like a sanctuary, perhaps reminiscent of a stone grotto or a spa in the mountains.
Achieving this requires a careful selection of tile materials that offer “tooth” and character. In this guide, I will walk you through the specific materials, layouts, and installation details that make a rustic shower functional and beautiful.
1. Selecting the Right Material: Stone vs. Porcelain
The biggest decision you will make is between natural stone and porcelain look-alikes. In my design projects, this usually comes down to the client’s tolerance for maintenance.
Natural Stone (Travertine, Slate, and Limestone)
Nothing beats the thermal mass and tactile feel of real stone. When warm water hits slate or travertine, the stone holds that heat, creating a literal warm embrace.
Travertine: This is a classic rustic staple. It comes in varying grades. For a shower, I recommend “honed and filled.” Raw travertine has natural pits (holes) that can collect soap scum and mold. “Filled” means the factory has filled these pits with epoxy, making it smooth enough to clean but visually textured.
Slate: Slate offers incredible color variation, ranging from deep charcoal to rusty oranges. However, you must be careful with “cleft” slate on shower floors. Heavy clefting (ridges) can be painful to stand on and pools water. Always ask for “gauged” slate, which ensures the tiles are a consistent thickness for easier installation.
Wood-Look Porcelain
Real wood has no place inside a shower stall due to rot and warping. However, high-quality wood-look porcelain is a game changer for rustic design.
When selecting these, look for “rectified” edges. This means the tile has been cut precisely to size after firing, allowing for tighter grout lines. This mimics real wood flooring more effectively than tiles with rounded, cushioned edges.
Designer’s Note: If you choose wood-look tile for the shower walls, run the planks horizontally to widen the space. If you have low ceilings, run them vertically to draw the eye up.
2. Texture, Finish, and Slip Resistance
In a rustic bathroom, texture is your primary design tool. Unlike modern minimalist bathrooms that rely on high-gloss shine, rustic spaces rely on matte, honed, or tumbled finishes.
The “Tumbled” Edge
If you want instant age and character, look for tiles with tumbled edges. This process softens the corners of the tile, making them look worn and historic.
This works exceptionally well with smaller format tiles, like 4×4 or 6×6 stone tiles. It increases the size of the grout joint slightly, which adds to the visual complexity and “cobblestone” feel.
Safety First: Understanding COF and PEI
Rustic aesthetics often naturally align with safety, but you need to verify the specs. For shower floors, you need friction.
Look for a Dynamic Coefficient of Friction (DCOF) rating of 0.42 or higher. Many rustic slates and textured porcelains easily hit 0.60, making them excellent for non-slip safety.
Avoid polished marble or high-gloss ceramic on the shower floor. If you love the look of a polished stone, use it on the walls only. Keep the floor matte and textured.
3. Grout Lines and Colors: The Unsung Hero
In modern design, we often try to hide grout. In rustic design, grout is an architectural feature. It highlights the irregularity of the stone and adds to the handcrafted vibe.
Grout Width Rules of Thumb
- Rectified Porcelain: Use a 1/16-inch to 1/8-inch grout line. You want it tight to mimic wood planks or slab stone.
- Tumbled Stone or Slate: You generally need a wider joint, typically 3/16-inch to 1/4-inch. The edges of these tiles are irregular; a wider grout line absorbs those variances so the lines still look straight overall.
Color Selection
Avoid bright white grout in a rustic shower. It looks too clinical and shows grime instantly. Instead, lean into “Warm Gray,” “Driftwood,” or “Charcoal.”
For a cohesive, cave-like feel, choose a grout color that matches the medium tone of your tile. For a more graphic, brick-like appearance, choose a contrasting grout. For example, a dark charcoal grout looks stunning against a lighter creamy travertine.
4. Layout Patterns that Enhance the Vibe
The way you lay the tile dictates the energy of the room. Rustic design favors traditional, sturdy patterns over chaotic or ultra-modern ones.
The Hopscotch Pattern
This uses mixed sizes of tile (usually a 12×12, 6×6, and 12×24) to create a random, interlocking look. It mimics old European courtyards. This is fantastic for larger showers but can make a small 3×3 shower feel cluttered.
Vertical Offset (Brick Joint)
Taking a standard 12×24 tile and laying it vertically in a brick pattern is a great way to modernize the rustic look. It feels like a log cabin structure but provides vertical lift to the room.
Pro Tip on Offsets: If your tiles are 12×24 or larger, never do a 50% offset (where the middle of one tile aligns with the end of the next). Large tiles often have a slight bow in the middle. A 50% offset highlights this “lippage.” Instead, use a 1/3 offset (33%) to hide imperfections and create a better flow.
5. Lighting and Fixture Integration
You can pick the most beautiful slate in the world, but if you light it with flat, cool-white bulbs, it will look like a public restroom. Rustic textures need “grazing” light to pop.
Lighting Temperature
Stick strictly to 2700K to 3000K LED bulbs. 2700K is the color of incandescent light—warm, cozy, and flattering to skin tones. It brings out the golds and tans in rustic stone.
Avoid 4000K or 5000K (Daylight) bulbs. These skew blue and will make your warm wood-look tiles appear sickly and grey.
Fixture Finishes
Chrome often looks too shiny and new for a rustic space. I recommend:
- Oil Rubbed Bronze: The classic choice. The dark brown/black tones anchor the space.
- Matte Black: A more modern, industrial take on rustic.
- Unlacquered Brass: This is a “living finish” that will patina and brown over time. It looks incredible against grey slate.
Designer’s Note: What Usually Goes Wrong
In my years of designing bathrooms, the most common failure in rustic showers is insufficient waterproofing behind the stone.
Natural stone is porous. It absorbs water. If your contractor installs slate directly over drywall or simple cement board without a waterproofing membrane (like RedGard or a Schluter-Kerdi system), water will eventually wick through.
The Fix: Insist on a topical waterproofing system. This is a layer that goes behind the tile. It ensures that the water that soaks into the stone stops there and drains down, rather than soaking into your wall studs.
Additionally, natural stone requires sealing before and after grouting. If you skip the pre-seal, the grout will stick to the face of the stone and ruin the texture. If you skip the post-seal, your soap and shampoo will stain the stone within weeks.
Common Mistakes + Fixes
Mistake 1: Ignoring the Scale of the Shower Floor
The Issue: Using large 12×24 tiles on a shower floor that requires a center drain.
The Reality: You cannot slope large flat tiles to a center hole without cutting them into awkward triangles. It looks messy and feels sharp on your feet.
The Fix: Use a linear drain (trench drain) if you want large tiles. Otherwise, stick to mosaic sheets (2×2 or smaller) for the floor to easily contour the slope to the drain.
Mistake 2: Bad Niche Placement
The Issue: The shower niche (the shelf for shampoo) cuts right through a beautiful tile pattern awkwardly.
The Fix: Plan the niche location after you pick the tile size. If you are using 12-inch high tiles, size your niche to fit exactly within those grid lines so you don’t have slivers of tile framing the shelf.
Mistake 3: Over-texturing
The Issue: Using rough, stacked stone (ledger stone) inside the shower.
The Reality: Ledger stone looks amazing on a fireplace. In a shower, those deep crevices grow mold that you cannot scrub out without a pressure washer. It is also painful if you accidentally brush your arm against it.
The Fix: Use ledger stone on the vanity wall outside the shower. Inside the shower, stick to honed or tumbled finishes that are still relatively flat.
What I’d Do in a Real Project: A Mini Checklist
If I were renovating a rustic master shower today, here is exactly how I would specify it to balance durability with aesthetics:
- Walls: 12×24 Porcelain tile that mimics cross-cut Travertine (Matte finish). Laid in a vertical 1/3 offset pattern.
- Floor: 2×2 Tumbled Marble mosaic in a warm beige/grey mix. This provides high grip and hides hair/soap scum well.
- Grout: High-performance Epoxy grout in “Mushroom” or “Greige.” I never use standard cement grout in showers anymore; epoxy doesn’t stain or crack.
- Plumbing: Brushed Nickel or Matte Black fixtures.
- The “Splurge”: A teak corner bench. It adds the wood element safely and provides a warm seat.
- Drain: Square grate drain matching the fixture finish.
Frequently Asked Questions
Is natural stone hard to maintain in a shower?
Yes and no. It requires more work than ceramic. You must squeegee it after every use to prevent hard water deposits, which are difficult to remove from porous stone without damaging the sealer. You also need to reseal it every 12 to 24 months. If you want “install and ignore,” go with porcelain that looks like stone.
Can I use wood accents inside the shower?
You cannot use structural wood or wood cladding inside the wet zone. However, you can use a solid teak bench or a teak floor mat. Teak is naturally oily and resistant to water rot. Just be sure to oil it occasionally to keep it from turning grey.
How do I make a small bathroom look rustic without feeling like a cave?
The key is contrast. Do not tile the entire room floor-to-ceiling in dark slate. Use a dark, rustic tile on the floor and the back wall of the shower, but keep the side walls and the rest of the bathroom a creamy white or light beige. This gives you the rustic texture without closing in the walls.
What is the best way to clean textured rustic tile?
Avoid harsh acidic cleaners (like vinegar or bleach) if you have natural stone, as they can etch the surface. Use a pH-neutral stone cleaner. For textured porcelain, a soft-bristle nylon brush is your best friend to get into the crevices of the tile.
Conclusion
Creating a rustic shower is about embracing the beauty of natural imperfections while maintaining modern hygiene and comfort standards. Whether you choose the authentic route with tumbled travertine and slate or the low-maintenance route with high-definition porcelain, the goal is the same: warmth.
Pay attention to the tactile experience. Ensure your floor has grip, your edges are softened, and your lighting is warm. By layering these elements thoughtfully, you transform a daily routine into a grounding ritual.
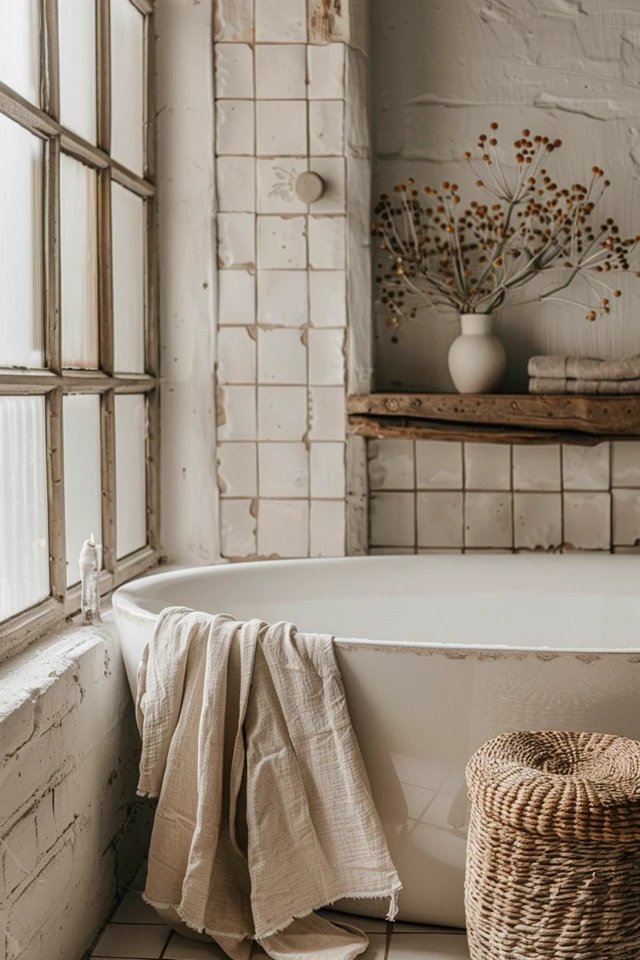
Picture Gallery


