
Savvy Water Bottle Storage Ideas for Space-Saving
We all know the sound. You open a cabinet door to grab a glass, and suddenly, a metal avalanche crashes onto the counter. Reusable water bottles have become essential daily accessories, but their bulky shapes and varying sizes make them a nightmare to store in standard kitchens. If you are looking for visual inspiration to solve this problem, keep in mind that a comprehensive Picture Gallery awaits you at the end of this blog post.
As an interior designer, I see this issue in almost every kitchen renovation project. Clients often have lovely, streamlined joinery, yet they struggle with a clutter of mismatched tumblers and oversized hydration flasks. The problem isn’t usually a lack of space; it is a lack of vertical strategy.
The key to savvy storage is treating your water bottles like specific kitchen tools rather than general drinkware. They require height clearance, diameter consideration, and accessibility logic that standard coffee mugs simply do not needed. Let’s look at how to reclaim your cabinets and sanity with professional-grade solutions.
1. Optimizing Cabinet Depth with Pull-Out Solutions
The standard depth of an upper kitchen cabinet is 12 inches, while base cabinets sit at 24 inches. This discrepancy is often where water bottle storage fails. If you try to store tall, one-liter bottles in uppers, they often prevent the door from closing properly or get lost behind shorter glasses.
For deep lower cabinets, I always recommend installing roll-out trays or sliding drawers. These allow you to utilize the full 24-inch depth without having to get on your hands and knees to reach the bottles in the back. When designing these, I look for heavy-duty slides that can handle the weight of stainless steel.
If you are stuck with standard fixed shelving, you must think in narrow rows. A “file organization” method works best here. Instead of lining bottles up like soldiers, place them in narrow, long acrylic bins that act as removable drawers. You can pull the whole bin out, grab your bottle, and slide it back in.
Designer’s Note: The Weight Factor
Most people underestimate how heavy a collection of premium insulated bottles can be. Standard particle board shelving can bow under the weight of twenty steel flasks.
If you are retrofitting a cabinet, ensure your shelf pegs are metal, not plastic. If you are designing custom millwork, request ¾-inch plywood for shelves rather than the standard ½-inch to prevent sagging over time.
Common Mistakes + Fixes
Mistake: Storing bottles high up in unreachable cabinets.
Fix: High storage results in “dead stock” where you never use the items. Move bottles to the lowest upper shelf or a drawer. If you must use high storage, install a pull-down shelf mechanism.
2. The Deep Drawer Strategy: Vertical Storage Done Right
In modern kitchen design, we are moving away from base cabinets with doors and shifting toward deep, wide drawers. This is the absolute best place to store water bottles. It allows you to see every lid and color option immediately upon opening the drawer.
However, standing bottles up in a drawer presents a “tipping” hazard every time you open or close it. To solve this, you need an interior division system. Adjustable peg systems are the gold standard here. These are wood or plastic boards with grid holes that sit on the bottom of the drawer. You insert pegs around your bottles to keep them snug.
If you are renting or working with a budget, spring-loaded drawer dividers are a fantastic alternative. Run them front-to-back to create channels. Measure the diameter of your widest bottle (usually around 3.5 to 4 inches for the large ones) and set your dividers to that width.
What I’d Do in a Real Project
- Audit the collection: Count how many bottles the family actually uses. Purge the rest.
- Measure height: Ensure the drawer has at least 10 to 12 inches of vertical clearance. Standard cutlery drawers are too shallow.
- Add a non-slip liner: Even with dividers, a cork or rubber liner prevents the metallic clanking sound when the drawer moves.
- Dedicate a lid zone: I usually partition off a small 4-inch section at the front of the drawer specifically for loose lids and straws.
3. Horizontal Stacking for Compact Spaces
If you lack deep drawers and tall shelves, you have to change the geometry. Storing bottles horizontally is highly efficient because it removes the height constraint. This is particularly useful for renters who cannot alter the joinery of their kitchen.
Stackable clear acrylic wine racks are my go-to solution for this. While sold for wine, they are perfect for water bottles. The curved bed prevents the bottle from rolling, and the clear material keeps the look airy and uncluttered. You can stack these as high as your shelf allows.
Be careful with the diameter sizing here. Standard wine bottles are roughly 3 inches in diameter. Many modern hydration flasks are significantly wider. Look for “magnum” size wine racks or specifically designed water bottle stackers to ensure your chunky 40oz tumblers fit securely.
Material Matters
When choosing horizontal stackers, avoid wire racks with wide gaps. Straws and carabiners tend to get caught in the wire mesh, making it frustrating to grab a bottle quickly.
Stick to solid surfaces like acrylic or bamboo. Bamboo offers a warmer, more built-in aesthetic that looks great inside wood cabinets, while acrylic is better for modern, white interiors as it visually disappears.
4. The “Renter-Friendly” Door and Wall Solutions
Small kitchens and apartments often have zero cabinet space to spare. In these scenarios, we have to look at the back of doors. An over-the-door organizer is a classic solution, but you must choose the right type.
Avoid the flimsy fabric shoe pockets. They sag, and heavy bottles will swing around and bang against the door every time you open it. Instead, look for rigid wire or metal basket systems that mount securely to the door.
If you are handy, mounting individual hooks or holders on the side of a cabinet or the wall is a great space-saver. I like to use heavy-duty matte black hooks to hang bottles by their handle loops. This turns the storage into a display, which works well if you have a colorful collection.
Designer’s Note: Visual Clutter
Open storage or door storage is visible storage. If you have mismatched, dented, or promotional water bottles with loud logos, this method can make your kitchen look messy.
If you choose open storage, try to color-coordinate your bottles. Group all the blues together, then the blacks, then the stainless steel. It tricks the eye into seeing “order” rather than “clutter.”
Common Mistakes + Fixes
Mistake: Using suction cup organizers.
Fix: They will fail. A full water bottle weighs too much. Use over-the-door hooks or screw-in anchors if allowed.
5. The Mudroom and Drop Zone Logic
Sometimes the kitchen isn’t the right place at all. In many family homes I design, we move the water bottle storage to the mudroom or entryway. This is purely a functional decision based on traffic flow.
You grab a water bottle on your way out the door, and you bring it in when you return. Why walk it all the way through the house to the kitchen? Setting up a “hydration station” near the exit can be a game-changer for busy mornings.
For this layout, I recommend a designated open shelf or a rolling cart. If you use a shelf, ensure it has a lip or a gallery rail so bottles don’t get knocked off by backpacks. A rolling cart (like a bar cart) allows you to wheel the collection to the kitchen for dishwashing and then wheel it back to the entry.
Hygiene Considerations
The only downside to mudroom storage is filling the bottles. If you choose this path, you need a system.
Clean bottles go in the mudroom. Dirty bottles go immediately to the sink. Do not let dirty bottles accumulate in the entryway, or you will attract pests and mold.
Final Checklist for Your Storage Project
Before you buy any bins or dividers, run through this quick checklist to ensure your solution will actually work for your specific space.
- The Purge: Have you recycled any leaking or lid-less bottles?
- The Height Check: Have you measured your tallest bottle with the straw inserted?
- The Width Check: Have you measured the diameter of your widest flask?
- The Count: How many bottles need to be accessible daily vs. stored for occasional use?
- The User: Can your children reach the chosen storage spot?
- The Material: Is the storage material waterproof and easy to wipe down?
Frequently Asked Questions
How do I store the lids and straws?
This is the hardest part. I recommend separating them. Store the bottle bodies in the main rack or drawer, and use a small basket or shallow drawer organizer nearby for the lids. If you try to store them with the lids screwed on, you trap moisture, which leads to musty smells.
Is it better to store bottles vertically or horizontally?
It depends on your space. Vertically is better for hygiene (easier to air dry) and density (you can fit more in a deep drawer). Horizontally is better for visibility and using narrow shelves.
What do I do with the giant 64oz jugs?
These rarely fit in standard organizers. I usually designate a “bulk zone” for these, often on the bottom shelf of the pantry or a deep corner cabinet. Do not try to force them into daily rotation spots.
How do I prevent bottles from smelling musty in storage?
Ensure they are 100% dry before storing. If you store them with lids on, throw a silica gel packet inside, or better yet, store them with the lids off.
Conclusion
Organizing water bottles is about more than just tidying up; it is about smoothing out the friction in your daily routine. Whether you opt for a custom deep drawer with pegs or a simple stackable rack for your rental apartment, the goal is accessibility. You should never have to fear an avalanche when you just want a drink of water.
By applying these design principles—measuring for scale, utilizing vertical space, and considering the “flow” of your home—you can turn a chaotic cabinet into a functional, satisfying part of your kitchen. Take the time to measure your collection today, and choose the solution that fits your life.
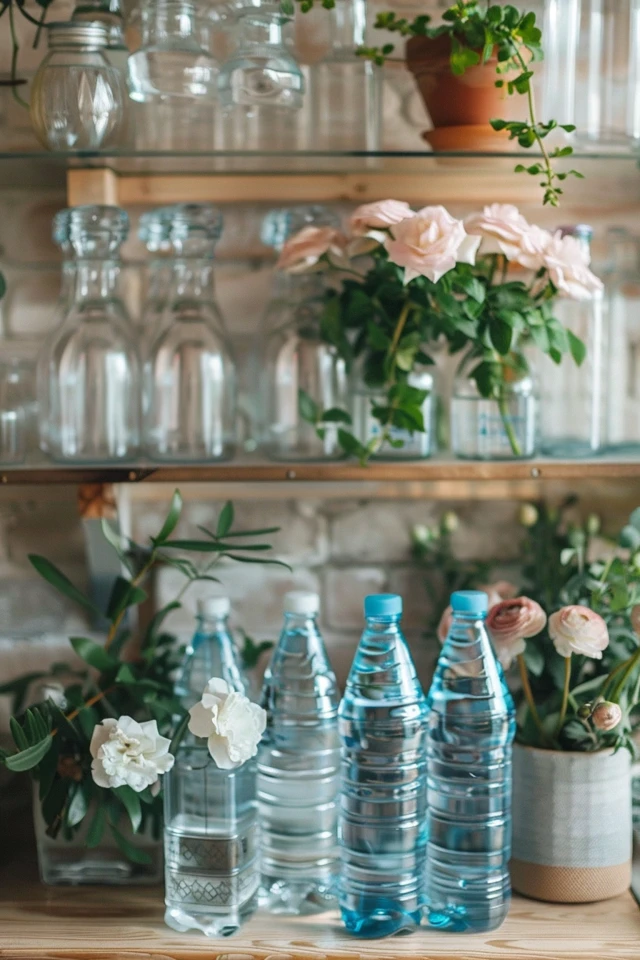
Picture Gallery


