
Squishmallow Birthday Party Ideas for Ultimate Fun
The tactile appeal of Squishmallows has taken the world by storm, and it is not hard to see why. As an interior designer, I am constantly looking for ways to introduce softness and comfort into a space, and these plush toys are the ultimate expression of those elements. Planning a party around this theme requires more than just buying branded plates; it requires creating an immersive, sensory-rich environment.
My first encounter with this craze was designing a playroom for a client who wanted a “sensory safe haven” for her children. We used the color palettes of the plushies to dictate the wall colors and textiles, creating a room that felt like a warm hug. When you translate this into a birthday party, you want to replicate that feeling of overwhelming coziness and softness through strategic layout and material choices.
In this guide, I will walk you through how to structure a space for flow, comfort, and visual impact using professional design principles. For a dose of visual inspiration, be sure to check out the Picture Gallery at the end of the blog post.
Establishing the “Soft Aesthetic” and Color Palette
The first step in any design project is establishing the concept, and for a Squishmallow party, the concept is “radical softness.” You aren’t just decorating a room; you are softening the architecture. Start by selecting a color palette based on the guest of honor’s favorite characters.
If they love the cows (Connor, Ronnie), your palette is black, white, and soft pink. If they prefer the frogs (Wendy), you are looking at sage greens, mints, and pale yellows. However, the most successful visual strategy is usually a “Pastel Rainbow.” This allows you to mix characters without the room looking chaotic.
Designer’s Note: The 60-30-10 Rule
To keep the party from looking like a toy explosion, apply the 60-30-10 rule.
- 60% Main Color: Use a neutral background like white or cream for tablecloths and walls to let the plushies pop.
- 30% Secondary Color: Choose a dominant pastel (like lavender or mint) for balloons, runners, and larger decor items.
- 10% Accent Color: Use a brighter saturation of your pastel (like hot pink or teal) for napkins, cutlery, and focal points.
Texture is just as important as color here. Avoid rigid, shiny plastics where possible. Instead, opt for matte finishes, velvet table runners, and faux fur throws. The goal is to make the room feel as “squishy” as the toys themselves.
Designing the “Squish-doption” Center
The focal point of this party is often the adoption center, where guests pick a plushie to take home. As a designer, I treat this like a retail visual merchandising display. If you just pile them in a bin, it looks cluttered and cheapens the experience.
You want to create vertical interest. Use white wooden crates or acrylic risers to create varying heights on a designated table. This draws the eye upward and allows each toy to be seen clearly.
Measurements and Spacing
For a standard 6-foot folding table, you need to ensure you aren’t overcrowding the display.
- Leave at least 4 inches of space between each plushie if they are the 8-inch size.
- Ensure the table height is accessible. Standard dining height is 30 inches, but for younger children (ages 4-7), a low table at 20-24 inches encourages better interaction.
- Allow 36 inches of clearance in front of the table for traffic flow so kids don’t bottle-neck while choosing.
Common Mistakes + Fixes
Mistake: Placing the adoption center right at the entrance.
Fix: Place the display deep in the room or off to the side. This forces guests to enter the space and engage with other decor before rushing for the favors. It prevents congestion at the doorway and improves the overall party flow.
Creating the “Squish Pit” Lounge Area
A Squishmallow party needs a dedicated lounge zone. In interior design, we call this a “conversation pit,” but here, it is a “Squish Pit.” This is where the kids will pile up, play with their new toys, or watch a movie.
To execute this professionally, you need to think about floor layers. Do not just throw pillows on a hardwood floor; it is uncomfortable and slippery. Start with a large area rug to anchor the space. If you are renting a venue or don’t have a large rug, layer several cheaper faux sheepskin rugs.
What I’d do in a real project:
- Base Layer: Use a thick rug pad or foam play mats (interlocking EVA foam) to protect knees and elbows.
- Middle Layer: Cover the foam with a neutral, soft blanket or a high-pile area rug.
- Top Layer: Create a perimeter using giant Squishmallows (16-inch or 20-inch sizes) to act as “sofa backs.”
Lighting in the lounge area is critical. Overhead lighting kills the cozy vibe. Turn off the main ceiling fixtures (cans/pot lights) and use floor lamps or string lights.
For a magical touch, drape sheer voile curtains from a central point on the ceiling to the corners of the “pit” to create a tent effect. Ensure the fabric is secured properly and does not create a trip hazard.
Tablescapes: Dining with Soft Curves
When setting the dining table, mimic the shape of the Squishmallows. The toys are defined by their lack of sharp edges, and your furniture and decor should reflect that. This is known as “biophilic design” in a loose sense—using organic, rounded forms to induce calm.
Use round tables if possible. If you are stuck with rectangular tables, soften the corners by puddling the tablecloths on the floor (ensure they are pinned up if toddlers are present to prevent pulling).
The Centerpiece Strategy
Avoid tall, precarious centerpieces.
- Scale: Keep centerpieces below 12 inches so guests can see each other across the table.
- Repetition: Line up three to five 5-inch Squishmallows down the center of the table. interspersed with small vases of round flowers like hydrangeas or ranunculus.
- Place Settings: Use round chargers and round plates. A custom touch is to create a round placemat out of felt that mimics the color of a specific character.
Designer’s Note: Durability
For kids’ parties, I always recommend melamine or high-grade bamboo fiber plates over paper. They have a better weight and texture, feeling more “designed” while remaining unbreakable. If you must use disposable, look for “bagasse” (sugarcane) plates, which have a softer, molded texture compared to shiny coated paper.
Interactive Decor: DIY Stuffing Station
If you want to elevate the party beyond just buying the toys, create a “Build-a-Squish” inspired station. From a layout perspective, this is an “active zone” and needs to be separated from the “quiet zone” (the lounge) and the “eating zone.”
You will need a sturdy work surface. A kitchen island is ideal, but if you are using folding tables, cover them with a fitted spandex cover followed by a disposable craft sheet. This prevents the table legs from being a tripping hazard and makes cleanup easier.
Logistics for Stuffing Stations:
- Bin Sizing: Use large, clear acrylic bins for the stuffing (poly-fil). This allows the material to be part of the decor—it looks like fluffy clouds.
- Elbow Room: Allocate 24 inches of linear table space per child. If you invite 10 kids, you cannot squeeze them all onto one 6-foot table. You will need at least two tables or run the activity in shifts.
- Flooring Protection: Poly-fil clings to rugs. Place a plastic drop cloth or a low-pile outdoor rug under this station for easy vacuuming later.
Final Checklist for Execution
As a designer, I live by checklists to ensure installation day goes smoothly. Here is how to manage the setup for your Squishmallow event.
1 Week Before:
- Wash and dry any Squishmallows you already own that will be used for decor. Use a pillowcase and cold water, then air dry to maintain the texture.
- Confirm your color palette (60-30-10 rule) and ensure you have linens to match.
- Check your lighting. Do you need extension cords for fairy lights?
2 Days Before:
Day of Party (Setup Order):
- Furniture Layout: Move the heavy items first. Clear the “Squish Pit” area.
- Lighting: Set up lamps and string lights before adding decor.
- Linens: Place tablecloths and runners.
- Hard Decor: Place the crates, adoption signs, and plates.
- Soft Decor: Place the Squishmallows last so they stay clean and fluffy.
FAQs
How do I make the party feel “expensive” on a budget?
Focus on lighting and uniformity. Dim the overhead lights and use warm lamps. Stick to a strict color palette (max 3 colors). Clutter and clashing colors make a space feel cheap; cohesion makes it feel high-end.
What is the best way to hang Squishmallows for display?
Do not use tape on the plushies. Use a “net hammock” in the corner of the room (a classic storage solution that doubles as decor). Alternatively, use velcro strips on the wall to attach light shelving, but avoid attaching anything sticky directly to the fabric of the toy.
I have a small living room. How do I fit a Squish Pit?
If floor space is tight, go vertical. Use the sofa as the main seating and pile the Squishmallows there. Clear out coffee tables completely to open up the central floor area. In small spaces, circulation is key—ensure there is a clear 3-foot path from the entrance to the food.
How do I clean up the “Squish Pit” afterward?
Hygiene is important. If you bought new Squishmallows for the party, they are fine. If using existing ones, give them a surface vacuum with an upholstery attachment before and after the party.
Conclusion
Designing a Squishmallow birthday party is about more than just gathering toys; it is about curating an atmosphere of softness, comfort, and joy. By applying interior design principles like the 60-30-10 color rule, managing traffic flow around the adoption center, and layering textures in the lounge area, you transform a chaotic kids’ event into a cohesive visual experience.
Remember that the success of the design lies in the details—the warmth of the lighting, the spacing of the displays, and the tactile quality of the materials used. When these elements come together, you create a memory that feels just as warm and fuzzy as the plushies themselves.
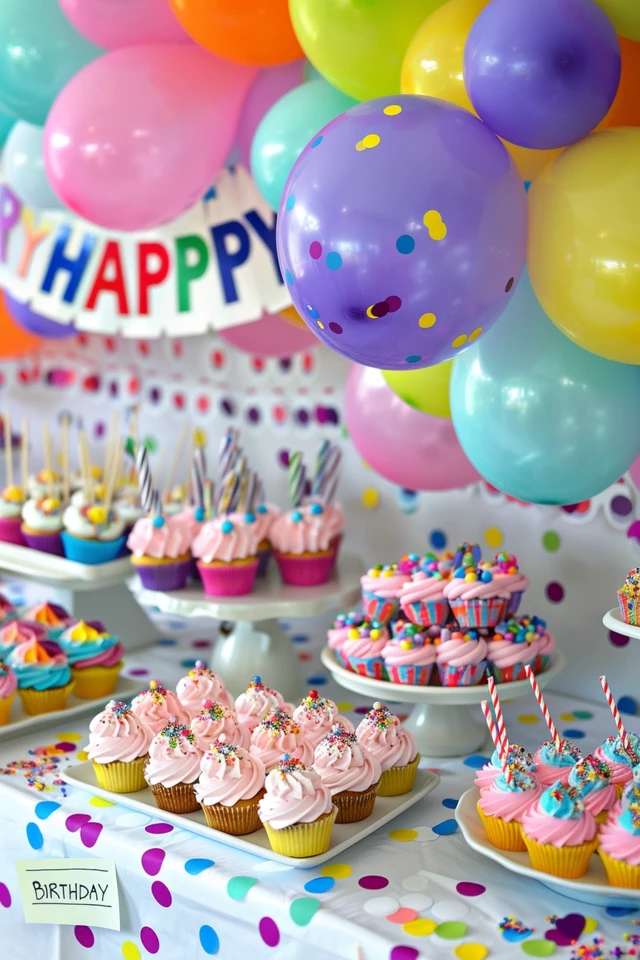
Picture Gallery


