
The Art of Assembling a Balanced Terrarium
Bringing nature indoors is one of the fundamental pillars of modern interior design. As we look for ways to soften our architectural lines and introduce biophilic elements to our living spaces, the terrarium stands out as a miniature masterpiece. It is not just a plant in a pot; it is a self-contained ecosystem that serves as a living sculpture on your coffee table or bookshelf.
I vividly remember the first terrarium I attempted to build early in my career. I treated it like a standard floral arrangement, focusing only on color and height, ignoring the biological needs of the enclosed environment. Within two weeks, it was a moldy, foggy mess. That experience taught me that successful design is always a marriage of aesthetics and function. A terrarium requires a balance of proper drainage, precise humidity control, and an artistic eye for scale and composition.
In this guide, I will walk you through the process of creating a terrarium that thrives for years rather than weeks. We will cover everything from selecting the right glass vessel to the architectural layering of soil and stone. Be sure to scroll to the end of this post to see the Picture Gallery for visual inspiration on how these miniature worlds can elevate your home decor.
1. Choosing Your Vessel and Location: The Foundation
Before you buy a single plant or bag of soil, you must determine where this piece will live. In interior design, we often talk about “aspect” and “exposure.” The light levels in your chosen spot will dictate the type of terrarium you can build.
If you have a spot with low to medium indirect light, such as a bookshelf in a room with North-facing windows, you are building a closed tropical terrarium. These are the classic, humid ecosystems with ferns and mosses. If you are placing this on a windowsill facing South or West, you must build an open arid terrarium with succulents and cacti to avoid cooking the plants.
Once the location is set, select your vessel based on scale. A common mistake I see in client homes is a tiny jar placed on a large dining table. It looks lost and cluttered. For a standard 4-foot coffee table, I recommend a vessel that is at least 10 to 12 inches in diameter.
Consider the opening of the jar as well. Narrow-necked bottles (like demijohns) are beautiful but require specialized long-handled tools and immense patience to plant. For your first project, choose a vessel with an opening wide enough to fit your hand comfortably. This makes maintenance and initial styling significantly easier.
2. The Layers of Life: Drainage and Substrate Engineering
A terrarium has no drainage holes. This means we have to engineer a false bottom to keep standing water away from the plant roots. If roots sit in water, they rot, and the design fails.
Start with a drainage layer of pea gravel, expanded clay pellets (LECA), or decorative river stones. For a medium-sized container, this layer should be about 1.5 to 2 inches deep. This creates a reservoir for excess water.
Designer’s Note: When designing for high-end interiors, I never use plain construction gravel if the sides of the glass are clear. The layers are visible and part of the aesthetic. I prefer using polished black river stones or uniform clay pellets for a clean, modern cross-section.
Directly on top of the rocks, add a thin layer of fiberglass mesh or window screen cut to size. This creates a barrier so your soil doesn’t sift down into the rocks and turn your drainage layer into mud.
The next ingredient is non-negotiable: activated charcoal. Spread a thin layer over the mesh. In a closed environment, water cycles repeatedly. Without charcoal to filter impurities and absorb odors, your beautiful centerpiece will eventually smell like a swamp.
Finally, add your substrate. For tropical closed systems, use a mix of potting soil, peat moss, and perlite. For arid open systems, use a gritty cactus mix with plenty of sand and pumice. You need about 2 to 3 inches of soil, but don’t level it flat.
3. Hardscaping and Composition: Setting the Scene
In landscape design, “hardscaping” refers to the non-living elements like rocks, wood, and pathways. In a terrarium, hardscaping provides the skeleton of your design. It creates scale and makes the scene look like a slice of nature rather than a nursery pot.
I recommend using “Dragon Stone” or “Seiryu Stone” for their incredible texture and color. Driftwood or Spider Wood adds vertical interest and negative space.
The Slope Technique:
Never lay your soil flat. Push the soil toward the back of the vessel to create a slope. This increases the visible surface area for planting and provides a better viewing angle from the front. It creates a sense of depth and perspective, making the container feel larger than it is.
Place your largest hardscape elements first. Use the “Rule of Thirds.” Place your main rock or piece of wood slightly off-center. This creates tension and interest. If you place the main feature dead-center, the composition often feels static and artificial.
Ensure your hardscape elements are secure. If you are using heavy rocks, make sure they are resting on the substrate base firmly so they don’t shift later and crush delicate roots.
4. Plant Selection and Placement
The plants you choose must share the same care requirements. You cannot mix a fern (high humidity) with a succulent (low humidity). They are incompatible roommates.
For Closed Tropical Systems:
- Ferns: Maidenhair ferns are beautiful but finicky. Button ferns or Asparagus ferns are hardier choices for beginners.
- Fittonia (Nerve Plant): These add incredible veins of color (pink, red, or white) and love humidity.
- Moss: Cushion moss or Sheet moss is essential for covering bare soil and creating that lush, green carpet effect.
- Creeping Fig (Ficus Pumila): A vigorous climber that will eventually coat the back of the glass.
For Open Arid Systems:
- Haworthia: excellent structural succulents that tolerate lower light than most desert plants.
- Jade Plants: These can look like miniature trees, adding scale.
- Echeveria: beautiful rosettes, though they require significant light to keep their shape.
When planting, remove the plants from their nursery pots and gently tease away as much old soil as possible from the roots. This makes the root ball smaller and easier to insert into your new substrate.
Use long tweezers or chopsticks to dig a small hole, insert the plant, and backfill. Start with the largest plants in the background and work your way forward to smaller creeping plants and mosses.
Keep the foliage away from the glass walls. Wet leaves touching the glass can rot and attract mold. Leave a buffer zone of at least half an inch between the plant and the vessel wall.
5. Maintenance and Troubleshooting
A terrarium is low maintenance, not no maintenance. The most common issue I see in client homes is overwatering.
The Condensation Cycle:
In a closed terrarium, the water cycle is visible. In the morning, you should see light fog on the glass. By mid-afternoon, the glass should be mostly clear.
- If the glass is dry all day: You need to add a small amount of water (use a spray bottle).
- If the glass is wet all day with large droplets: It is too wet. Open the lid for 24 hours to let excess moisture evaporate.
Pruning and Cleaning:
Plants in a terrarium will grow. You must prune them to keep the scale appropriate. If a fern frond hits the top of the lid, trim it at the base. This encourages the plant to stay compact.
Keep the glass clean. Use a microfiber cloth on the outside. On the inside, if algae builds up, wipe it away with a small piece of sponge held by tweezers. Clean glass is vital for light transmission.
Common Mistakes + Fixes
Even professionals make adjustments. Here are the frequent errors and how to correct them immediately.
Mistake: The “Soup” Effect
Symptoms: Yellowing leaves, mushy stems, mold growing on the soil surface.
The Fix: You have overwatered. Open the container immediately. If the soil is sludge, you may need to use a turkey baster to suck excess water out of the drainage layer. Remove any rotting plant material instantly to stop the spread of decay.
Mistake: The Solar Oven
Symptoms: Plants look scorched, brown, or crispy; the glass feels hot to the touch.
The Fix: You placed a glass container in direct sun. Glass magnifies heat. Move the terrarium out of the direct sun beam. Indirect bright light is the goal.
Mistake: The Fertilizer Burn
Symptoms: Brown tips on leaves, rapid leggy growth.
The Fix: Stop fertilizing. Terrariums are slow-growth environments. We want to dwarf the plants, not encourage them to outgrow the jar. The soil nutrients are usually sufficient for a year or more.
What I’d Do in a Real Project: The “Designer’s Setup”
If I were styling a client’s living room today, here is the exact specification I would use for a foolproof, high-impact terrarium.
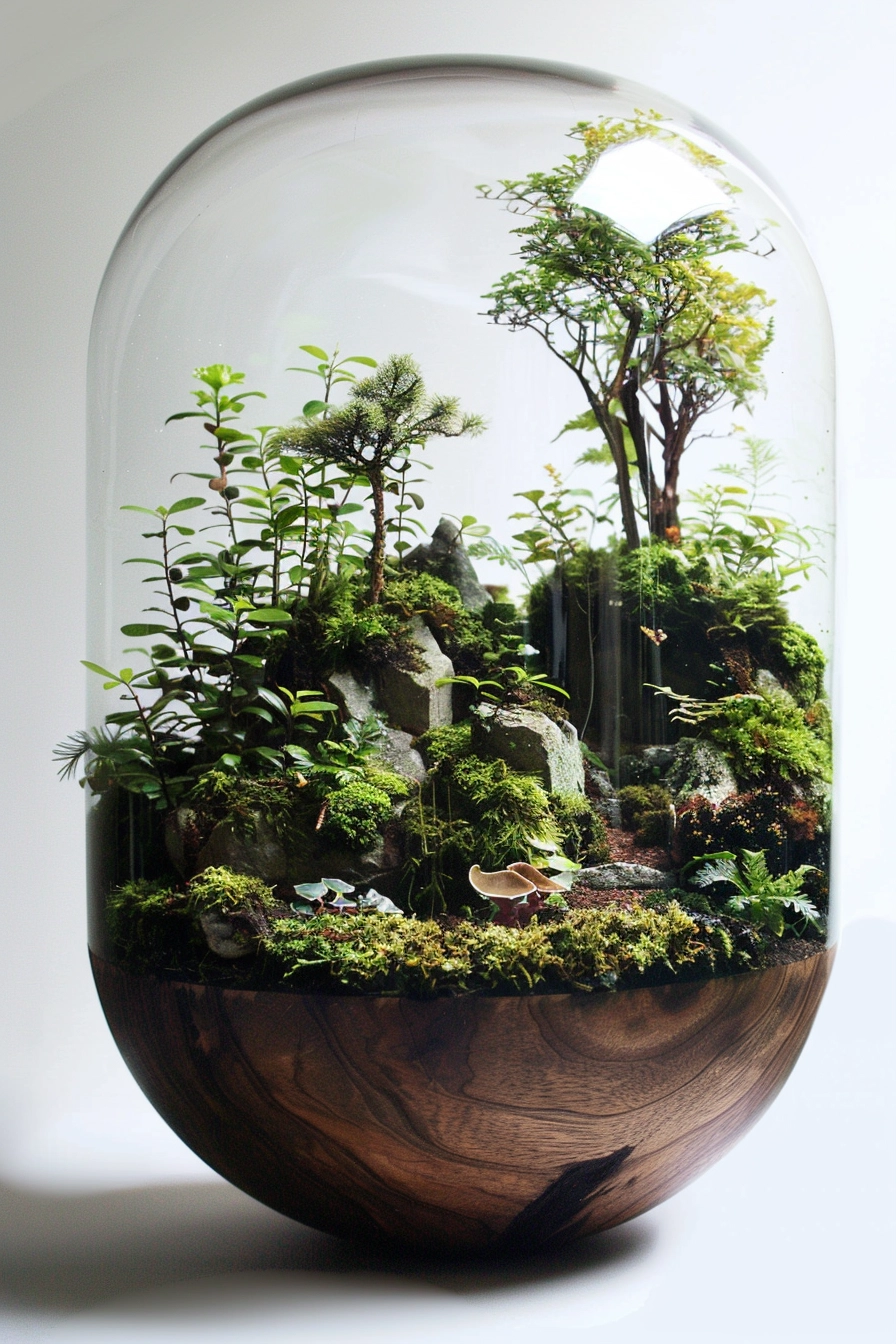
The Vessel: A 14-inch diameter glass cloche with a wooden base. The wood warmth pairs well with interior flooring, and the cloche shape is classic.
The Theme: “Forest Floor” (Closed System).
The Hardscape: Two pieces of Ohko (Dragon) stone to create a miniature valley.
The Planting List:
- Background: One Polka Dot Plant (Hypoestes) for height and a splash of pink.
- Midground: Two small Bird’s Nest Ferns for texture.
- Ground Cover: Cushion Moss placed tightly around the stones to mimic an aged landscape.
The Finish: I would cap any exposed soil with fine black sand to create contrast against the bright green moss. This makes the piece look finished and deliberate, rather than like a science experiment.
Final Checklist for Success
Before you seal your jar or place your open bowl, run through this final punch list to ensure longevity.
- Clean Glass: Are the inside walls free of dirt streaks from planting?
- Secure Hardscape: Are your rocks stable?
- Water Level: Is the soil damp like a wrung-out sponge, not soaking wet?
- drainage Check: Is the water level in the bottom rock layer below the mesh line? (It should be empty or very low).
- Plant Spacing: Is there breathing room between plants?
- Debris: Have you removed all dead leaves or dropped moss bits?
FAQs
Q: Can I use bugs in my terrarium?
A: Yes, and I recommend it for closed systems. Springtails are microscopic critters that act as a cleanup crew. They eat mold and decaying matter. Isopods (roly-polys) serve a similar function. They are beneficial and stay inside the vessel.
Q: How often should I water a closed terrarium?
A: If the seal is tight, you might only water it 3 or 4 times a year. I have one in my office that hasn’t been watered in 18 months. Watch the condensation on the glass—that is your gauge.
Q: Why is my moss turning brown?
A: Moss usually browns due to lack of humidity or because the water used has too many chemicals. Use distilled water or rainwater. Tap water often contains chlorine and minerals that can burn sensitive moss.
Q: Can I use succulents in a jar with a lid?
A: No. This is the number one cause of plant death. Succulents rot in high humidity. They need airflow. Keep them in open bowls.
Conclusion
Creating a balanced terrarium is a practice in patience and observation. It allows you to engage with the natural world on a micro-scale, right inside your home. By following the principles of drainage, scale, and appropriate plant selection, you elevate a simple craft project into a sophisticated element of interior design.
Remember that a terrarium is a living entity. It will change, grow, and evolve. Some plants may outcompete others, and moss may change color. This evolution is part of the beauty. Don’t be afraid to reach in, trim, adjust, and interact with the world you have created. It is, after all, a garden that fits in your hands.
Picture Gallery


