
The Ultimate Guide to Outdoor Lighting for Beautiful Backyards
Nothing changes the mood of a home quite like lighting. While we often obsess over the perfect pendant for the kitchen island or the right lamp for the reading nook, the backyard is frequently left in the dark. I have visited countless homes where the interior is impeccable, but as soon as the sun sets, the beautiful windows just reflect the indoors because the exterior is pitch black.
Good landscape lighting does more than just help you find your way to the trash cans without tripping. It expands your living footage visually. When you light up a tree or a fence line in the distance, you are pushing the walls of your home out, creating depth and a sense of safety. It transforms a garden into a sculptural backdrop that you can enjoy from your sofa, even in the middle of winter.
However, outdoor lighting is technically complex. You are dealing with weatherproofing, voltage drops, and the risk of creating light pollution. For plenty of visual inspiration to spark your creativity, check out the curated Picture Gallery included at the very end of this post.
1. Mastering the Quality of Light
Before you buy a single fixture, you need to understand the “temperature” of light. This is the single biggest mistake I see homeowners make. They buy fixtures that are “Cool White” or “Daylight,” resulting in a backyard that looks like a sterile hospital parking lot.
In landscape design, we measure light color in Kelvin (K). For a residential backyard, you almost strictly want to stay between 2700K and 3000K.
- 2700K (Warm White): This mimics the glow of incandescent bulbs or candlelight. It is inviting, cozy, and makes natural materials like wood and stone look rich. This is my go-to for most projects.
- 3000K (Soft White): This is slightly crisper and whiter but still warm. It works well for modern architecture or lighting up very dark green foliage which can look “muddy” under 2700K.
- 4000K+ (Cool/Daylight): Avoid this. It appears blue and unnatural at night. It is harsh on the eyes and disrupts natural circadian rhythms.
Designer’s Note: The Less is More Rule
When I design a lighting plan, my goal is never to light everything. Shadows are just as important as the light. If you light up every bush and corner, you lose the drama. You want to create pockets of interest. Think of it like a museum; you light the art, not the empty wall next to it.
2. Core Techniques and Placement Rules
Lighting a yard isn’t about pointing a floodlight at the grass. It is about layering different types of light. Here are the specific techniques we use to build a scene, along with the spacing rules to make them look professional.
Path Lighting
This is where most DIY projects go wrong. The goal of path lighting is to illuminate the ground so you can see where you are walking, not to create a runway of glowing lollipops.
The Rules:
- Stagger the fixtures: Do not place lights in straight lines directly across from each other. Place one on the left, then move 6 to 8 feet down and place one on the right.
- Hide the source: Choose fixtures with a “hat” or shield that directs light strictly downward. You should see the pool of light on the pavement, not the bulb itself.
- Height matters: Standard path lights are usually 18 to 24 inches tall. If you have tall grasses lining the path, you may need taller risers to ensure the light clears the foliage.
Uplighting and Grazing
Uplighting involves placing a spotlight at the base of a tree or architectural feature and aiming it upward. “Grazing” is similar but involves placing the light very close to a textured wall (like stone or brick) to highlight the surface texture.
The Rules:
- Tree placement: For a medium tree, place the fixture 12 to 18 inches away from the trunk. Angle it slightly toward the center of the canopy.
- Beam angles: Use a narrow beam (15 to 25 degrees) for tall, thin cypress trees or columns. Use a wide beam (60 degrees) for spreading Japanese maples or wide walls.
- Viewing angles: Always aim the light away from the main seating area. You never want to sit in a lounge chair and have a spotlight shining in your eyes.
Moonlighting
This is my favorite technique for a natural look, though it often requires a professional climber to install. We mount a light high up in a large, mature tree (20 to 30 feet up) and aim it down through the branches.
This casts complex, dappled shadows on the lawn below, mimicking the light of a full moon. If you have the budget and the trees, this is the most elegant lighting effect you can achieve.
3. Hardware: Materials and Voltage
Outdoor fixtures take a beating. They are exposed to UV rays, rain, irrigation sprinklers, and soil acidity. Buying cheap plastic or low-grade metal fixtures is a false economy; you will be replacing them in two years.
Material Choices
Brass: This is the gold standard for landscape professionals. Solid brass (or copper) does not corrode; it patinas. Over time, it turns a dark bronze or greenish color that blends beautifully into the garden mulch. It is heavy, durable, and lasts for decades.
Aluminum: Powder-coated aluminum is a common mid-range option. It is fine for dry climates, but if the paint chips, the metal underneath will oxidize and crumble. If you live near the ocean (salt air), aluminum will fail quickly. Stick to brass or composite materials.
Voltage: 12V vs. 120V
For 90% of residential backyards, low voltage (12V) is the correct choice.
Why 12V is better:
- Safety: It poses no shock risk. You can accidentally cut the wire with a shovel and not get electrocuted.
- Flexibility: The cables do not need to be buried deep in trenches with conduit. You can bury them just a few inches under the mulch.
- Cost: It is significantly cheaper to install than standard line voltage.
Common Mistakes + Fixes
Mistake: Using solar lights from the big box store.
The Reality: I know they are tempting because they are wire-free. But most cheap solar lights put out a weak, blueish light (often 6000K) and die after a few hours of darkness. They rarely last more than a season.
The Fix: If you must use solar, invest in high-end commercial-grade solar fixtures that have separate, large panel collectors. Otherwise, invest the time to run low-voltage wire. It is worth it.
4. Zoning Your Backyard
Just as you zone your interior with area rugs, you zone your exterior with light. Each area has different functional needs.
The Dining Area
You need to see your food, but you don’t want to feel like you are under an interrogation lamp. Overhead lighting is best here.
What I’d do in a real project:
- If there is a pergola: Install a rigid, wet-rated pendant light directly over the center of the table. The bottom of the fixture should be roughly 30 to 36 inches above the table surface.
- If there is no structure: Use high-quality bistro string lights. Zig-zag them across the space. Ensure the lowest point of the drape is at least 8 feet off the ground so tall guests don’t bump their heads.
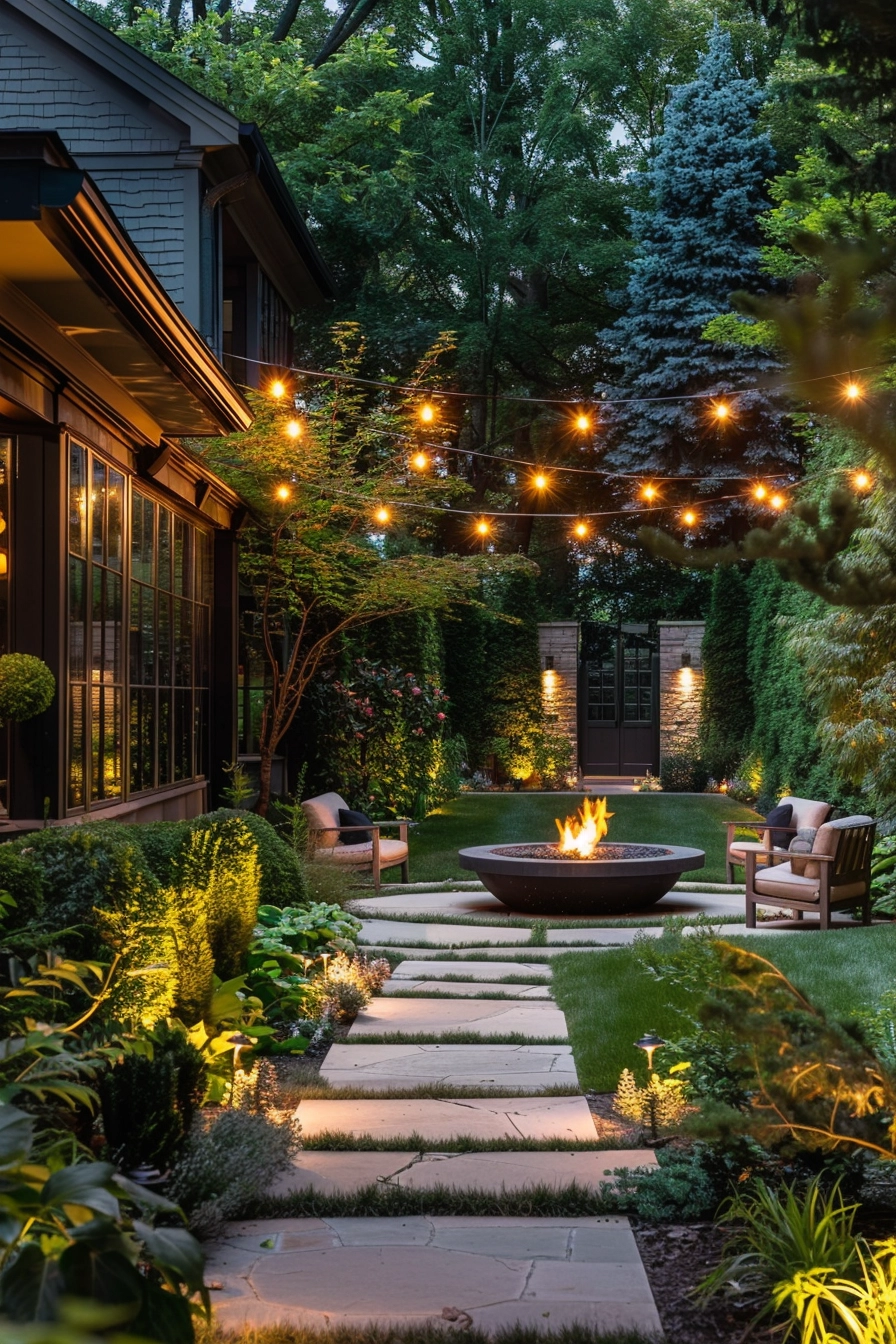
The Lounge / Fire Pit
Keep lighting very low here. The fire itself provides light. High-intensity lighting ruins the ambiance of a fire pit.
Use small “hardscape lights” tucked under the lip of built-in stone benches or seating walls. These shine down onto the patio surface, illuminating your footing without shining in anyone’s face. If you have portable furniture, rely on floor lanterns with battery-operated LED candles.
Steps and Decks
This is a safety priority. Every change in elevation must be visible.
Step lighting: Recessed step lights are great, but they must be installed during construction. If you are retrofitting, look for “eyebrow” surface-mounted lights that screw into the vertical riser of the stair. Center them on the stair width.
5. The Technical Setup (Transformers and Wiring)
To run a low-voltage system, you need a transformer. This box plugs into your standard outdoor outlet and converts the power down to 12 volts.
Sizing the Transformer
Do not buy a transformer that matches your exact wattage needs. You need a buffer.
The Rule of Thumb: Total up the wattage of all your lights, then multiply by 1.25. If you have ten 5-watt lights, your total is 50 watts. You need a transformer that can handle at least 62.5 watts. I would buy a 100-watt transformer to allow for future additions.
Voltage Drop
If you run a very long wire (over 100 feet) with many lights on it, the lights at the end may appear dimmer. This is “voltage drop.”
To prevent this:
- Use a “hub” method where the main wire goes to a central point and splits off, rather than daisy-chaining all lights in one long line.
- Use thicker gauge wire for the main run. 12-gauge wire (12/2) is standard for most landscape needs. 10-gauge is thicker and better for long distances.
Real-World Project Checklist
If I were consulting on your backyard today, this is the exact process I would follow.
1. The Flashlight Test
Before buying anything, go outside at night with a strong flashlight. Experiment with angles. Place the light at the base of a tree and shine it up. Shine it down from a deck railing. See what looks good. This gives you a preview of the effects.
2. The Layout Map
Sketch your yard. Mark the location of the transformer (it needs an outlet). Draw lines to where the lights will go. This helps you estimate how much wire you need. Always buy 20% more wire than you think you need.
3. Sample the Fixtures
Buy one path light and one spotlight before buying the bulk order. Hook them up to check the color temperature and finish quality. Does the “warm white” actually look warm?
4. Install Wiring First
Lay the wire on top of the ground first. Connect the lights. Turn them on at night to fine-tune the positioning. Once you are happy with the placement, then—and only then—bury the wire.
Frequently Asked Questions
Does outdoor lighting attract bugs?
Yes, light attracts bugs. However, warmer color temperatures attract fewer insects than cool ones. LED lights also emit less heat and UV radiation than halogen bulbs, making them slightly less attractive to pests. Keeping lights away from seating areas (using perimeter uplighting) helps draw bugs away from where you are sitting.
Can I mix solar and wired lights?
You can, but the light quality will likely be different. Wired lights are usually brighter and more consistent. If you mix them, use solar in areas far from the house (like a distant fence line) where the difference in brightness won’t be as obvious compared to the lights near your patio.
How do I stop glare?
Glare happens when the light bulb is visible to the eye. Always choose fixtures with “shrouds” or “cowls” (deep hoods). If a spotlight is glaring, use a hex-baffle louver (a honeycomb grid that fits over the lens) to cut down side glare.
Conclusion
Outdoor lighting is an investment that pays off every single evening. It changes your backyard from a dark void into an immersive extension of your home. By sticking to warm color temperatures, prioritizing quality materials like brass, and following the rule of “less is more,” you can create a space that feels magical rather than manufactured.
Start small. You don’t need to light the whole property at once. Start with the patio and a focal point tree, and expand your system as your budget allows.
Picture Gallery


