
Unique Brother and Sister Birthday Party Ideas
When I tell clients that planning a joint birthday party for siblings is essentially an interior design challenge, they usually laugh. But the reality is that hosting a brother and sister celebration requires the same zoning, color theory, and spatial planning skills I use when renovating an open-concept living space. You have two distinct “clients” with different tastes, and you have to merge them into one cohesive environment without it looking chaotic.
I once designed a layout for a party where the six-year-old brother wanted “construction trucks” and the four-year-old sister insisted on “mermaids.” If you just throw those decorations up on the wall, you get a visual headache. The secret lies in finding a bridge—a neutral foundation and a unified color palette—that allows both themes to exist without clashing. It is about curating the space, not just filling it with balloons.
Whether you are working with a sprawling backyard or a cozy apartment living room, the goal is flow and function. If you are looking for visual inspiration to bring these concepts to life, be sure to check out the Picture Gallery at the end of the blog post.
1. The “Bridge Theme” Approach: Merging Two Aesthetics
The biggest mistake parents make is splitting the room down the middle—blue on the left, pink on the right. In interior design, we call this a lack of cohesion. Instead, I recommend selecting a “Bridge Theme.” This is a high-level concept that encompasses both interests using a shared color palette and material finish.
For example, if you have a superhero lover and a princess fan, avoid buying branded merchandise for both. Instead, create a “Royal City” theme. Use a cityscape backdrop but incorporate castle turrets. The unifying element here is the color palette. You might choose navy blue, metallic gold, and white. The gold works for crowns, and the navy works for capes.
Designer’s Note: The 60-30-10 Rule
In any room design, we follow the 60-30-10 rule for color. For a party, apply this to keep the decor grounded:
- 60% Dominant Color: A neutral background (white linens, kraft paper, or clear balloons). This prevents visual overwhelm.
- 30% Secondary Color: A color both siblings agree on (e.g., teal, sage green, or bright yellow).
- 10% Accent Colors: Specific nods to the individual themes (red for the brother, purple for the sister).
Common Mistakes + Fixes
Mistake: Buying two separate “party kits” from a big-box store.
Fix: Buy solid-colored basics (plates, napkins, tablecloths) that match your 60% dominant color. Only use the characters or themes for the cake toppers and specific focal points. This creates a curated, high-end look rather than a cluttered one.
2. Spatial Planning: Zoning the Room for Traffic Flow
Just like a living room needs clear walkways, a party needs traffic flow. When hosting for two different age groups or genders, you often have a mix of energy levels. You might have rowdy boys running around and a group of girls doing crafts, or toddlers mixed with pre-teens.
You need to zone your floor plan. In design, we use “negative space” to direct traffic. Do not push all the furniture against the walls; this creates a “dance floor” effect that encourages running. Instead, create floating islands of furniture.
The Three-Zone Layout
- Zone 1: The High-Energy Zone. Place this near the exit to the backyard or in the most durable part of the house (usually where you have tile or hardwood). This is for games and active play.
- Zone 2: The Focus Zone. This requires seating. Use a low coffee table or a dining table for crafts, LEGO building, or cookie decorating. This anchors the kids who get overstimulated easily.
- Zone 3: The Fuel Station. Keep the food table separate from the activity zones to prevent spills on your rugs.
Measurements That Matter
When setting up tables and chairs, clearances are critical to prevent bottlenecks:
- Walkways: Maintain a minimum of 36 inches between furniture pieces for main traffic paths. If you have a lot of adults attending, bump this to 42 inches.
- Table Height: Standard dining height is 30 inches. However, for kids under 6, I recommend renting or setting up “kindergarten height” tables (20–22 inches). It keeps them seated longer because their feet touch the ground.
- Buffet Spacing: Pull your food table at least 24 inches away from the wall if possible, or angle it in a corner. This allows people to approach from slightly different angles without creating a strict line that blocks the hallway.
3. Renting vs. Styling: Furniture and Decor Decisions
As a designer, I am often asked if it is better to rent event furniture or repurpose what you have. For a brother/sister party, the guest list is often double the size of a single birthday, so your current seating is likely insufficient.
However, bringing in folding metal chairs can ruin the aesthetic of your home. If you are hosting indoors, I prefer using “poufs” and floor cushions. They are soft, safe for roughhousing, and can be stacked in a corner when not in use.
What I’d Do in a Real Project
If I were designing a living room party for a client, I would remove the main coffee table entirely. It is usually a tripping hazard and takes up prime real estate.
- Step 1: Roll up the vintage or high-pile wool rug and store it. Replace it with an inexpensive indoor/outdoor rug or a painter’s drop cloth taped down at the edges for a “studio” vibe.
- Step 2: Use vertical height. Rent or buy high-boy cocktail tables (42 inches high) for the adults. This keeps adult drinks out of reach of children and encourages parents to stand and mingle around the perimeter, leaving the floor open for kids.
- Step 3: Cover existing sofas with heavy canvas throws or fitted slipcovers. It protects against icing and pizza grease while unifying the room’s color palette.
Material Selection for Durability
When selecting tablecloths or runners for a dual party, skip the paper products. They tear immediately. Go for oilcloth or laminated cotton. You can buy this by the yard at fabric stores. It wipes clean, looks expensive, and lies flat, which prevents cups from tipping over.
4. Landscape Integration: Utilizing Outdoor Spaces
If you have access to a backyard or patio, you should treat it as an extension of the living room. The goal is to draw people out so the house does not feel crowded. However, you cannot just open the door and expect people to go outside; you have to design the invitation.
Creating “Destinations”
In landscape design, we use focal points to draw the eye and the body. Place the most exciting activity (like a bounce house or a piñata) at the furthest point of the yard. This forces traffic to flow through the entire space, preventing congestion at the back door.
Specific Setup for Shared Parties
Since you are celebrating two children, you can create a physical divide in the yard that still feels cohesive. Use a rigorous centerline—perhaps a long banquet table or a rug runner on the grass—to divide the space subtly.
- The “Brother” Side: Set up lawn games that require distance, like cornhole or a giant Jenga set.
- The “Sister” Side: Create a shaded lounge area. Use a pop-up canopy or string a tarp between trees. Place rugs on the grass with pillows. This appeals to kids who want to sit and talk or play with dolls.
Lighting the Landscape
If the party extends into the late afternoon, lighting is non-negotiable. It creates ambience and safety.
- String Lights: Zig-zag bistro lights overhead. Ensure the lowest point is at least 8 feet high so adults don’t instinctually duck.
- Path Lights: If you have uneven pavers or steps, use temporary solar stakes or battery-operated lanterns to mark the change in elevation.
5. The Food Display: Styling for Function and Scale
The food table is often the centerpiece of the design. For a joint party, you have a unique challenge: two cakes, potentially two different favorite foods, and a lot of hungry guests.
Do not squeeze everything onto one standard 6-foot table. It looks cluttered and unappetizing. Instead, think about “tablescaping” with levels. In interior styling, we use risers to create visual interest. You can use sturdy wooden crates, wrapped boxes, or cake stands to vary the height of the platters.
The Dual-Sided Buffet
If space permits, pull the dining table into the center of the room (floating) rather than against a wall. This allows guests to serve themselves from both sides of the table simultaneously, cutting the wait time in half—a crucial factor with hungry toddlers.
Styling the “Two Cake” Dilemma
You have two options here that look intentional:
- Symmetry: Place the two cakes on matching cake stands at opposite ends of the table. This creates a balanced, formal look.
- Grouping: Place both cakes in the center, but vary the height. One cake stand should be 4–6 inches taller than the other. This adheres to the design rule of grouping items in odd numbers or varying heights to keep the eye moving.
Designer’s Note: Child-Friendly Reach
A standard counter height is 36 inches. This is too high for a 4-year-old to see the food options.
The Fix: Create a “lowboy” grazing station on a coffee table or a bench (about 18 inches high) specifically for kid-friendly snacks like popcorn cups or juice boxes. This gives the kids independence and keeps them from tugging on the main tablecloth.
Final Checklist: The “Day-Before” Design Audit
Before the guests arrive, I always run through a functional checklist to ensure the space works. Walk through your home as if you are a guest (and a child).
Safety and Protection
- Rug Tape: Have you secured the corners of all area rugs? Kids run fast, and tripping hazards are the number one party foul.
- Breakables: Clear any surface below 40 inches of glass vases, heavy sculptures, or precious heirlooms. Store them in a bedroom.
- Coasters: If you are using wood furniture, scatter way more coasters than you think you need.
Lighting and Atmosphere
- Dimmer Switches: If indoors, set overhead lights to 50-70%. It hides dust and creates a warmer, more inviting atmosphere.
- Music Zones: Set up a Bluetooth speaker in the “active” zone, but keep the volume lower in the “adult/food” zone so parents don’t have to shout.
Service Flow
- Trash Bins: Place a large, visible trash bin (without a lid) in every zone. If people have to look for a trash can, they will leave plates on your furniture.
- Bathroom Prep: Remove personal clutter from the guest bath vanity. Put out fresh hand towels and a step stool if small children are attending.
FAQs
How do I handle a large age gap between the brother and sister?
The design solution is separation of “hangout zones.” Older kids (7+) generally do not want to be mixed in with toddlers. Create a “VIP Lounge” for the older sibling using a different room or a distinct corner of the yard. Furnish it with bean bags and perhaps a gaming console or craft station that requires fine motor skills. This makes them feel mature and keeps the little ones safe from small parts.
What if I have a very small living room?
Focus on verticality. Remove as much floor furniture as possible. Use wall-mounted decor rather than table decor. For eating, focus on “hand-held” foods that don’t require a knife and fork, so guests don’t need a table surface. Use window sills and bookshelves (cleared off) as surfaces for drinks.
How can I make the party feel cohesive if the kids want totally different themes (e.g., Space vs. Jungle)?
Lean into the contrast by using a “World Traveler” or “Explorer” meta-theme. Use vintage maps, globes, and suitcases as the decor. The space area is “The Sky,” and the jungle area is “The Earth.” The unifying color can be a deep midnight blue or a neutral beige canvas. This frames their specific interests as part of a larger adventure.
Is it okay to ask guests to bring gifts for only one child if it’s not the other’s actual birthday?
Etiquette suggests clarity. If it is a joint party, guests usually expect to celebrate both. However, if one sibling is just “tagging along” on the celebration, clarify this on the invitation. From a design perspective, set up a designated gift table with clear signage (e.g., “Max’s Gifts” and “Lily’s Gifts”) to avoid awkward sorting later.
Conclusion
Hosting a unique brother and sister birthday party does not mean you have to sacrifice the style of your home or turn your living room into a chaotic mix of clashing colors. By applying basic interior design principles—like zoning, traffic flow, and cohesive color palettes—you can create a space that celebrates two unique personalities beautifully.
Remember, the success of the design isn’t about how much decor you buy, but how the space functions for your guests. A well-planned layout allows the adults to relax and the kids to play freely. Focus on the “bridge” elements that tie the room together, and you will have a celebration that feels intentional, polished, and incredibly fun.
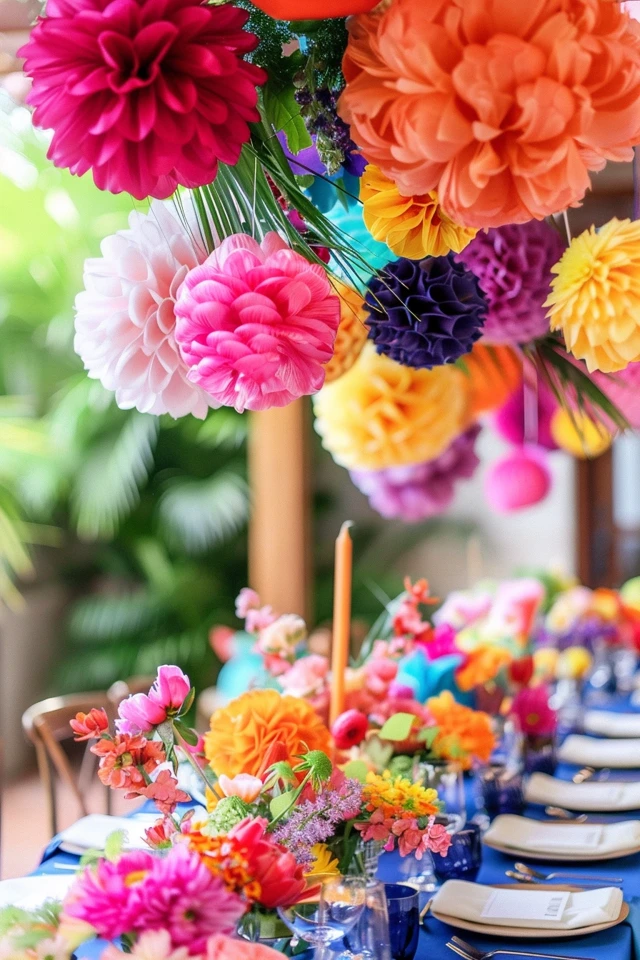
Picture Gallery


