
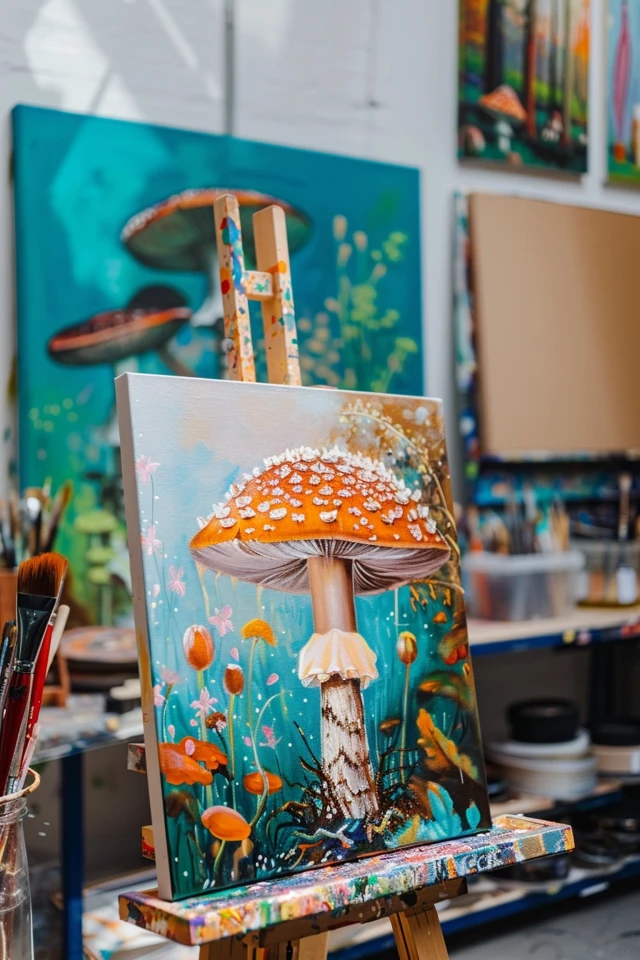
Discover the joy of creating mushroom art with these easy mushroom painting ideas. Whether you’re an experienced artist or just starting out, these step-by-step tutorials and creative inspiration will help you bring whimsical mushrooms to life on canvas. From simple and cute designs to more detailed and realistic landscapes, there is something for everyone in the world of mushroom painting.
Unleash your creativity and explore different techniques as you embark on a journey of artistic expression. With acrylic paints and a few simple brushstrokes, you can create stunning mushroom artwork that captures the beauty and charm of these fascinating fungi.
Key Takeaways:
- Easy mushroom painting ideas provide a fun and accessible way to express your creativity.
- Step-by-step tutorials can help beginners learn the basics of mushroom painting.
- Acrylic paints are perfect for creating vibrant and colorful mushroom artwork.
- Cute and whimsical mushroom designs add a playful touch to your paintings.
- Practice and patience are key in mastering the art of mushroom painting.

Step-by-Step Mushroom Painting Tutorial
Follow this step-by-step mushroom painting tutorial to create a stunning acrylic artwork. Whether you’re a beginner or an experienced artist, this tutorial will guide you through the process of painting mushrooms with acrylic paints.
Start by sketching the outline of the mushrooms on your canvas or painting surface. Use a pencil or light-colored paint that can easily be covered by the acrylic paints.
Next, choose your color palette. Acrylic paints offer a wide range of vibrant colors that can be mixed and layered to achieve different effects. Decide on the colors you want to use for the mushroom caps, stems, and background.
Begin painting the mushroom caps. Use a round brush to apply the base color and then gradually add shading and highlights to create depth and dimension. Blend the colors together for a smooth transition.
Once the mushroom caps are complete, move on to painting the stems. Again, use a round brush to apply the base color and add shading and highlights to create a three-dimensional effect.
For added texture, consider using a dry brush technique or stippling to create the appearance of spots or bumps on the mushroom caps.
Lastly, paint the background. You can choose a solid color or create a scenic background with trees, grass, or other elements. This will enhance the overall composition of your mushroom painting.
Once your painting is complete, let it dry thoroughly before applying any varnish or sealant to protect the artwork.
Remember, the key to a successful mushroom painting is to work in layers, building up the colors and details gradually. Don’t be afraid to experiment with different techniques and styles to create your own unique mushroom masterpiece. Happy painting!

Cute and Whimsical Mushroom Painting Ideas
Let your imagination run wild with these cute and whimsical mushroom painting ideas. Create adorable mushroom characters with bright colors and playful designs. Use a variety of techniques such as blending, layering, and adding details to bring your mushroom art to life. Whether you prefer a more realistic or stylized approach, these ideas will spark your creativity and add a touch of whimsy to your artwork.
Need some inspiration to get started? Here are a few fun and creative mushroom painting ideas:
- Paint a whimsical mushroom village on a canvas, complete with tiny doors and windows.
- Create a vibrant and colorful mushroom landscape using a variety of brushstrokes.
- Experiment with different textures by adding dots, lines, or patterns to your mushroom paintings.
- Try creating a cute mushroom character with googly eyes and a smiling face.
With these ideas and techniques, you can let your creativity soar and create beautiful mushroom art that will brighten any space. Whether you paint on canvas, paper, or even a wooden surface, the possibilities are endless.
So grab your brushes, pick your favorite colors, and let’s dive into the whimsical world of mushroom painting!

Beginner-Friendly Techniques for Mushroom Painting
If you’ve always wanted to try your hand at mushroom painting but don’t know where to start, you’ve come to the right place! In this tutorial, I’ll share some simple and beginner-friendly techniques that will help you create stunning acrylic mushroom paintings.
To begin, let’s start with the basics. Start by sketching the outline of your mushrooms using a pencil. Keep the shapes simple and don’t worry about making them perfect. This is your chance to let your creativity flow!
Once you have your outlines, it’s time to add depth and dimension to your mushrooms. Use different shades of acrylic paint to create shading and highlights. This will make your mushrooms look three-dimensional and more realistic.
Don’t be afraid to experiment with different brushstrokes and color combinations. Acrylic paints are versatile, allowing you to blend and layer colors to achieve the desired effect. Remember, practice makes perfect, so take your time and enjoy the process!