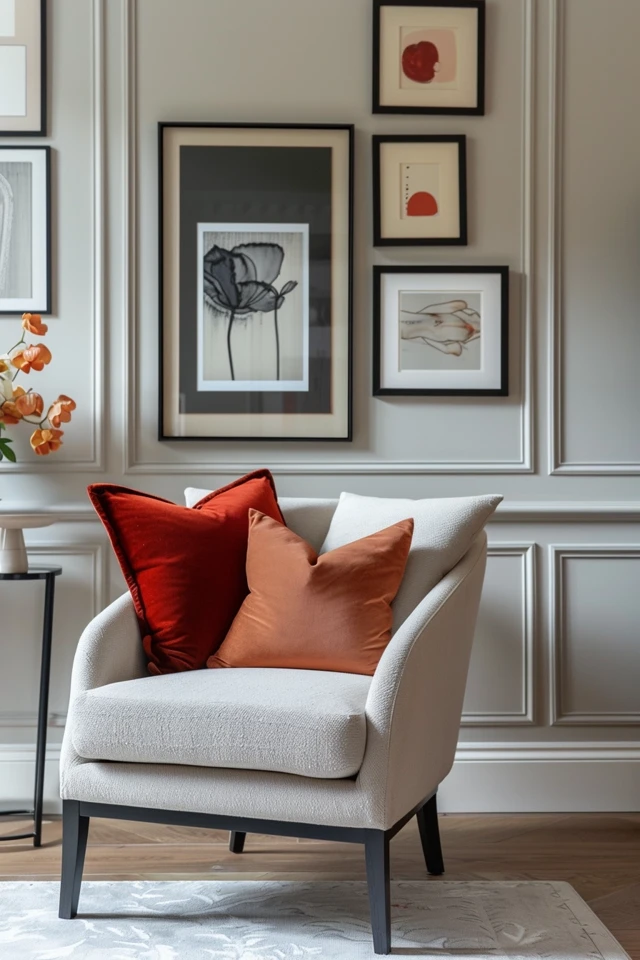
When it comes to hanging frames, achieving the perfect look involves considering the proper height and placement. Framebridge, a renowned custom framing business, offers valuable insights and tips to help you hang your frames flawlessly.
Key Takeaways:
- Follow the 57-inch rule by hanging art so that the vertical center of the frame is about 57 inches above the floor.
- Hang frames 7 to 10 inches above furniture like couches, beds, or desks.
- For gallery walls, center the middle frame at eye level.
- Use Framebridge’s hanging guide and hardware for precise frame alignment.
- Consider different hanging methods such as using a hanging wire, sawtooth hanger, or corner brackets for larger pieces.
Tips for Hanging Frames with Framebridge
Framebridge provides various tips to help you achieve the perfect look when hanging frames. Whether you’re a seasoned decorator or a DIY enthusiast, these tips will ensure that your frames are aligned, secure, and displayed beautifully.
1. Finding the Perfect Height
When it comes to hanging frames, getting the height right is crucial for a balanced and visually pleasing display. Framebridge recommends following the 57-inch rule, where the vertical center of the frame should be approximately 57 inches above the floor. This guideline applies to single pieces as well as multi-frame arrangements like gallery walls. Keeping your frames at this height ensures that they are at eye level and creates a cohesive look throughout your space.
To calculate the height where the top of your frame should be, measure the height of your piece or arrangement, divide it in half, and add that number to the 57-inch mark. This trick will give you a precise measurement for optimal frame placement.

2. Choosing the Right Hanging Method
Framebridge offers guidance for different hanging methods depending on the type and size of your frames. For smaller frames, a hanging wire or a sawtooth hanger often works best. These options provide stability and allow for easy adjustments if needed.
For larger pieces, Framebridge provides corner brackets that make hanging a breeze. These brackets ensure that your frames stay securely in place and eliminate the need for frequent readjustment. To hang frames with corner brackets, start by marking your spot on the wall, measuring the frame, marking the nail locations, and finally hammering in the hooks. Once the hooks are in place, hang your frame, adjusting as necessary for perfect alignment.

3. Tools and Assistance for a Flawless Result
To achieve a professional finish, Framebridge emphasizes the importance of having a second set of eyes and utilizing tools like a measuring tape and level. Enlist a friend or family member to help you hang your frames and ensure they are straight and aligned.
Using a measuring tape allows you to accurately measure the height and spacing between frames, while a level ensures that they are perfectly straight. These simple tools can make a significant difference in the overall appearance of your framed art.
With Framebridge’s range of tips, tools, and hanging methods, you’ll be able to confidently install your frames and create a stunning display that enhances your home decor. Hanging frames has never been easier.

The Ease of Hanging a Gallery Wall with Framebridge
Hanging a gallery wall can be a daunting task, but Framebridge has made it easy with their expertly curated gallery walls and life-size hanging guide. The gallery walls come with a hanging guide that shows the exact placement of each frame, making it simple to choose the perfect spot on your wall.
Affix the hanging guide with painter’s tape, level it, and secure it in place. Framebridge provides the necessary hanging hardware, including nails that are marked on the hanging guide. Hammer the nails into the marked spots, tear away the hanging guide, and hang your frames. Adjustments may be necessary to ensure the frames are perfectly aligned.
Framebridge’s gallery walls can be set up in as little as 10 minutes, thanks to their easy-to-use hanging guide and hardware. With Framebridge, you can transform your walls into a stunning showcase of art, memories, and moments. Say goodbye to the hassle of measuring and guessing placement, and let Framebridge guide you through the process of creating a beautiful gallery wall.

