
Half Wall Paneling Ideas to Elevate Your Space
There are very few architectural elements that add as much character to a room as wall paneling. Whether you live in a new build that lacks historical charm or an older home that needs a refresh, half wall paneling anchors the space. It provides a visual weight that makes ceilings feel taller and rooms feel more grounded.
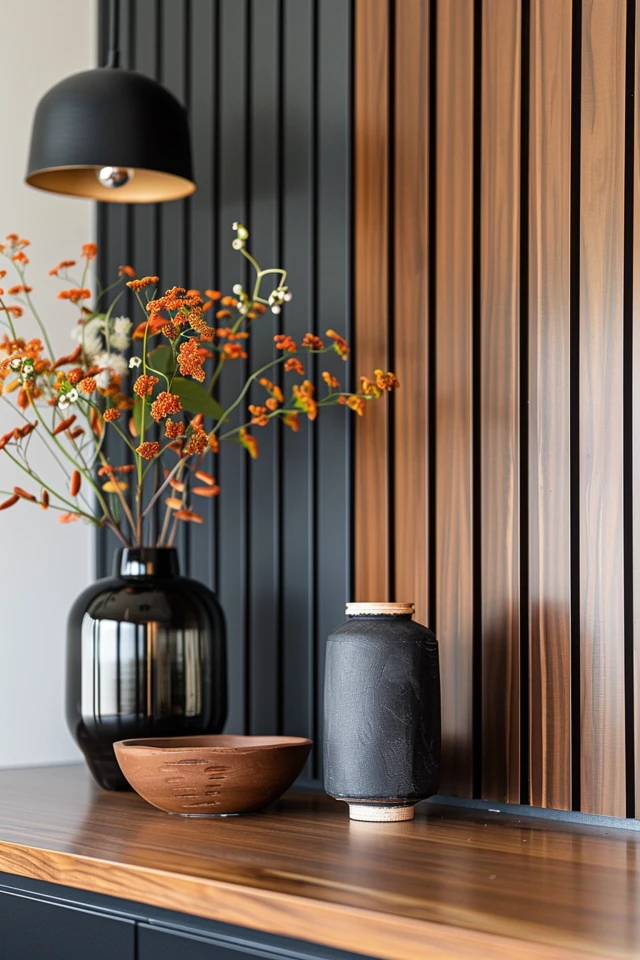
Beyond aesthetics, half wall paneling—often referred to as wainscoting—serves a highly practical purpose. It acts as a protective shield for the lower portion of your walls, making it ideal for high-traffic zones like hallways, mudrooms, and dining areas. If you are looking for visual inspiration, be sure to check out the extensive Picture Gallery included at the very end of this blog post.
Deciding to add millwork is the easy part; choosing the right style, height, and finish is where many homeowners get stuck. In this guide, I will walk you through the design principles I use with clients to ensure your paneling elevates your home rather than looking like an afterthought.
1. Defining Your Style: Types of Half Wall Paneling
The style of paneling you choose dictates the entire vibe of the room. It is essential to match the millwork to the architectural era of your home or your desired interior design style. Here are the three most effective options for modern living.
Board and Batten
This is currently the most popular choice for transitional and modern farmhouse interiors. It consists of vertical strips of wood (battens) placed over flat panels or smooth drywall. It creates a clean, geometric look that adds depth without feeling overly ornate.
Designer’s Note: Scale is critical here. For a standard room, I usually space battens 16 to 20 inches apart. If you space them too closely, the room can feel busy and “cage-like.” If they are too far apart, the wall looks sparse and unfinished.
Traditional Beadboard
Beadboard features narrow, vertical planks with a distinctive “bead” or indentation between them. This style screams cottage, coastal, or traditional utility. It is a fantastic choice for bathrooms and mudrooms because it hides scuffs and splashes better than smooth drywall.
For a more updated look, opt for “V-groove” paneling instead of standard narrow beadboard. V-groove planks are usually wider (about 4 to 6 inches), offering a more modern and substantial appearance than the thin, vintage-style strips.
Picture Frame Molding (Box Molding)
If you want to elevate a dining room or formal living room, picture frame molding is the answer. This involves applying decorative molding in square or rectangular shapes directly onto the wall.
This style is purely decorative and offers less wall protection than board and batten, but it is unmatched for elegance. It pairs beautifully with chair rails and looks expensive when painted in a monochrome finish.
2. The Rules of Proportion: Height Matters
One of the most common mistakes DIYers make is installing paneling at the wrong height. The height of your half wall significantly impacts how the human eye perceives the room’s volume.
The Rule of Thirds
In design, we rarely split a wall exactly in half (50/50). It tends to make ceilings look lower and the room feel static. Instead, we use the rule of thirds.
- Lower Third: This is traditional wainscoting height, usually between 32 and 36 inches. This is roughly chair-rail height and works well in dining rooms to protect walls from chair backs.
- Upper Third: This is often called a “plate rail” style, where the paneling goes up to about 60 or 64 inches off the floor. This is incredibly dramatic and effective in entryways or bathrooms.
Common Mistakes + Fixes
Mistake: Landing the top cap of the paneling exactly in line with a window sill or vanity top.
Fix: Always aim to be at least 3 to 4 inches above or below horizontal interruptions like window sills. Lining them up perfectly creates an awkward visual tangent that draws the eye to the misalignment.
Mistake: Ignoring the ceiling height.
Fix: If you have 8-foot ceilings, keep wainscoting lower (32 inches) to maximize the open wall space above. If you have 10-foot ceilings, you can afford to go higher (42-48 inches) while still maintaining good proportions.
3. Materials, Durability, and Finish Selection
The material you select depends largely on your budget and the room’s function. In my projects, I prioritize durability, especially for clients with pets or young children.
MDF vs. Solid Wood
For painted paneling, Medium Density Fiberboard (MDF) is often superior to solid wood. Solid wood expands and contracts with humidity changes, which can crack the paint at the seams. MDF is stable, smooth, and paints beautifully.
However, MDF does not handle water well. If you are installing paneling in a bathroom with a shower, use moisture-resistant MDF or PVC beadboard to prevent swelling near the floor.
The Paint Finish Strategy
The sheen of the paint is just as important as the color. Because half wall paneling is in the “splash zone” (prone to kicks, bag scuffs, and fingerprints), you need a scrubbable finish.
- Satin or Pearl: My go-to recommendation. It has a soft glow but is hard enough to wipe down with a damp cloth.
- Semi-Gloss: Best for trim and baseboards, or for the paneling itself in high-humidity bathrooms. It reflects more light, highlighting the architectural detail.
- Eggshell/Matte: Avoid these for the paneling. They are too difficult to clean and will show scuff marks immediately.
Color Blocking
Don’t feel pressured to paint the paneling white. One of the strongest contemporary trends is “color drenching.” This involves painting the baseboards, paneling, and top rail all in one deep, moody color (like slate blue or forest green), and leaving the upper wall neutral.
4. Managing Transitions and Installation Details
The difference between a professional job and a novice attempt usually lies in the transitions. How the paneling meets the floor, the ceiling, and the door frames is where the real design work happens.
Baseboards and Thickness
Your paneling must sit on top of, or flush with, your baseboards. A major issue arises when the paneling strips are thicker than the top of the baseboard, creating an overhang.
What I’d do in a real project:
I almost always remove the existing baseboards before installing paneling. I install a plain, flat board (like a 1×6) as the new base, install the vertical battens, and then perhaps add a small shoe molding at the floor. This creates a seamless, built-in look.
Dealing with Electrical Outlets
If your outlets fall within the paneling area, do not simply recess them into the wood. This is a fire hazard and a code violation. You must use “box extenders” to bring the electrical box flush with the new surface of the paneling.
Design-wise, if an outlet lands partly on a batten and partly on the wall, it looks sloppy. During the layout phase, I meticulously mark every outlet location on the wall. I then adjust the spacing of my vertical battens by an inch or two across the whole wall to ensure battens don’t land directly on top of an outlet.
The Top Cap / Ledge
The top rail needs a cap to look finished. This can be a simple piece of molding, or a deeper ledge (2 to 3 inches) wide enough to display art or lean frames.
If you choose a ledge, ensure it doesn’t interfere with door casings. If the ledge is deeper than the door trim, you will need to return the molding back into the wall at a 45-degree angle before it hits the door frame to avoid a sharp, exposed corner.
5. Styling the Upper Wall
Once the half wall is installed, the space above it becomes a prime focal point. The horizontal line of the paneling draws the eye, so what you put above it matters immensely.
Wallpaper and Pattern
Half wall paneling is the best friend of expensive wallpaper. Because you are only covering the upper half (or third) of the wall, you cut your wallpaper budget in half. This allows you to splurge on a high-end grasscloth or a hand-painted chinoiserie pattern that might be too costly for a full room.
Visually, the solid color of the paneling grounds the busy pattern of the wallpaper, preventing the room from feeling chaotic.
Art Placement
When hanging art above wainscoting, allow the millwork to breathe. Do not rest the bottom of the frame on the top rail unless it is a “leaning” shelf style.
Rule of Thumb:
Center the artwork in the vertical space between the top of the paneling and the ceiling (or crown molding). If the paneling is high (shelf height), leave at least 3 to 4 inches of clearance between the rail and the bottom of the art frame.
Lighting Sconces
Installing wall sconces in the space above the paneling adds a layer of sophistication. Ideally, plan for this during the renovation so you can hardwire them. If you are retrofitting, look for battery-operated or plug-in sconces, but ensure the cord is neatly managed—perhaps hidden behind a vertical batten if possible.
Final Checklist: The Designer’s Approach
Before you purchase a single piece of lumber, run through this checklist to ensure your project succeeds.
- Check wall condition: Use a long level to check if your walls are bowed. If they are very uneven, stick to board and batten rather than large flat sheets, as strips are more forgiving.
- Map the studs: Locate and mark all studs. Whenever possible, nail your horizontal rails into studs for structural integrity.
- Calculate the “math” of the spacing: Don’t just start nailing. Calculate the total wall length and divide by your desired number of spaces to get exact measurements. Adjust for corners so you don’t end up with a tiny 1-inch sliver at the end of the wall.
- Sample the paint: Paint a large swatch of your chosen color on the lower wall and observe it at different times of day. Shadows from the molding will change how the color reads.
- Plan for depth: Ensure your new paneling won’t block the swing of any doors or encroach on drawer openings in nearby cabinetry.
FAQs
Can I install paneling in a small room, or will it make it look smaller?
Paneling can actually make a small room feel larger. Vertical lines (like board and batten) draw the eye upward, increasing perceived ceiling height. Horizontal lines (like shiplap) can make a narrow room feel wider. The key is to keep the contrast low; painting the paneling a similar tone to the upper wall keeps the space airy.
Is this a renter-friendly project?
Traditional wood paneling is not renter-friendly as it requires heavy adhesive and nails. However, you can achieve a similar look using peel-and-stick wallpaper that mimics beadboard or shiplap. Another option is using lightweight polystyrene molding strips attached with Command strips for a box-molding look, though this is purely decorative and not durable.
How do I transition paneling up a staircase?
This is the trickiest installation. You have to follow the angle of the stairs. The height of the paneling should remain consistent relative to the stair tread nose. This requires complex miter cuts. If you are a beginner, I recommend hiring a finish carpenter for staircases, or sticking to the landing areas only.
Should the paneling match the door and window trim?
Conventionally, yes. If your trim is white, white paneling looks seamless. However, in modern design, we often paint the paneling a color (like gray, navy, or green) while leaving the window trim and baseboards white for contrast. Alternatively, paint everything—trim, baseboards, and paneling—the same color for a contemporary, unified look.
Conclusion
Half wall paneling is one of the highest-value upgrades you can make to your interior. It solves functional problems by protecting your walls while solving design problems by adding texture and architectural interest. It transforms a plain drywall box into a customized home.
By respecting the rules of proportion, choosing durable materials, and meticulously planning your layout around outlets and corners, you can achieve a result that looks like it has been there for decades. Take your time with the math and the layout; the installation itself is just the execution of a good plan.
Picture Gallery


