
How to Build a Backyard Skatepark: Design Ideas and Tips
For many homeowners, the backyard is merely an extension of the living room—a place for dining, lounging, or gardening. But for active families or skating enthusiasts, the outdoor space presents a unique opportunity to blend functional landscape architecture with high-energy recreation. Designing a backyard skatepark isn’t just about throwing down some plywood; it requires the same attention to flow, spatial planning, and material selection as a kitchen renovation.
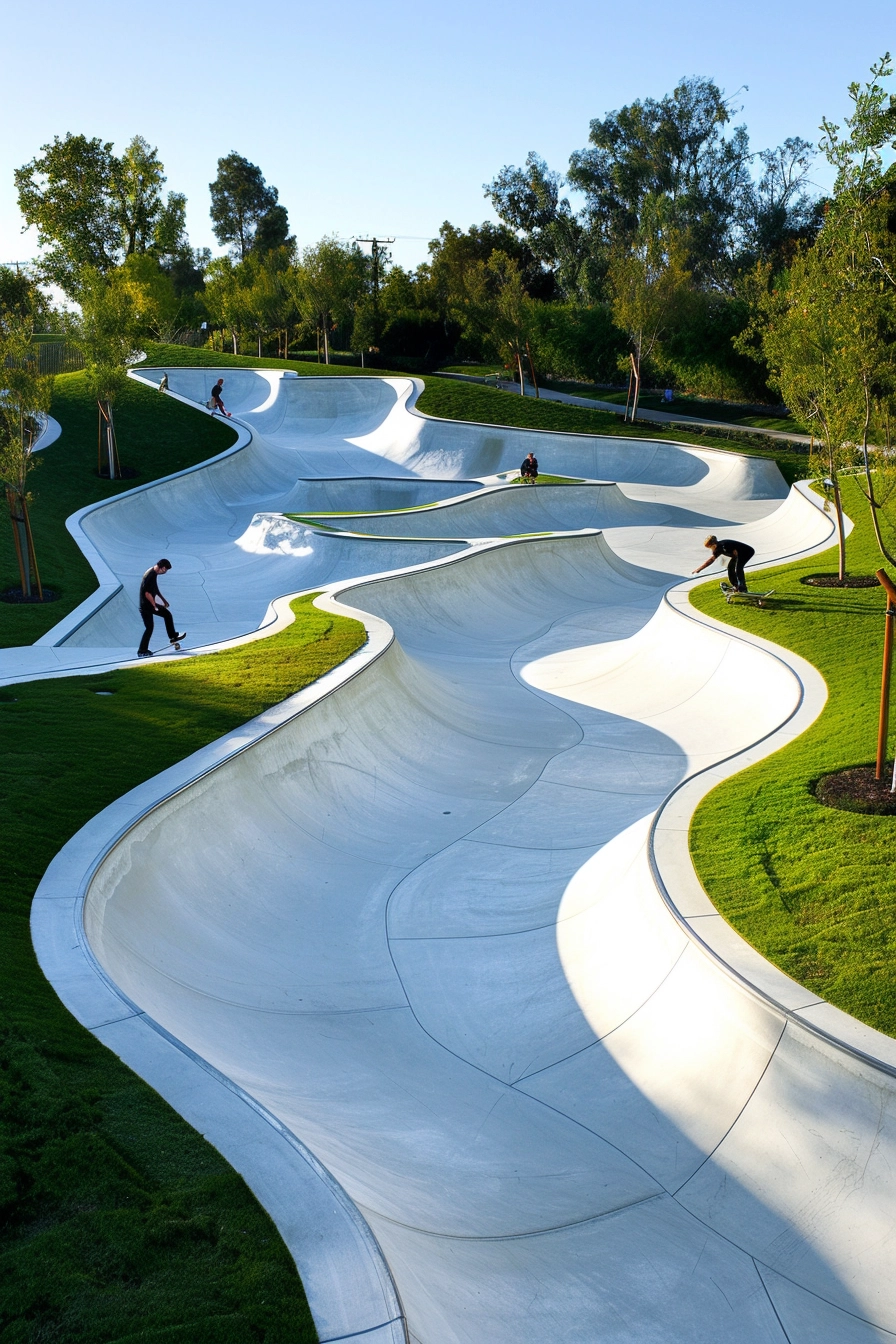
When I approach a landscape project that involves large recreational structures, my goal is always integration. You want a feature that functions perfectly for the skater but doesn’t turn your backyard into an eyesore or a noise nuisance for the neighbors. If you are looking for visual inspiration before diving into the technical details, you can find our curated Picture Gallery at the end of the blog post.
This guide will walk you through the design principles, material choices, and construction realities of building a private skatepark. We will look at how to balance “shreddability” with aesthetic cohesion, ensuring your new ramp feels like a deliberate part of your home’s exterior design.
1. Assessing Space and Site Preparation
Before you purchase a single 2×4, you must understand the constraints of your land. In interior design, we talk about “circulation paths,” and the same applies here. You need to establish a dedicated zone for the park that doesn’t conflict with other backyard functions like the BBQ area or the garden beds.
Zoning and Measurements
A functional mini-ramp or skateable obstacle requires more space than the footprint of the structure itself. You need a “run-up” and a “run-out” area. If you are building a standard mini-ramp (usually 8 to 12 feet wide), you generally need a flat footprint of at least 20 to 24 feet in length.
Do not place a ramp right up against a fence line. You need a maintenance buffer of at least 18 to 24 inches between the back of the ramp and any wall or fence. This allows you to retrieve lost boards, check for rot, and clear debris.
Drainage and Leveling
Water is the enemy of any outdoor structure. In landscape design, we ensure water flows away from the home; for a skatepark, water must flow away from the ramp. If you are building on grass/dirt, you cannot simply place wood on the ground. It will rot within two seasons.
I recommend preparing a gravel pad similar to a shed foundation. Excavate 4 inches of topsoil, lay down landscape fabric to suppress weeds, and fill it with crushed stone (3/4″ clean stone works best). Level this perfectly. This provides drainage and a stable base that won’t shift during freeze-thaw cycles.
Designer’s Note: The Noise Factor
One lesson I learned the hard way on a project involved a client with close neighbors. Skateboarding is loud—specifically the “clack” of hard wheels on wood or concrete. If you live in a dense suburb, consider the acoustic impact. We ended up having to retrofit a sound wall with acoustic landscaping later, which cost double what it would have if we planned it initially. Position the ramp as far from neighbors’ bedroom windows as possible.
2. Materials: Wood Ramps vs. Concrete Flow
The material you choose defines the permanency, cost, and aesthetic of the project. This is the exterior equivalent of choosing between hardwood flooring and polished concrete.
The Case for Wood (and Skatelite)
Wood ramps are the most common for DIY backyards. They are easier to build, modify, and remove if you sell the house. However, standard plywood is not waterproof. For the top surface (the skating surface), you have three main tiers:
- Budget: Masonite. It is smooth and cheap but will warp immediately if it gets wet. Only use this for indoor setups or covered patios.
- Mid-Range: Exterior grade birch plywood painted with high-quality porch and deck enamel. This offers a good balance of cost and weather resistance.
- Pro-Grade: Skatelite or GatorSkins. These are phenolic resin/paper composite sheets. They are virtually weatherproof, extremely durable, and offer the best grip. They are expensive (often $200+ per sheet) but essential for longevity.
The Case for Concrete
Concrete parks are permanent landscape features. From a design perspective, concrete is easier to integrate into a garden. It can be stained to match patio pavers and can feature organic curves that wood cannot mimic.
However, concrete is loud and unforgiving. It requires professional grading and rebar reinforcement. If you choose concrete, aim for a compression strength of 3,500 to 4,000 PSI to prevent surface cracking under impact. The finish must be hard-troweled to a glass-like smoothness; a standard broom finish used on sidewalks will rip skin and ruin wheels.
3. Designing the Flow: Geometry and Layout
The “flow” of a skatepark is the functional layout. Just as we ensure a kitchen triangle works for cooking, the ramp geometry must work for momentum. If the transitions are too steep or the flat bottom is too long, the park becomes unskateable.
Radius and Transitions
The curve of a ramp is determined by the transition radius. A tighter radius means a steeper ramp.
- For beginners/kids: A 2 to 3-foot high mini-ramp should have a mellow radius, roughly 7 to 8 feet.
- For intermediate skaters: A 3 to 4-foot high ramp typically uses a 6 to 7-foot radius for a snappier feel.
- For advanced riders: Any ramp over 5 feet high usually tightens the radius to 6 feet or introduces “vert” (vertical) sections.
The Flat Bottom
This is the space between the two facing ramps. Do not skimp here. If the flat bottom is too short, you don’t have time to set up for the next trick. If it is too long, you lose speed.
A good rule of thumb for a backyard mini-ramp is a flat bottom length of 7 to 9 feet. This provides enough time to regain balance without killing your momentum.
Common Mistakes + Fixes
- Mistake: Using standard 2×4 framing spacing.
- Fix: Skate ramps take heavy impact. Place joists 8 inches on center, rather than the standard 16 inches used in housing. This prevents the plywood from sagging or creating “soft spots.”
- Mistake: Improper coping placement.
- Fix: The metal pipe at the top (coping) needs to stick out slightly. Aim for a “reveal” of 3/8 inch on top and 3/8 inch on the front. This allows wheels to lock on without hanging up.
4. Aesthetics and Landscape Integration
This section is where we move from construction to design. How do we stop this from looking like a construction site? We need to treat the skatepark as a sculptural element in the garden.
Color Coordination
If you are using wood, avoid leaving it raw or painting it neon green. Treat the ramp like a deck or pergola. Use exterior solid-body stains in charcoal, slate blue, or deep forest green. This helps the large structure recede visually into the background.
If you use Skatelite, it typically comes in a natural brown or tan. You can paint the side cladding (the walls enclosing the ramp) to match your home’s siding or trim color. This creates a deliberate architectural link between the house and the ramp.
Softscaping for Sound and Privacy
Landscaping is your best tool for noise control. Surrounding the skate zone with dense planting acts as a sound buffer.
I recommend planting a “green screen” of fast-growing evergreens. Thuja Green Giant Arborvitae is a classic choice. They grow 3 feet per year and create a dense wall that absorbs high-frequency noise (like wheel clatter). Plant them 5 to 6 feet apart in a perimeter around the back of the ramp.
Hardscaping Transitions
Avoid having a muddy patch between your patio and the ramp. Create a defined path using flagstone or gravel pavers. This keeps dirt off the ramp (which is dangerous for skating) and keeps the house clean.
5. Lighting, Seating, and Safety
To maximize the use of your build, you need to consider evening sessions and spectators. This turns the spot into a social hub rather than just an exercise equipment station.
Functional Lighting
Lighting a skatepark is tricky because you want to avoid casting shadows that hide the ramp’s curve. Shadows can cause falls.
Avoid single-source floodlights which create harsh contrast. Instead, use two to four pole-mounted LED fixtures positioned at the corners of the ramp, aiming down and inward. Use a color temperature of 3000K (warm white). This provides clarity without the harsh, sterile feeling of 5000K security lights. Ensure the fixtures have shields to prevent light trespass into neighbors’ yards.
The Spectator Zone
Parents need to supervise, and friends need a place to wait their turn. Do not place seating directly on the ramp deck (the top platform), as this obstructs the skater.
Build or place a bench 6 to 8 feet away from the side of the ramp. This is the “safe zone” where a flying skateboard is unlikely to hit anyone. I often design a built-in bench using the same materials as the ramp cladding to tie the look together. Add an outdoor rug and a side table for drinks to civilize the area.
Safety Railings
If your ramp is higher than 30 inches, local building codes may require a safety railing on the back and sides of the upper decks. Even if not required, it is a smart design choice. Use horizontal cable railings or galvanized pipe to maintain an industrial, skate-park aesthetic that doesn’t block sightlines.
What I’d Do in a Real Project: The Final Checklist
If I were managing this project for a client, this is the exact workflow I would follow to ensure quality and safety.
- Verify Setbacks: Check the property survey to ensure the ramp isn’t sitting on a utility easement or crossing a setback line.
- Surface Selection: I would budget for Skatelite immediately. It saves years of maintenance headaches.
- Foundation Prep: I would install a French drain around the perimeter of the gravel pad to ensure zero water accumulation.
- Fasteners: I would strictly use high-quality, countersunk deck screws. Nails back out over time due to vibration, creating a major safety hazard.
- Ventilation: For wood ramps, I would install vents in the side panels. Airflow underneath the ramp prevents moisture buildup and rot.
- Underlayment: I would use two layers of 3/8″ plywood (staggered seams) beneath the final riding surface to create a solid, dead sound.
- Caulking: I would seal all exposed end-grains of the plywood with marine-grade sealant before assembly.
Frequently Asked Questions
Do I need a building permit for a backyard skate ramp?
In many municipalities, yes. Any structure over a certain height (often 30 inches) or square footage may require a permit. However, some areas classify movable wooden ramps as “temporary play structures” similar to swing sets. Always call your local building department first. Getting caught later can lead to fines and forced demolition.
How much does a backyard mini-ramp cost to build?
For a DIY 3-foot high, 8-foot wide mini-ramp, expect to spend between $1,500 and $2,500 on lumber and standard surfacing. If you upgrade to Skatelite or professional surfacing, add another $1,000 to $1,500. A professionally built and installed ramp will typically start around $5,000 to $8,000.
How do I protect the ramp during winter?
If you have a wood ramp with a non-weatherproof surface (like Masonite), you must tarp it. Use a heavy-duty tarp and—crucially—place objects (like old tires or buckets) under the tarp on the ramp surface to create a tent effect. This promotes airflow. If you lay a tarp flat against the wood, it traps moisture and accelerates mold growth.
Can I build a ramp on grass?
Technically yes, but it is not recommended. The moisture from the grass will rot the bottom frame, and the weight of the ramp will cause it to sink unevenly into the soil. At a minimum, place concrete paver blocks under every vertical support post to separate the wood from the earth.
Conclusion
Building a backyard skatepark is a bold design choice that prioritizes lifestyle and activity over passive lawn space. It requires careful planning regarding drainage, acoustics, and materials to ensure it adds value to your home rather than subtracting from it. By following landscape design principles—creating zones, managing flow, and integrating softscaping—you can build a shreddable masterpiece that looks as good as it rides.
Remember that the best backyard features are the ones that get used. A well-built ramp invites daily practice, outdoor time for the kids, and a unique gathering spot for friends. Take the time to prep the site correctly, invest in durable materials, and respect the neighbors with smart placement. Good luck with the build.
Picture Gallery


