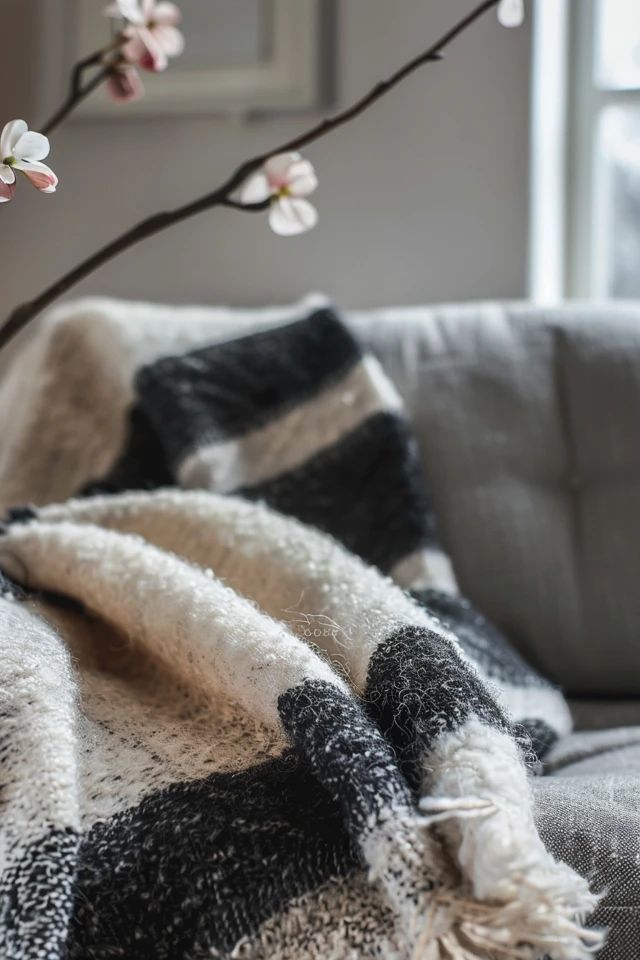
Are you looking for a cozy and affordable way to stay warm? Why not make your own wool blanket? With a few simple materials and a little creativity, you can create a stylish and personalized blanket that will keep you snug during those chilly nights.
First, you’ll need a wool army surplus blanket, which you can easily find online or at a local store. Gather the following materials: a ruler or tape measure, pins or chalk, red and white roving, a needle felting mat, and a needle felting tool. These tools will help you create beautiful designs and patterns on your blanket.
Start by unwrapping your wool blanket and giving it some time to air out any odors. Lay the blanket out on a clean floor and use a ruler and chalk or pins to mark out lines for your design. This will serve as a guide as you work.
Next, lay the red roving on the marked area and use the needle felting tool to secure it into the blanket. Needle felting involves poking the roving with the tool, which binds it to the wool blanket. Continue needle felting until the roving is thoroughly blended into the blanket.
If there are any thin patches or if you want to add more length to your design, tear small pieces of roving and needle felt them into place. The process is simple but requires a bit of patience to achieve the desired result.
Finally, to add a unique touch to your blanket, create a white Swiss cross by rolling and shaping white roving. Use the needle felting tool to attach it onto the red stripe. You can also experiment with other designs and patterns by repeating the process.
Once you’ve finished creating your design, take a step back and admire your handiwork. With a little time and creativity, you’ve transformed a basic wool blanket into a beautiful and cozy masterpiece.

Key Takeaways:
- Making your own wool blanket is a great way to stay warm and add a personal touch to your home.
- You’ll need a wool army surplus blanket, rulers or chalk, red and white roving, a needle felting mat, and a needle felting tool.
- By marking out lines for your design and needle felting the roving into the blanket, you can create beautiful patterns and designs.
- Don’t be afraid to get creative and experiment with different shapes and colors to make your blanket unique.
- With a little time and patience, you can create a cozy wool blanket that will bring warmth and comfort to your life.
Repurposing Old Wool Blankets: Creating Decorative Garlands
If you have old wool blankets lying around, don’t throw them away! Instead, repurpose them into decorative garlands. There are endless possibilities for transforming these cozy blankets into charming pieces of decor for your home.
Start by cutting the blankets into rectangular pieces, leaving any fringe, satin edges, or vintage tags intact for added character. You can use pinking shears for a decorative edge or a rotary blade for a clean cut. This way, you can create a variety of shapes and sizes that will add visual interest to your garlands.
To add extra detail and personality to each piece, consider embellishing them with original tags, faux leaves, trims, or embroidered shapes. Get creative and make each garland unique to match your style and decor.
Once you have your rectangular pieces ready, fold them over with the right sides out and sew around the three sides, leaving a 2″ gap at the top. This will create a pocket-like structure that will hold the sisal rope in place.
“Repurposing old wool blankets into garlands not only adds rustic charm to your living space but also helps reduce waste. Plus, it’s a fun and rewarding craft project to take on!

Using the Wool Blanket Garlands
Now that your garlands are complete, you can use them to add a cozy touch to your decor. Hang them indoors to adorn your mantel, staircase railing, or windowsills. You can also display them outdoors to enhance your porch, patio, or balcony.
Arrange the garlands by pulling sisal rope through the opening and placing 5 or 6 squares on each length, leaving space between them. This will create a visually appealing layout that showcases the unique patterns and textures of your repurposed wool blankets.
Whether you’re decorating for a special occasion or simply adding a touch of warmth to your space, these repurposed wool blanket garlands are sure to catch the eye and spark conversation among your guests.
So the next time you find yourself with old wool blankets that you no longer use, consider repurposing them into stunning garlands. This project is a wonderful way to breathe new life into these blankets while adding a personalized touch to your home decor.

Softening Wool Blankets: The Process of Felting
If you have a wool blanket that is scratchy or in need of softening, felting is an effective process to consider. Felting involves washing the wool blanket with detergent in hot water using a washing machine and then drying it on high heat in a dryer. This process can be repeated several times to achieve a softer texture and improve the overall feel of the blanket.
It’s important to note that felting is not recommended for valuable wool blankets or those with delicate materials sewn to the ends. However, for standard wool blankets, felting can transform them into a softer and more comfortable piece that you can enjoy for years to come.
When felting your wool blanket, be sure to clear the lint trap in your dryer after each cycle to remove any loose fibers. This will help maintain the cleanliness and functionality of your machine while also ensuring the blanket remains in good condition.
By following these simple steps and incorporating the process of felting, you can effortlessly soften your wool blanket, enhancing its cozy appeal and making it even more enjoyable for those cold winter nights.

