
How To Maximize Reach-In Closet Space: Organizational Strategies
Introduction
Reach-in closets often feel like the architectural stepchildren of the home. While walk-in closets get all the glamour shots on social media, the humble reach-in is where most of us actually start our days. These shallow spaces, typically 24 to 30 inches deep, present a unique set of challenges that can quickly turn a morning routine into a stressful scavenger hunt.
I once worked with a client who had a standard five-foot reach-in closet that was so packed, she ended up dressing out of a laundry basket for six months. The issue wasn’t a lack of space, but rather a lack of vertical strategy and accessible zones. By ignoring the height and depth constraints, she created a “wall of fabric” that made it impossible to see what she owned. If you are looking for visual inspiration on how to solve this, be sure to check out the Picture Gallery located at the end of this blog post.
Transforming a cramped closet into a functional boutique experience requires a shift in mindset. You have to stop thinking about storage as just a horizontal rod and start viewing the closet as a three-dimensional puzzle. We are going to break down exactly how to reclaim every cubic inch of your reach-in, from the floorboards to the ceiling.
1. The Audit Phase: Inventory Before Installation
The biggest mistake homeowners make is buying storage products before they know what they are storing. You cannot solve a volume problem with more bins; you have to solve the inventory problem first. Before you purchase a single hanger or shelf divider, you need to empty the space completely.
Take everything out of the closet and lay it on your bed or the floor. This “zero-based” approach forces you to handle every single item. As a designer, I see clients hold onto clothes that fit a lifestyle they had five years ago, not the one they have today.
Create three distinct piles: Keep, Repair/Tailor, and Donate/Consign. Be ruthless about the “Repair” pile. If you haven’t fixed that hem or replaced that button in six months, it is time to let it go.
Once you have your “Keep” pile, you must categorize it by type and length. Count your long dresses, measure the width of your shoe collection, and tally your folded items. This data dictates your design. If you have 40 t-shirts and only 5 dresses, a double-hang system is mandatory. If you have mostly maxi-dresses, you need dedicated long-hang space.
Designer’s Note: The 80/20 Rule
In almost every closet project I tackle, I find that clients wear 20% of their clothes 80% of the time. Place that vital 20% in the “Golden Zone”—the area between your waist and eye level. Everything else should move up high or down low.
2. The Verticality Rule: Optimizing Rods and Shelving
Most builder-grade reach-in closets come with a single rod and one shelf above it. This is the most inefficient use of space possible because it leaves a massive dead zone below your hanging clothes. To maximize capacity, you almost always need to convert to a double-hang system.
In a professional layout, we adhere to specific height standards to ensure clothes don’t drag. The top rod should generally be placed at 80 to 82 inches from the floor. The bottom rod is typically installed at 40 to 42 inches. This setup instantly doubles your hanging storage for shirts, blazers, and folded pants.
For long hanging items like coats or dresses, you need a rod height of roughly 65 to 70 inches. In a small reach-in, you might dedicate one foot of width to long hanging and the rest to double hanging. This segmentation prevents shorter items from wasting vertical air space.
Shelving depth is another critical factor that is often overlooked. Standard reach-in closets are 24 inches deep, but shelves should never be that deep. If a shelf is deeper than 14 inches, items get lost in the back. Aim for 12-inch or 14-inch deep shelves to keep stacks of denim and sweaters accessible.
Common Mistakes + Fixes
- Mistake: Stacking sweaters too high on open shelves.
- Fix: Follow the “Rule of 4.” Never stack more than four heavy items (like jeans or sweaters) or six light items (like tees) in a pile. Any higher, and the stack becomes unstable and messy.
- Mistake: Ignoring the top shelf gap.
- Fix: The space between the top shelf and the ceiling is often irregular. Use soft-sided fabric bins here instead of rigid boxes to maximize the squeeze into tight vertical gaps.
3. Utilizing Dead Zones and Door Storage
In a reach-in closet, the “returns”—the wall space on the inside left and right of the door frame—are often wasted. These pockets are usually 6 to 12 inches deep and are invisible from the outside. This is prime real estate for accessories that usually clutter drawers.
I love installing hooks or narrow vertical racks in these return spaces. They are perfect for belts, ties, scarves, or even long necklaces. Because these items are flat, they won’t interfere with the clothes hanging on the main rod.
The back of the closet door is another massive opportunity, provided you have a standard hinged door and not sliders. An over-the-door system or a rack screwed directly into a solid core door can hold an entire shoe collection or bulky coats.
If you are renting, look for “eliding” storage systems that hook over the door hinge. If you own the home, mount a permanent rack. Just be careful to check the clearance; ensure the door can open fully without the storage rack hitting the wall behind it.
What I’d do in a real project:
- Side Walls: Install three vertically stacked robe hooks for purses or “tomorrow’s outfit.”
- Back of Door: Mount a wire basket system for clutch bags or scarves.
- Floor Gap: Place a rolling cart under the short-hanging clothes for socks or activewear.
4. Lighting and Visual Cohesion
You cannot organize what you cannot see. Reach-in closets rarely have hardwired lighting inside, making them dark caves where navy socks are indistinguishable from black ones. Adding light is the fastest way to make a small closet feel like a custom dressing room.
Battery-operated LED motion sensor lights are a game changer. Look for rechargeable models that attach magnetically to the underside of your shelves or the top of the door frame. When you open the door, the space floods with light.
For the light color temperature, avoid “warm white” (2700K) as it can make clothes look yellow. Aim for 3000K to 4000K, which mimics natural daylight and allows you to see colors accurately.
Visual cohesion also reduces the feeling of clutter. The easiest way to achieve this is by standardizing your hangers. A mix of wire dry-cleaner hangers, tubular plastic, and wooden hangers creates visual noise that makes the closet look messy even when it is organized.
Switch to slimline velvet hangers. They are non-slip, which keeps wide-neck tops in place, and their thin profile can save up to 25% of rod space compared to wood or plastic.
Designer’s Note: The “Breathability” Factor
While slim hangers save space, you should not pack clothes so tightly that you cannot slide a hand between them. Clothes need to breathe to prevent wrinkles and musty odors. A good rule of thumb is to leave half an inch of clearance between hangers.
5. Bins, Baskets, and Seasonal Rotation
Once the layout is set, we move to containment. The goal of bins is to act as drawers for a closet that doesn’t have them. This is especially vital for items that lose their shape on hangers, like heavy knits or activewear.
When choosing bins, measure your shelf height and subtract one inch. This clearance allows you to pull the bin out easily without scraping your knuckles. For high shelves, choose opaque or fabric bins with handles at the bottom. For eye-level shelves, acrylic dividers or clear-front bins work best so you can see the contents immediately.
Seasonal rotation is the final key to maintaining a reach-in closet. If you live in a climate with distinct seasons, you simply cannot keep 12 months of wardrobe in a standard reach-in.
Use vacuum-seal bags for off-season items like puffer coats or heavy bedding. These can shrink bulky items down by 70%, allowing you to store them on the very top shelf or under the bed. When the seasons change, do a full swap. This keeps your daily closet breathing and relevant to what you are actually wearing.
Real Project Checklist: The Container Kit
- Top Shelf: Large fabric bins with label holders for off-season storage.
- Eye Level: Acrylic shelf dividers to keep folded stacks of denim upright.
- Floor: Stackable shoe bins or a low-profile shoe rack that expands.
- Accessories: A hanging organizer with clear pockets for jewelry or sunglasses.
Final Checklist
Ready to tackle your closet? Follow this order of operations to ensure a smooth transformation.
- Empty and Clean: Remove everything. Vacuum the floor and wipe down walls.
- Sort and Purge: Separate items into Keep, Donate, and Trash. Be honest about what fits.
- Measure: Get exact dimensions of the width, depth, and height of the space.
- Adjust Layout: Move rods up or down. Add a second rod if possible.
- Lighting: Install battery-operated LED motion lights.
- Hangers: Swap all mismatched hangers for uniform slimline velvet ones.
- Containment: Purchase bins only after measuring shelves. Label everything.
- Restock: Place most-used items at eye level.
FAQs
How do I handle a deep reach-in closet where things get lost in the back?
Deep closets (over 30 inches) are tricky. The best solution is to avoid using the back depth for hanging clothes, as they will just be pushed back. Instead, install deep shelves with pull-out drawers or baskets. Alternatively, treat the back wall as storage for rarely used items (like suitcases) and place a rolling rack in front of it that can be moved aside when you need access.
What if I am renting and cannot drill holes for new rods?
Renters have great options today. Heavy-duty tension rods can create a second tier of hanging space without screws. Just ensure you buy one rated for 30+ pounds to handle the weight of denim or coats. You can also use “doubler” rods that hang from the existing top rod on chains or straps to create a lower tier instantly.
How do I store shoes in a small reach-in?
If you are short on floor space, get the shoes off the floor entirely. An over-the-door rack is the most space-efficient method. If you have sliding doors that prevent this, use clear stackable drop-front shoe boxes on the top shelf or on the floor. This allows you to stack them four or five high while still being able to access the shoes at the bottom without toppling the pile.
Conclusion
Maximizing a reach-in closet is not about magic; it is about math and management. By respecting the measurements of your space and being realistic about your inventory, you can turn a dark, chaotic cupboard into a streamlined system that makes getting dressed the easiest part of your day.
Remember that organization is a practice, not a one-time event. Your wardrobe will evolve, and your system should be flexible enough to evolve with it. Start with the purge, invest in the right vertical structure, and illuminate the space. You might be surprised to find that you actually have plenty of room—you just needed the right strategy to uncover it.
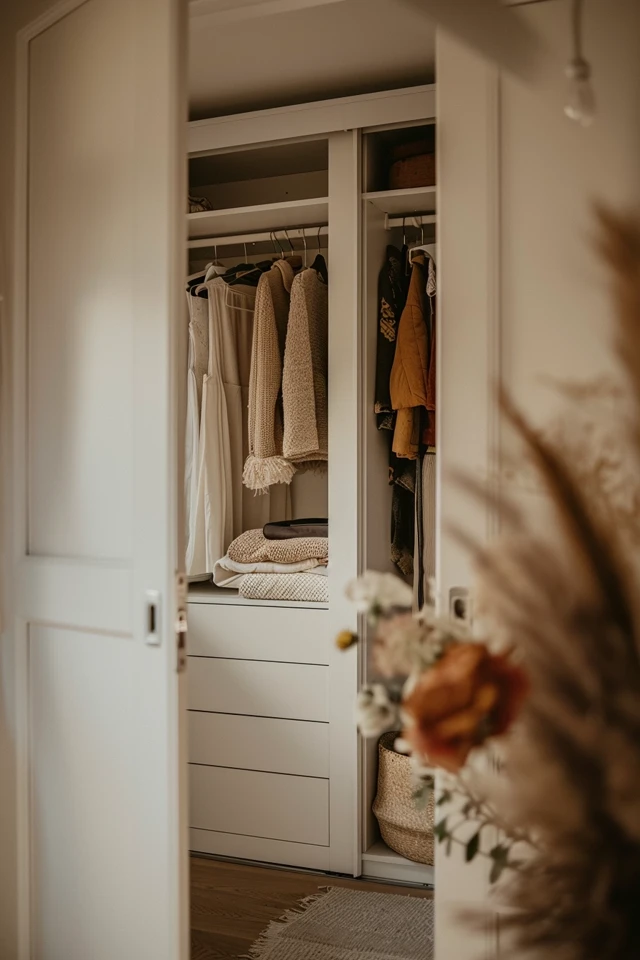
Picture Gallery


