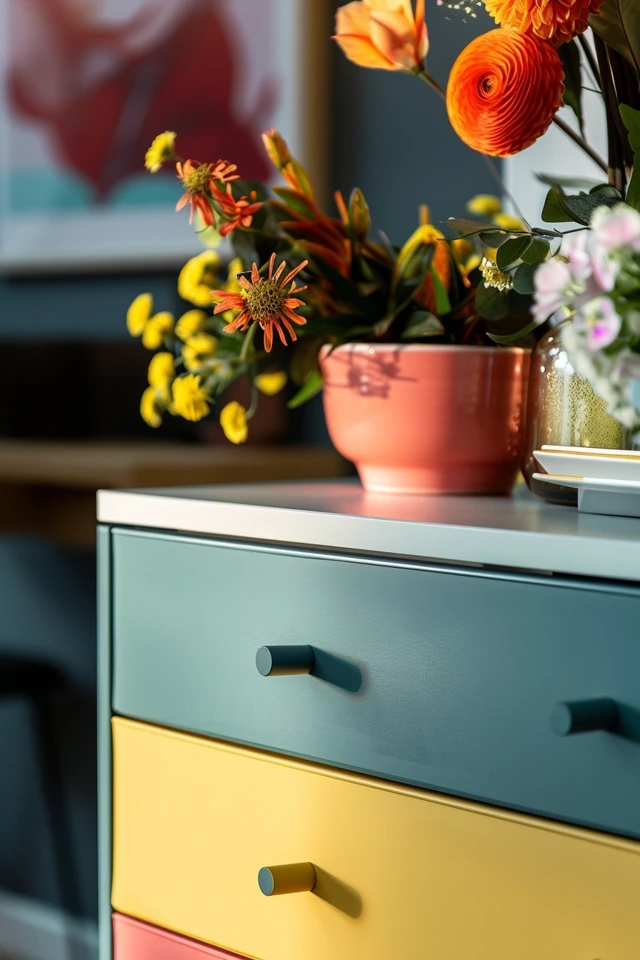
If you’re looking to add a personal touch to your Ikea dresser, repainting and refinishing it is a great DIY project to consider. With just a few materials and some creativity, you can transform your plain Ikea dresser into a unique piece that reflects your style. In this customization guide, we’ll walk you through the step-by-step process of painting an Ikea dresser to create a furniture makeover that you’ll love.
Key Takeaways:
- Repainting an Ikea dresser is a simple DIY project that can give your furniture a custom look.
- The Ikea Hemnes line is a popular choice for repainting, as it is made of real wood and offers good quality.
- To get started, gather your materials, including sandpaper, paint, clear top coat, rollers, brushes, and unique hardware for a personalized touch.
- Assemble the dresser and lightly sand the surfaces to be painted for better paint adhesion.
- Apply two coats of paint, using brushes for edges and corners and rollers for flat surfaces. Allow each coat to dry before applying the next one.
Preparing and Painting an Ikea Dresser
In order to achieve a stunning custom look for your Ikea dresser, a proper preparation and painting process is key. By following these step-by-step instructions, you’ll be able to transform your dresser into a personalized piece that perfectly suits your style.
Steps to Prepare the Dresser
- Begin by assembling the dresser according to the manufacturer’s instructions. This will ensure that all the components fit together securely.
- Next, use a 120 grit sandpaper to gently sand the surfaces that you plan to paint. This step roughens up the surface, allowing the paint to adhere better and ensuring a long-lasting finish.

Steps for Painting the Dresser
- Using a brush, apply two coats of paint to the dresser. Concentrate on using the brush for edges and corners, ensuring thorough coverage.
- For smooth and even coverage on flat surfaces, use a microfiber roller. Be sure to lightly feather the brush strokes to prevent any visible brush marks.
- It’s important to avoid applying too much paint, as this can lead to drips and an uneven finish. Take your time and apply thin, even coats.
- Always paint in the same direction with long, smooth strokes to achieve a professional-looking finish.
- If you want an even smoother surface, consider sanding lightly between coats. This will help remove any imperfections and create a seamless result.
Finishing Touches
While not necessary, applying a clear top coat to the painted dresser can provide additional protection and durability. This step is especially recommended for surfaces that may encounter frequent use and wear.
Lastly, don’t forget to add your personal touch by replacing the hardware with unique knobs or handles. This simple change can completely transform the look of your dresser and make it truly one-of-a-kind.

Tips for Painting Ikea Furniture
Painting Ikea furniture, including dressers, can be a fun and rewarding project to give your home a fresh look. To ensure successful results, it’s essential to follow proper preparation techniques and use the right materials.
Start by cleaning the furniture thoroughly with a degreaser to remove any dirt, grease, or residue. This step helps the paint adhere better to the surface. Next, sand the surfaces that you plan to paint. Sanding creates a roughened texture, allowing the paint to grip the furniture more effectively.
If you are painting laminate surfaces, it’s important to use a primer specifically designed for laminate. This will improve the adhesion and durability of the paint. For other surfaces, such as wood, a primer may not be necessary depending on the type of paint you choose.

When selecting paint, consider whether you prefer a classic latex paint or a trendy chalk paint. Latex paint provides a durable and washable finish, while chalk paint offers a more matte and vintage look. Whichever paint you choose, make sure to apply it evenly using a paint sprayer or foam roller for larger surfaces. A brush may be more suitable for smaller areas and corners.
Sanding lightly between coats can help achieve a smoother finish. This step helps to remove any imperfections or brush strokes, creating a professional-looking result. Once you’re satisfied with the paint job, sealing the furniture with a top coat is optional but recommended. A top coat adds an extra layer of protection to the painted surface, ensuring its longevity.
Lastly, to personalize your Ikea dresser makeover, consider adding unique hardware or other embellishments. This simple touch can make a significant difference in the overall appearance of the furniture and give it a personalized touch that reflects your personal style.

