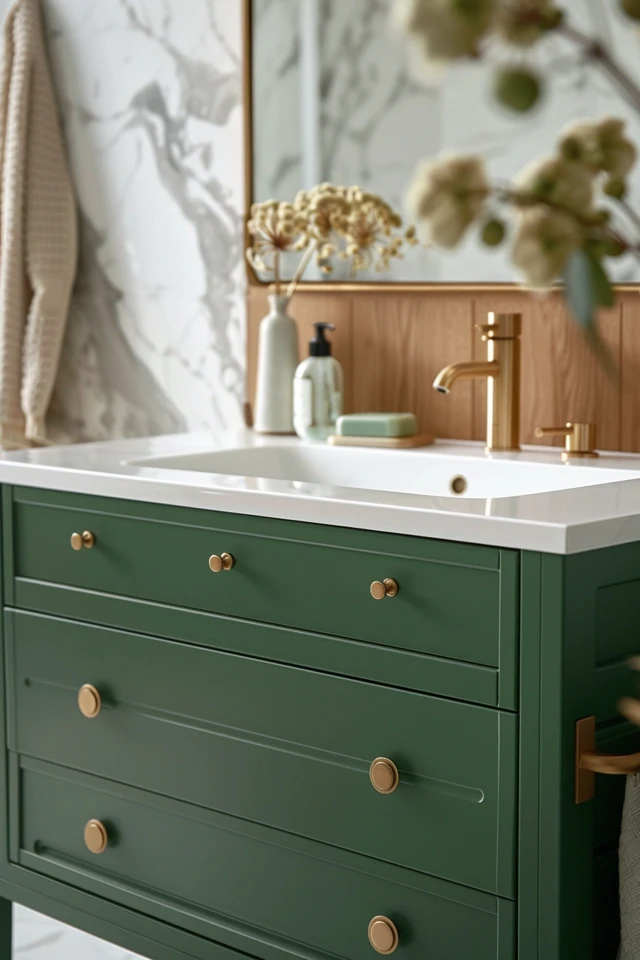
Are you looking to give your bathroom a fresh new look? One of the easiest and most affordable ways to update your bathroom is by removing an old vanity. By replacing that outdated piece with a new one, you can instantly transform the space and create a more modern and stylish bathroom.
But how do you go about removing an old vanity? Don’t worry, I’ve got you covered. In this article, I will provide you with a step-by-step guide and some helpful tips to make the process easier and more efficient. Whether you are planning a DIY bathroom update or renovating your bathroom vanity, this guide will ensure that you can tackle the task with confidence.
Key Takeaways:
- Removing an old vanity can give your bathroom an instant refresh.
- By following a step-by-step guide, you can easily remove the old vanity and prepare for a new one.
- Tools such as an adjustable wrench, screwdriver, and crowbar are essential for vanity removal.
- Disconnecting the plumbing, unscrewing the vanity top, and cutting the caulking are important steps in the process.
- Remember to remove the base from the wall and clean up any excess caulk before installing a new vanity.

Tools Needed for Vanity Removal
When it comes to removing an old vanity, having the right tools is crucial. By using the correct tools for vanity removal, you can make the process smoother and more efficient. Here are the essential tools you will need:
- An adjustable wrench to disconnect plumbing connections.
- A flathead screwdriver or power drill with a flathead drill bit for unscrewing the vanity top from the base.
- A Phillips screwdriver or power drill with drill bits for other screws.
- A box cutter to cut through caulking.
- A crowbar and a putty knife to help loosen the top from the base.
- A bucket to catch any water or debris.
- A towel to protect the floor and clean up any spills.
- If necessary, a cutting tool to remove a section of the vanity.
These tools will enable you to disconnect the plumbing, unscrew the vanity top, remove the caulking, and ultimately take out the vanity base. With a well-equipped toolbox, you’ll be able to efficiently tackle the removal process and prepare your bathroom for a fresh new look.
If you don’t have all the necessary tools on hand, consider borrowing or renting them from a local hardware store. Using the right tools for the job will save you time and help prevent any unnecessary damage during the removal process.

Step-by-Step Guide for Vanity Removal
To successfully remove an old vanity, follow this step-by-step guide:
- Disconnect the plumbing: Start by turning off the water supply. Then, disconnect the water supply line and drain stopper. Finally, unscrew the p-trap to fully disconnect the plumbing.
- Unscrew the vanity top: Locate and remove the screws inside the vanity that secure the vanity top to the base. Use a screwdriver or power drill with a flathead drill bit to unscrew the vanity top.
- Cut the caulking: Using a box cutter, carefully cut along the seams where the vanity top meets the base. Cutting the caulking will release the top from the base.
- Loosen the top from the base: Utilize a crowbar and putty knife to gently pry and loosen the vanity top from the base. Be cautious not to damage the surrounding surfaces.
- Unscrew the base from the wall: Locate the screws that secure the vanity base to the wall. Unscrew them using a screwdriver or power drill. Remove any remaining caulk to fully detach the base.
- Remove a section of the vanity if necessary: In some cases, you may need to cut out a section of the vanity to facilitate its removal. Use a cutting tool to carefully remove the necessary section.
- Detach the base from the wall: Once the base is free from any attachments, unscrew it from the wall. Take care to support the weight of the vanity as you pry it away from the wall.
Note: It is essential to exercise caution throughout the vanity removal process to avoid any damage to the plumbing, surrounding surfaces, or yourself. If you encounter any difficulties or are unsure about any step, consider consulting a professional.
By following these step-by-step instructions, you can successfully remove an old vanity and prepare your bathroom for an exciting update or renovation.

Conclusion
Removing an old vanity is a manageable DIY project that can completely transform your bathroom. By following the step-by-step guide and using the necessary tools, you can easily remove an old vanity and prepare for a bathroom update. Whether you’re looking to replace the vanity or planning a complete renovation, removing the old vanity is the crucial first step towards achieving a fresh and updated bathroom.
By taking control of your DIY bathroom renovation, you can save money and personalize your space. The process of removing an old vanity not only allows you to update the appearance of your bathroom but also provides an opportunity to address any underlying issues or make necessary improvements in functionality.
Get started today and embrace the excitement of your bathroom update project. With the right tools, a little patience, and a touch of creativity, you can transform your bathroom into a space that reflects your personal style and meets your daily needs. Enjoy the satisfaction that comes with completing a DIY project and witness the remarkable difference a bathroom vanity update can make.

