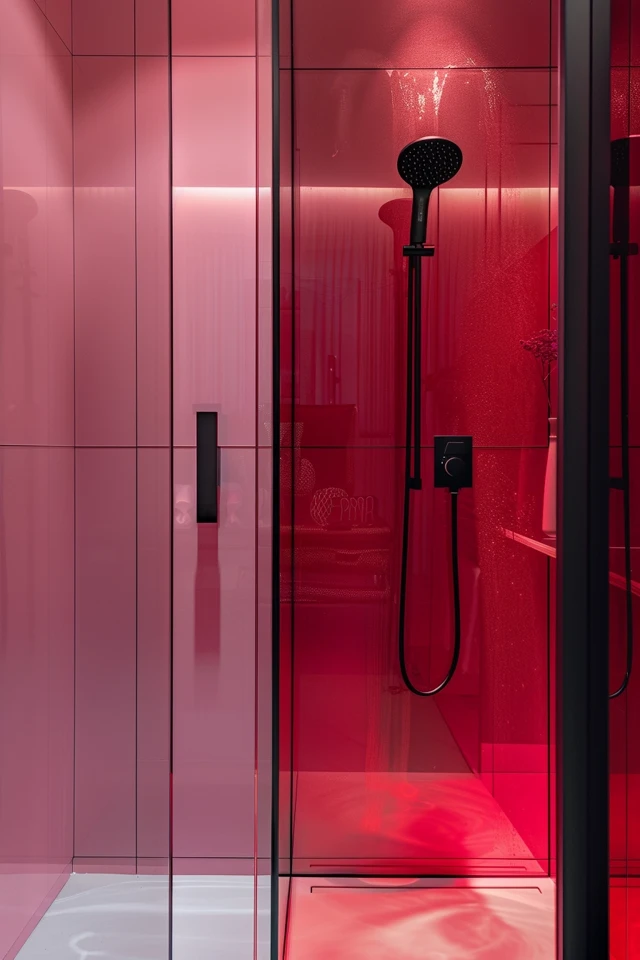
Removing shower wall panels can be a challenging task, especially if you want to do it without causing any damage to the panels. Whether you have glue-up or direct-to-stud wall panels, there are specific steps you can follow to safely remove them.
t’s important to consider the order in which the panels were installed and the type of connection they have. For glue-up panels, heating the adhesive with a hair dryer can make removal easier. With direct-to-stud panels, you’ll need to uncover the nailing flanges and carefully remove the fasteners. By following the right techniques and using the proper tools, you can remove shower wall panels without damaging them.
Key Takeaways:
- Removing shower wall panels without damage is possible if you follow the correct steps.
- Glue-up panels can be removed by heating the adhesive and using a putty knife and pliers.
- Direct-to-stud panels require uncovering the nailing flanges and carefully removing the fasteners.
- Safety gear and the right tools are essential for a successful removal process.
- Repair any damage and prepare the wall for new shower wall panels as needed.

How to Remove Glue-Up Shower Wall Panels Safely
If you have glue-up shower wall panels, it is essential to follow the proper steps to remove them safely and protect the panels from damage. Here is a step-by-step guide:
- Remove the plumbing trim: Begin by detaching the faucet handle, showerhead, tub spout, and shower arm. Safely disconnecting the plumbing fixtures will allow for easier access to the wall panels.
- Cut through the caulk: Use a stiff putty knife to cut through the caulk surrounding the panels. This will loosen the adhesive and make the removal process smoother.
- Heat the panels: To further loosen the adhesive, use a hair dryer to heat the front of each panel. Be careful not to overheat the panels; a moderate heat will suffice.
- Start from the corners: Begin removing the panels in the same order they were installed. Start with the corners and gradually move on to the side walls and, finally, the back walls.
- Use the right tools: Utilize a putty knife and pliers to gently pry and pull the panels until they come off. Exercise caution to prevent any unnecessary damage.
Once the panels are removed, make sure to clean any glue residue and assess the condition of the walls. If there are any tears or damages, fix them before installing new shower wall panels. Follow these steps diligently, and you’ll be able to remove glue-up shower wall panels safely and without causing harm.

How to Remove Direct-to-Stud Shower Wall Panels Safely
If you have direct-to-stud shower wall panels, the removal process requires careful steps to ensure a safe and damage-free renovation. Start by removing the shower fittings, including the showerhead, faucets, and water handles. This will allow easy access to the panels without any obstructions.
Next, use a utility knife to cut along the edges of the shower surround wall, meticulously cutting through the caulk and drywall. Take your time to ensure clean and accurate cuts. Once the edges are free, you can proceed to remove the bottom section of the wall. Use a chisel to carefully pry off the tiles and any attached drywall. Exercise caution to prevent any accidental damage to the underlying structure.
After removing the bottom section, move on to the top section. Gently pull it away from the screws and studs, using a putty knife or a pry bar when necessary. Take care not to force the panels, as this can lead to unintended damage. Finally, remove the back wall by punching out a row of tiles and pulling the wall away from the screws. Be sure to wear safety gear throughout the process and use the right tools to avoid injury.
By following these steps and taking the necessary precautions, you can safely remove direct-to-stud shower wall panels without any damage. This will not only allow for a smooth renovation but also provide a clean canvas for the installation of new shower wall panels.


