If you’re tired of food sticking to your non-stick pan, there’s a simple and effective solution that you may not have heard of. TikTok creator Sophie Louise has shared a salt hack for fixing nonstick pans, and it has gained millions of views. The best part? All you need is some common table salt and a few minutes of your time.
To restore a non-stick pan using the salt cleaning method, all you have to do is follow a few easy steps. Over time, non-stick pans can lose their non-stick properties, leading to frustrating cooking experiences. But with this revival technique, you can bring your pan back to life and enjoy hassle-free cooking once again.
Key Takeaways:
- Restore your non-stick pan with a simple salt cleaning method
- Clean the pan with dish soap and a soft sponge
- Heat the pan on high heat to make it hot
- Add table salt and let it cook until golden brown
- Wipe the pan clean with a damp paper towel

Steps to Restore a Non-Stick Pan with Salt
Wondering how to revive your non-stick pan? Look no further! With this simple DIY technique, you can bring new life to your kitchenware and enjoy cooking without any sticking issues. Follow the step-by-step guide below to restore your non-stick pan using salt.
Clean the pan: Start by washing the pan with dish soap and a soft sponge. Ensure that all oil residue and food particles are removed. Rinse the pan thoroughly and dry it completely before moving on to the next step.
Heat the pan: Place the pan on the stove and set the heat to high. Let the pan heat up until it becomes very hot. The heat helps to loosen any residual grease or debris stuck on the surface.
Add salt: Once the pan is hot, pour enough table salt to cover the bottom of the pan. Shake the pan gently to distribute the salt evenly.
Cook the salt: Allow the salt to cook in the pan for a few minutes. Watch as the salt turns golden brown, indicating that it is absorbing the grease and helping to restore the non-stick surface.
Remove the salt: Dump the salt into the sink or trash and wipe the pan with a damp paper towel. This will remove any remaining salt and residue, leaving your pan clean and ready to use.
By following these simple steps, you can effectively revive the non-stick properties of your pan and ensure its longevity. Regular maintenance and care are essential to keep your cooking utensils in top shape. Remember to clean your pan properly after each use and avoid using metal utensils that can scratch the surface. Happy cooking!

Testing the Salt Scrub Technique
The salt scrub technique for restoring non-stick pans has been put to the test by individuals who have experienced issues with scratched pans. One person, after trying this DIY pan restoration method, was pleasantly surprised by the results. Their once sticky pan no longer posed any sticking problems. In fact, they were able to fry an egg and cook burger patties without any issues of food sticking to the surface. This salt cleaning method has proven effective for pans with mild to moderate scratches, offering a simple yet efficient way to restore their non-stick properties.
While it’s important to note that this technique may not work for every stubborn non-stick pan, it’s definitely worth giving it a try. The salt scrub method provides an affordable and accessible option for pan care, even if it doesn’t completely restore the pan’s non-stick properties. It can still make a significant difference and improve the overall cooking experience for those dealing with mild to moderate scratches on their non-stick pans.
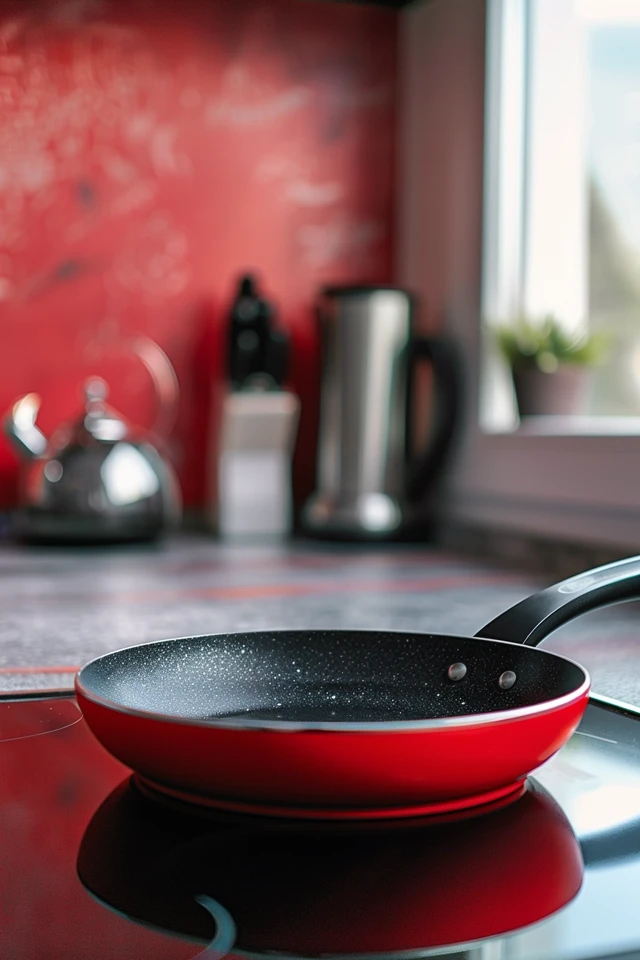
To visually demonstrate the effectiveness of the salt scrub technique, here’s an image of a restored non-stick pan:
As you can see from the image, the pan has been successfully restored, showing a smooth surface that’s ready for cooking. This tangible result further emphasizes the potential benefits of incorporating this DIY pan restoration method into your pan care routine.

Conclusion
Restoring a non-stick pan with salt is a simple and effective method for rejuvenating your cookware. By following the steps of cleaning, heating, adding salt, cooking, and wiping, you can revive the non-stick properties of your pan and extend its lifespan.
While this technique may not work for every non-stick pan, it’s worth giving it a try if your pan has mild to moderate scratches. With a little effort, you can maintain your kitchenware and enjoy hassle-free cooking.
Incorporating regular pan care tips, such as this non-stick pan restoration method, into your kitchen routine is crucial for maintaining the quality of your cookware. Taking proactive steps to care for your pans will ensure they remain in optimal condition, allowing you to cook your favorite dishes with ease.
Remember, proper kitchenware maintenance is key to preserving the non-stick surface of your pans. The revival technique using salt is a budget-friendly alternative that can potentially save you from having to replace your pans. So, give it a try and breathe new life into your non-stick pans!

