
When it comes to choosing the right flooring for your laundry room, there are several factors to consider. It needs to be durable, moisture-resistant, easy to clean, and able to withstand heat and spills.
According to design experts, the best flooring options for laundry rooms are vinyl, ceramic or porcelain tile, and rubber flooring. Vinyl flooring is affordable, waterproof, and comes in a variety of styles. Ceramic and porcelain tile are durable, water-resistant, and easy to maintain. Rubber flooring is a unique and inexpensive option that is durable and easy to clean.
On the other hand, carpet, cork, hardwood, laminate, mosaic, and marble flooring are not suitable for laundry rooms due to their absorbency or susceptibility to moisture and heat.
Key Takeaways:
- Vinyl, ceramic or porcelain tile, and rubber flooring are the top choices for laundry room flooring.
- Vinyl flooring is affordable and available in a variety of styles and colors.
- Ceramic and porcelain tile are durable, water-resistant, and easy to clean.
- Rubber flooring is a unique and inexpensive option that is durable and easy to maintain.
- Avoid carpet, cork, hardwood, laminate, mosaic, and marble flooring for laundry rooms.

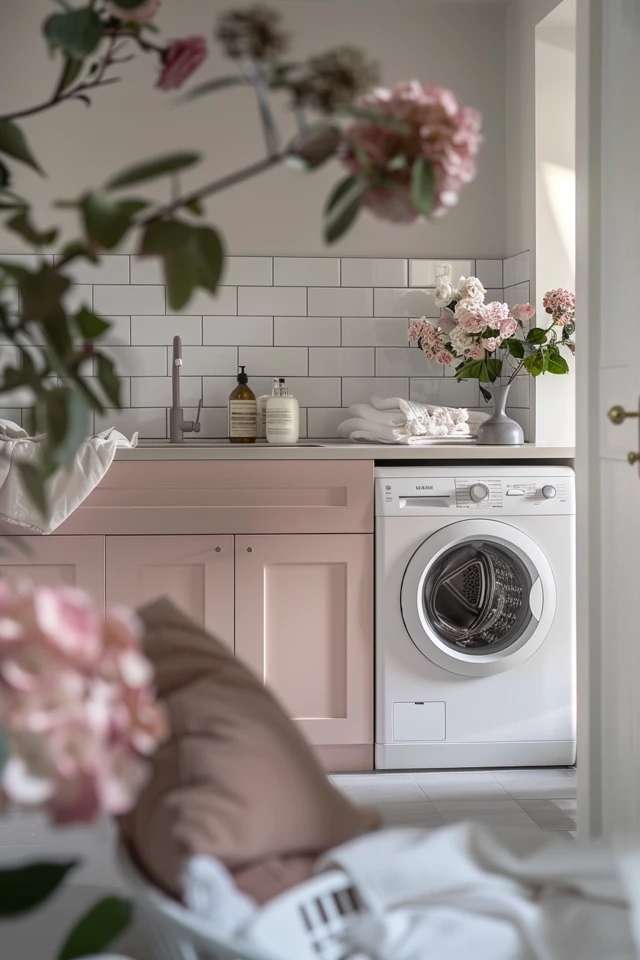
Best Flooring Options for Laundry Rooms
When it comes to choosing the best flooring for your laundry room, you want something that is not only durable and practical but also stylish. After all, the laundry room is a functional space that deserves a touch of aesthetics. Here are some of the top flooring options that check all the boxes:
Vinyl Flooring
If you’re looking for an affordable yet versatile flooring solution, vinyl flooring is an excellent choice for your laundry room. It is known for its durability, water resistance, and easy maintenance. Vinyl flooring comes in a wide range of styles and colors, allowing you to find the perfect option to match your laundry room’s aesthetic. Its moisture resistance makes it ideal for withstanding spills and high-humidity environments.
Ceramic or Porcelain Tile
Ceramic and porcelain tiles are popular choices for laundry room flooring due to their durability, water resistance, and easy cleaning. These tiles can handle heavy foot traffic, spills, and moisture without warping or staining. You can choose from various sizes, colors, and patterns to create a unique and visually appealing laundry room floor.
Rubber Flooring
If you’re looking for something unique and budget-friendly, consider rubber flooring for your laundry room. Rubber floors are extremely durable and easy to clean, making them perfect for handling the weight of washing machines and dryers. Additionally, rubber flooring provides a comfortable surface to stand on while doing laundry, reducing fatigue.
These flooring options offer the perfect combination of durability, practicality, and style for your laundry room. Whether you choose vinyl flooring for its affordability, ceramic or porcelain tile for its timeless elegance, or rubber flooring for its unique benefits, you can’t go wrong with any of these choices. So, go ahead and transform your laundry room into a functional and visually appealing space with the right flooring.

How to Install Tile in a Laundry Room
Are you considering giving your laundry room a makeover? Installing tile in your laundry room can be a great way to create a durable and stylish flooring solution. With a few DIY skills and the right tools, you can easily transform your laundry room into a functional and beautiful space. Here’s a step-by-step guide on how to install tile in a laundry room.
1. Prepare the surface: Start by ensuring that the floor is clean, dry, and free of any debris. Remove any existing flooring or carpet. If you have any uneven areas, use a leveling compound to create a smooth surface.
2. Plan your design: Before you start laying the tile, plan out the design you want to create. Consider factors such as the size and shape of the tiles, the pattern or layout you prefer, and any focal points or accents you want to incorporate.
3. Start tiling: Begin by applying a thin layer of adhesive or mortar to the floor using a notched trowel. Lay the first tile in one corner of the room and press it firmly into the adhesive. Continue placing the tiles, ensuring that they are evenly spaced and aligned. Use tile spacers to maintain consistent gaps between the tiles.
4. Grout and seal: Once the tiles are in place and the adhesive has dried, it’s time to grout the tiles. Mix the grout according to the manufacturer’s instructions and apply it using a grout float, ensuring that all the gaps between the tiles are filled. After the grout has cured, seal the tiles and grout with a waterproof sealer to protect them from moisture and stains.
By following these simple steps, you can successfully install tile in your laundry room and create a beautiful and waterproof flooring solution. Remember to take your time, measure accurately, and use the right tools for a professional-looking result. Enjoy your newly tiled laundry room!
