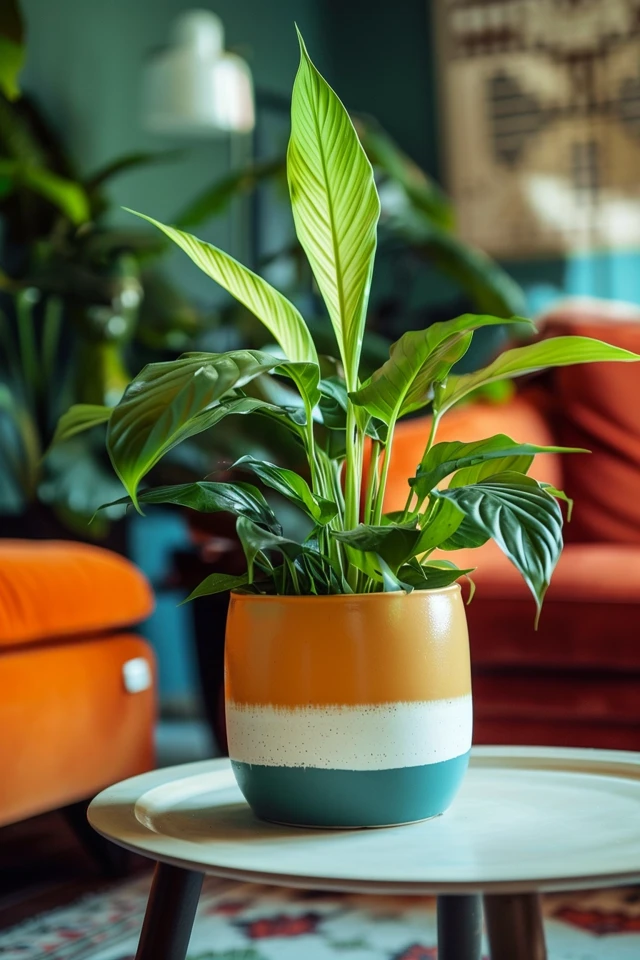
I recently encountered a common problem with my peace lily – root rot. Symptoms such as yellowing leaves, wilting, black spots, and a foul smell indicated that my beloved plant was in distress. Determined to revive it, I embarked on a repotting journey. In this article, I will share my experience and guide you on how to repot a peace lily with root rot, giving it a new lease on life.
Reviving a peace lily with root rot starts with gathering the essentials. You’ll need a slightly larger pot to accommodate the plant’s root system, high-quality well-draining soil, and sterilized pruning tools. It’s important to prepare the new pot by adding a layer of fresh potting mix at the bottom, ensuring proper drainage for the plant’s roots.
Next, gently coax the peace lily out of its current pot, taking care not to damage the delicate roots further. Inspect the roots for any signs of discoloration and mushiness, which indicate root rot. Trim away any damaged roots and spread out the remaining healthy roots in the new pot.
Once the roots are properly positioned, fill the pot with fresh potting mix, pressing it down gently to provide stability. It’s crucial to water the repotted peace lily thoroughly, allowing the soil to absorb moisture and hydrate the roots. Remember, proper hydration is essential for the plant’s recovery.
After repotting, it’s important to provide the peace lily with the right amount of light and water. Bright, indirect light is ideal for its growth and development. Monitor the plant closely and make adjustments to your care routine as needed. With time and proper care, you’ll witness your peace lily bounce back from root rot, displaying new leaves and renewed vitality.

Key Takeaways:
- Root rot in peace lilies is characterized by yellowing leaves, wilting, black spots, and a foul smell from the soil.
- Repotting a peace lily with root rot involves gathering essential materials, inspecting the roots, trimming away damaged portions, and spreading the healthy roots in a new pot.
- Providing the right amount of light and water, and adjusting the care routine are crucial for reviving a peace lily.
- Prevention of root rot includes proper watering techniques, using well-draining pots, and monitoring the plant’s overall health.
- Regular monitoring and adjusting care as needed will help maintain a thriving peace lily and prevent future occurrences of root rot.
Signs and Causes of Root Rot in Peace Lilies
Signs of root rot in peace lilies can be easily identified by observing the plant’s appearance and scent. Some common indications include:
- Yellowing leaves
- Wilting
- Stunted growth
- Black spots on the leaves
- A foul smell from the soil
These symptoms suggest that the peace lily is battling root rot, as its roots are deprived of oxygen and the plant begins to suffer.

“Root rot is a serious condition for peace lilies, causing immense stress and potentially leading to the plant’s demise. Identifying the signs early on can help prompt effective treatment.”
The main causes of root rot in peace lilies are overwatering and poor drainage. Overwatering suffocates the roots, creating a soggy environment that promotes the growth of harmful fungi. Poor drainage exacerbates this problem by trapping excess water in the pot, causing the roots to become waterlogged.
To prevent root rot in peace lilies, it is crucial to pay attention to their care needs:
- Water the plant properly, ensuring that the soil is moist but not waterlogged.
- Allow the top inch of the soil to dry out before watering again.
- Using self-watering pots with good drainage can help minimize the risk of root rot.
By maintaining appropriate moisture levels and providing adequate drainage, you can significantly reduce the chances of root rot affecting your peace lilies.
Continue reading to learn how to revive a peace lily with root rot through proper repotting and essential aftercare techniques in the next section of this article.

Prevention and Aftercare Tips for Root Rot in Peace Lilies
Preventing root rot is crucial when it comes to ensuring the health and longevity of your peace lilies. One of the most important factors to consider is proper watering. Allow the top inch of the soil to dry out before watering again, as overwatering is the main cause of root rot. It’s better to underwater than overwater, so be mindful of your watering schedule.
In addition to proper watering, make sure your peace lily is planted in a pot with adequate drainage. Excess water should be able to flow out freely, preventing water from becoming trapped and causing the roots to rot. Choosing a well-draining potting mix is also important, as it helps maintain the right moisture balance for your plant.
After repotting your peace lily to address root rot, you’ll want to provide it with the right light conditions. Bright, indirect light is ideal for maintaining the plant’s health. Adjust your watering techniques accordingly, taking into account the increased exposure to light. Regularly monitor the plant for signs of recovery, such as new growth, and make any necessary adjustments to your care routine.
By following these prevention and aftercare tips, you can successfully prevent root rot in your peace lilies and keep them thriving for years to come. Remember to be mindful of your watering habits, ensure proper drainage and use well-draining soil, and provide the right light conditions. With just a little extra care, you can maintain a beautiful and healthy peace lily.

